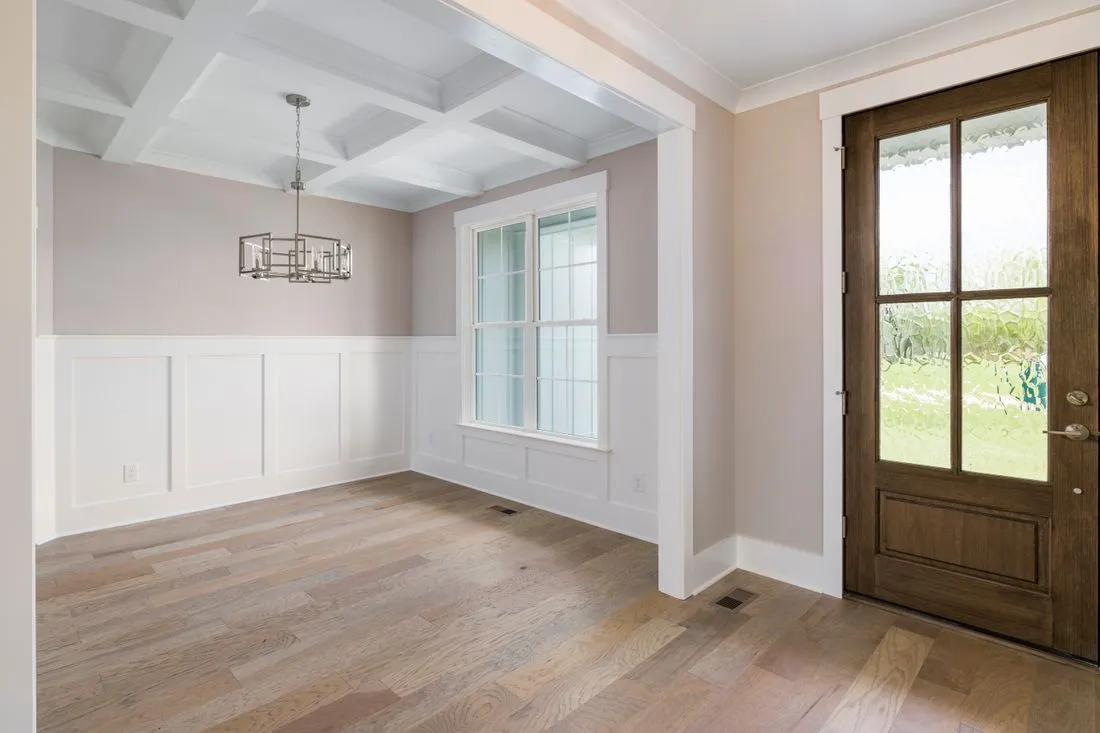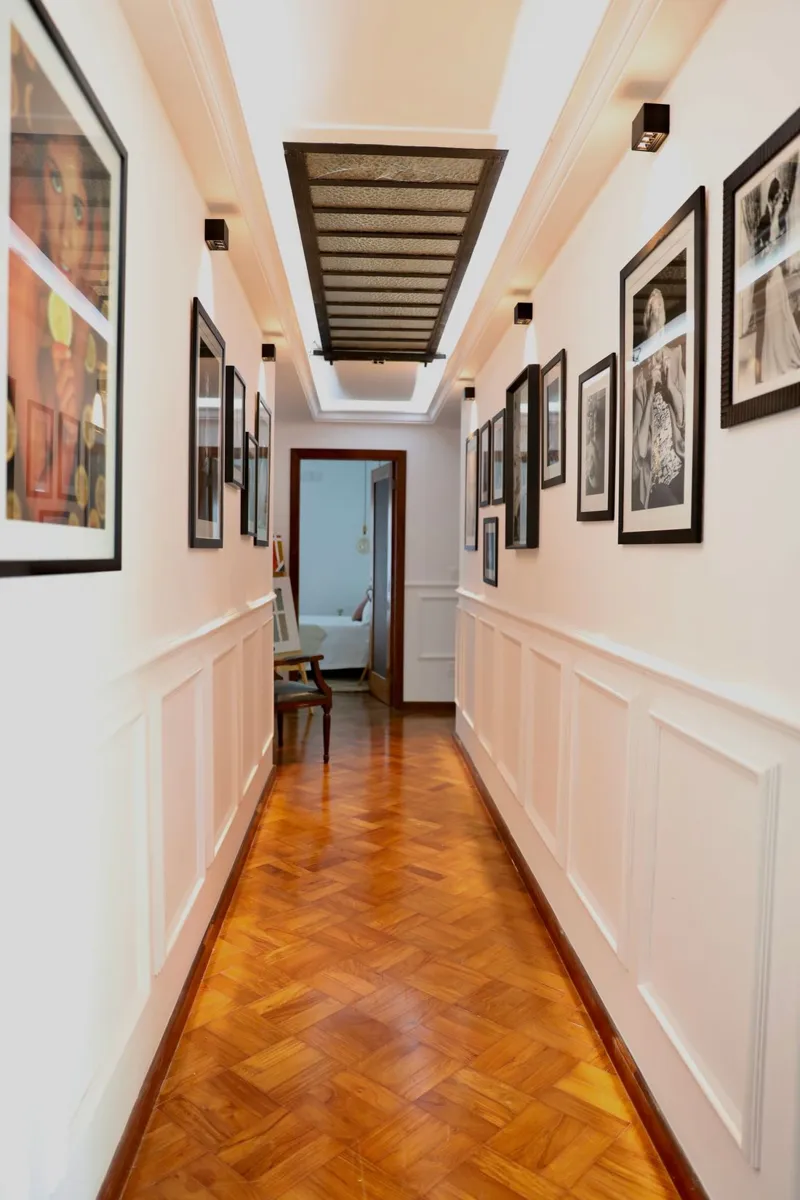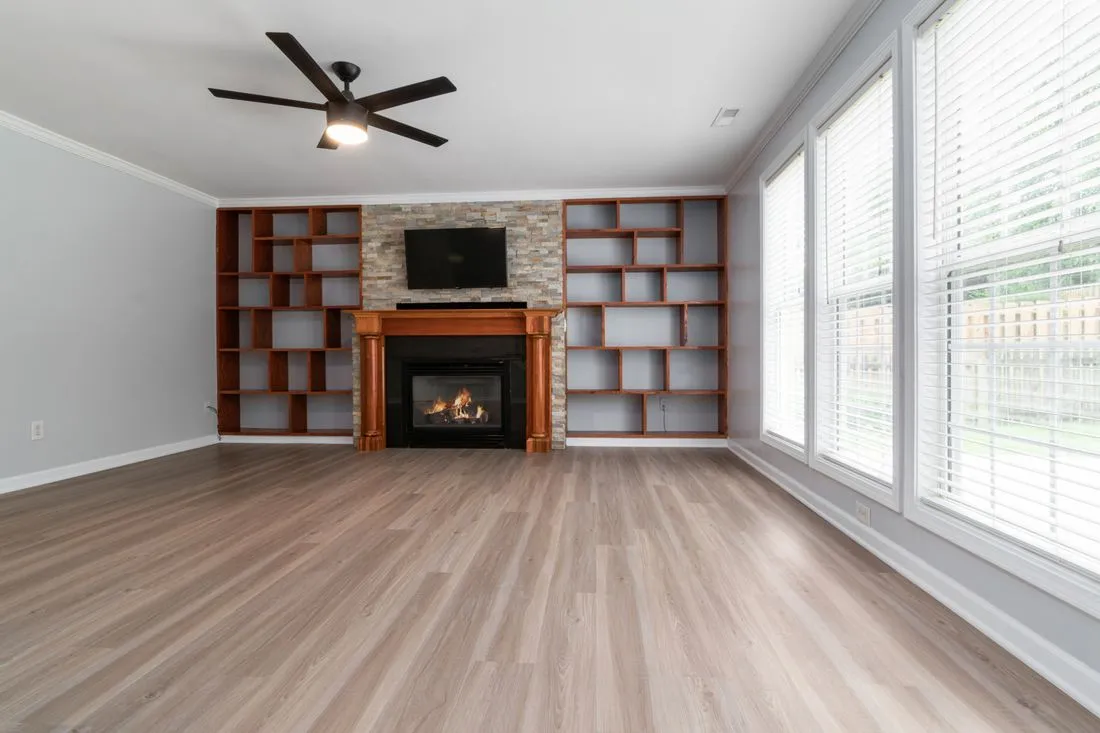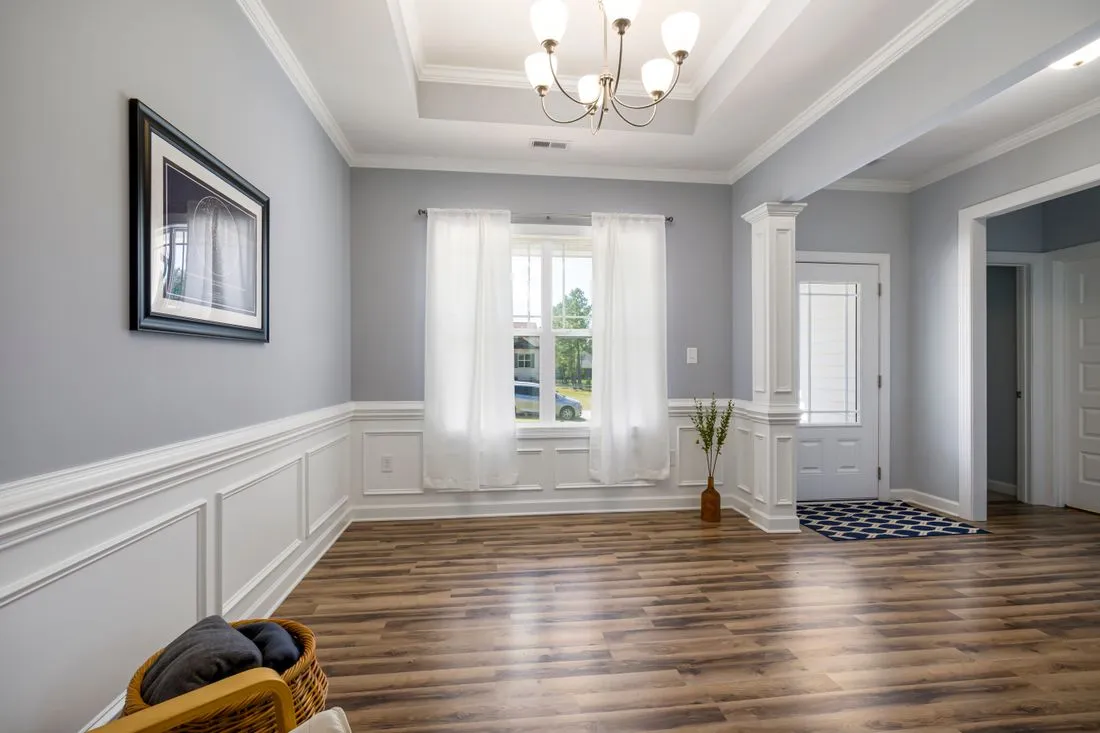
The first room is finished, the next project begins six months later, and the molding that seemed easy to recognize is no longer obvious on the store shelf. Several profiles look almost right. This is the moment when a trim schedule earns its place among the paint receipts and floor samples.
A schedule is simply a record of what belongs where. It does not require architectural software. A spreadsheet or a few labeled pages can hold the essential information, with photographs and short physical samples kept alongside it.
Record the actual profile
Write down the supplier, product code, material, height and thickness. Note the nominal description as well as the measured dimensions; a name alone may not identify the same section in a different range. Photograph the end of an offcut against a plain background so the shape is visible. A front-facing room photograph often hides exactly the curves you later need to compare.
Separate the baseboard, door casing, window casing, stool, apron and any additional cap. If the detail is assembled from several pieces, record their order and how far each projects. A built-up profile cannot be reliably recreated from the total height alone.
Give exceptions a reason
Not every room has to use identical trim. A bathroom may need a different material, or an original room may retain historic woodwork. List those exceptions deliberately. For each one, note where the change occurs and what remains consistent, such as the paint color or the casing at the shared doorway.
A simple set of entries might read: main rooms use profile A; the utility room uses a moisture-suitable alternative of similar proportions; the upstairs landing retains the existing profile. This is more useful than buying whichever similar-looking piece happens to be available for each room.
Include the finish and the difficult corners
Record the coating brand, product range, color formula, sheen and any primer used. Keep the label information rather than just writing 'warm white.' Add a photograph of representative junctions, especially where the baseboard meets a cabinet or stair skirt. Those details may guide the next room more than a broad view of the finished wall.
A compact entry that is actually useful
An entry in the schedule could read: hall baseboard, product reference A, paint-grade wood, actual height and depth measured from approved sample, finish reference P1, no shoe molding at the tiled section. Beside it, place a photograph of the profile and the drawing for its transition to the adjoining room. Replace those example references with the actual product identifiers from your order.
Use one finish reference for a genuinely identical coating system rather than rewriting an abbreviated paint description on every page. If a room later uses another product, give that finish a new reference. This avoids the familiar problem of several cans all described as the same white despite differing in sheen or formulation.
The schedule should also distinguish intended choices from installed ones. Mark a profile as proposed while a sample is being considered, and confirm it after the order and fitting are complete. Keep superseded decisions in project notes if useful, but make the current specification unmistakable. Someone arranging a small repair should not have to guess which of two equally plausible entries won.
Update the schedule after installation if the plan changed. An approved sample, the installed profile and the purchasing record should agree. Keeping a few labeled offcuts in dry storage gives you something physical to compare when you need a repair, even if the original product later becomes difficult to source.