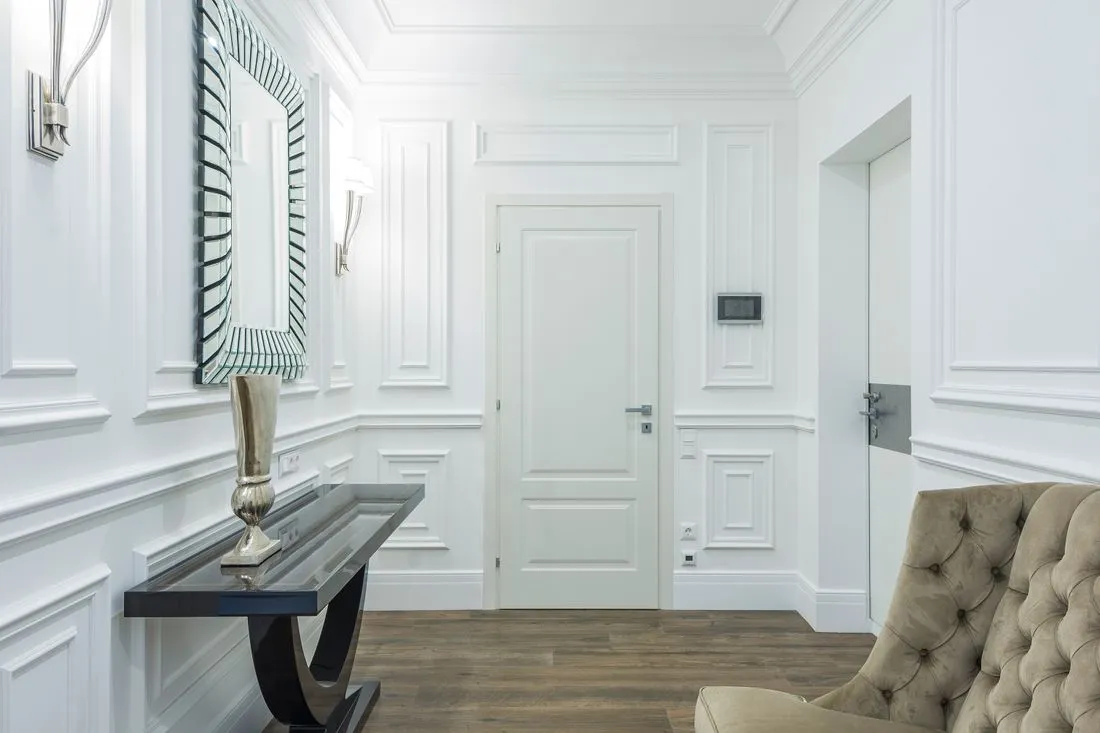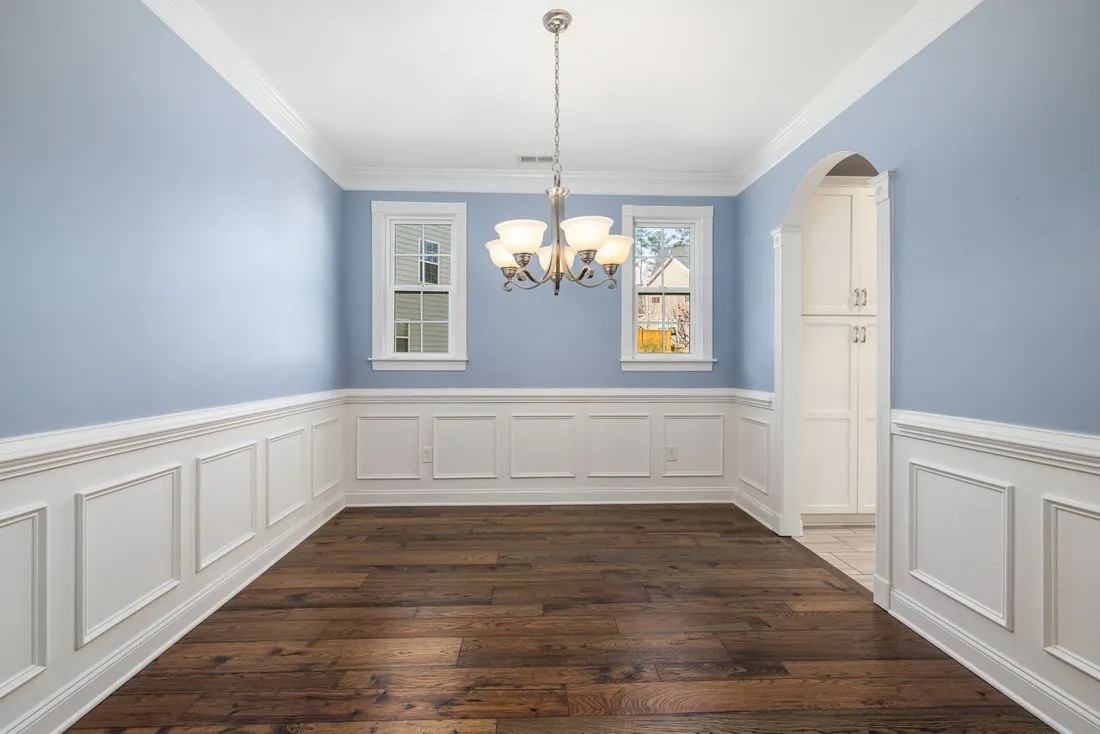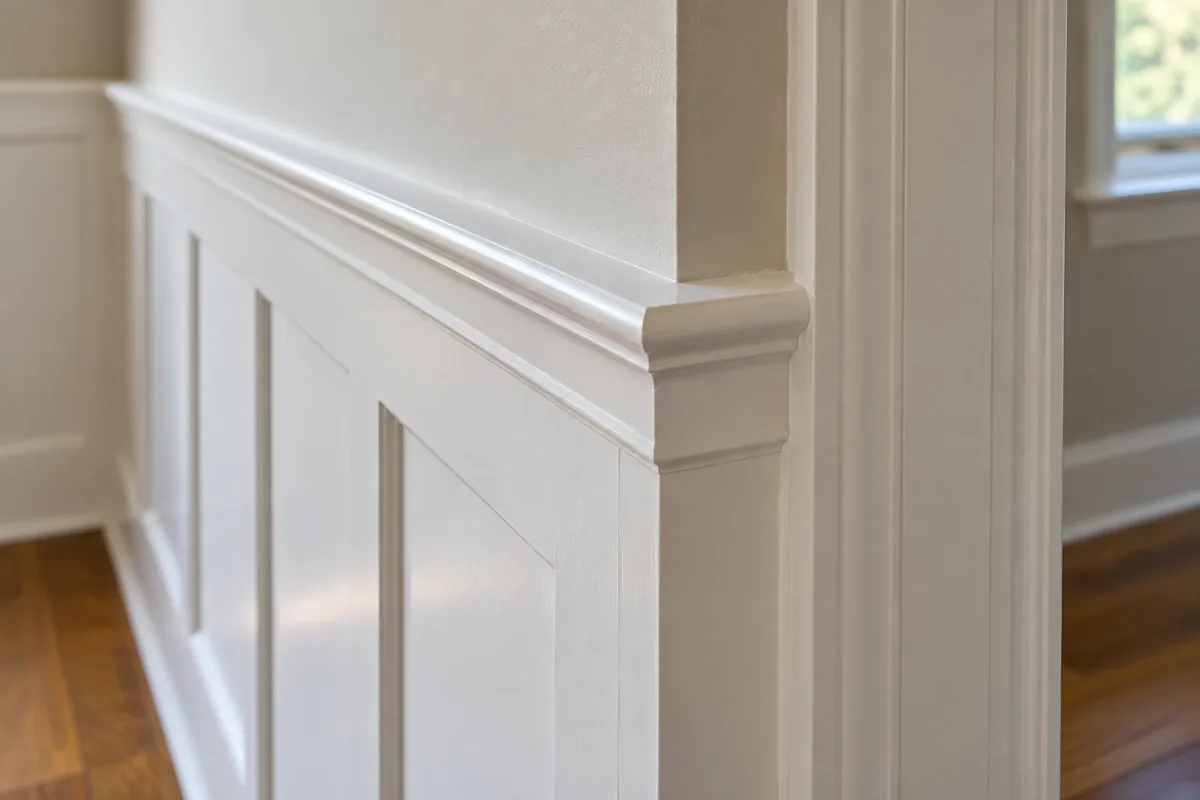
The cap at the top of wainscoting does more than cover an edge. It creates the line that carries around the room and announces where the lower wall treatment ends. Its projection, thickness, and stopping points can matter more than the decorative pattern below.
Begin with the complete wall build-up. Applied frames on drywall need a different cap relationship from thick panels mounted over a backing layer. A cap chosen before those depths are known may leave an exposed edge or sit awkwardly in front of the door casing.
A section drawing is particularly helpful. Show the wall, backing, panel face, and cap. Check whether the cap covers the intended edge without relying on a wide filler seam. Its upper surface should also be considered as a surface that may collect dust or invite objects to be placed on it.
Follow the line to every interruption
At a door, the cap may meet casing that is deeper than the paneling, return toward the wall, or use another planned transition. The correct detail depends on the actual profiles. Avoid cutting the cap flush and discovering that its raw end projects beyond the casing.
At a window, the cap might align with a stool or apron, but a near-alignment can be awkward. Draw the two assemblies together before selecting the height. A small adjustment to the paneling plan can be preferable to adding a collection of tiny transition pieces.
Outside corners expose the profile strongly. Inside corners compress it. Make a sample of whichever condition is most visible in the room, especially if the cap is built from several pieces.
Keep the cap in proportion
A large projecting shelf-like cap can overpower shallow picture-frame molding. A very small strip may look weak above substantial raised panels. Compare the cap to the complete lower wall, not just to a loose panel sample.
If the cap is intended to hold objects, its support and load capacity need to be designed for that use. Decorative molding should not quietly become a shelf because it happens to have a horizontal top.
Paint the mock-up before deciding. A single color can unite a layered cap, while contrasting colors emphasize every step. Record the selected profile, projection, and endpoint details on the same drawing. The long line will look calm only if the places where it stops have been considered as carefully as the straight runs.