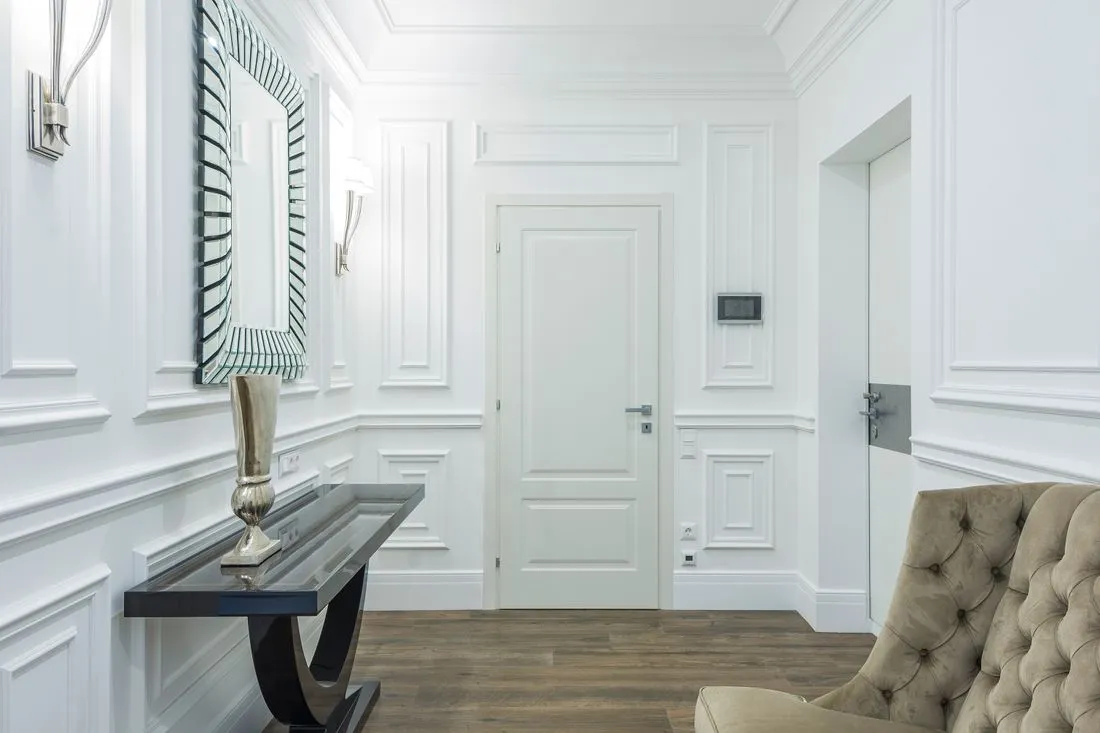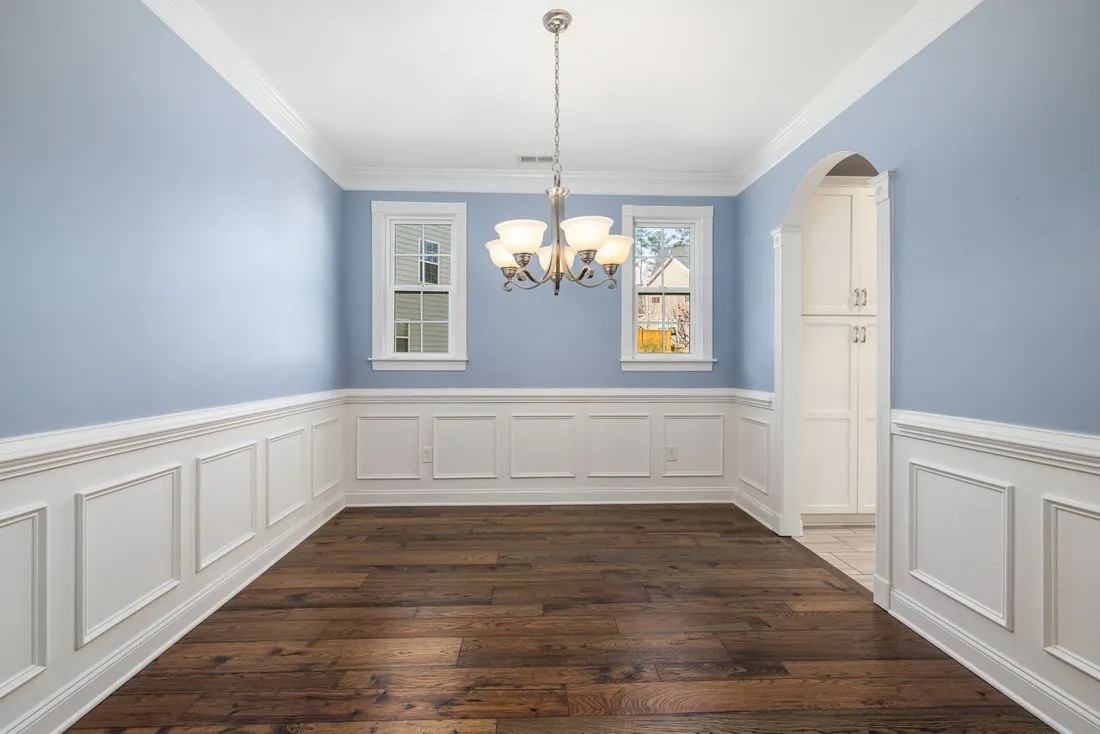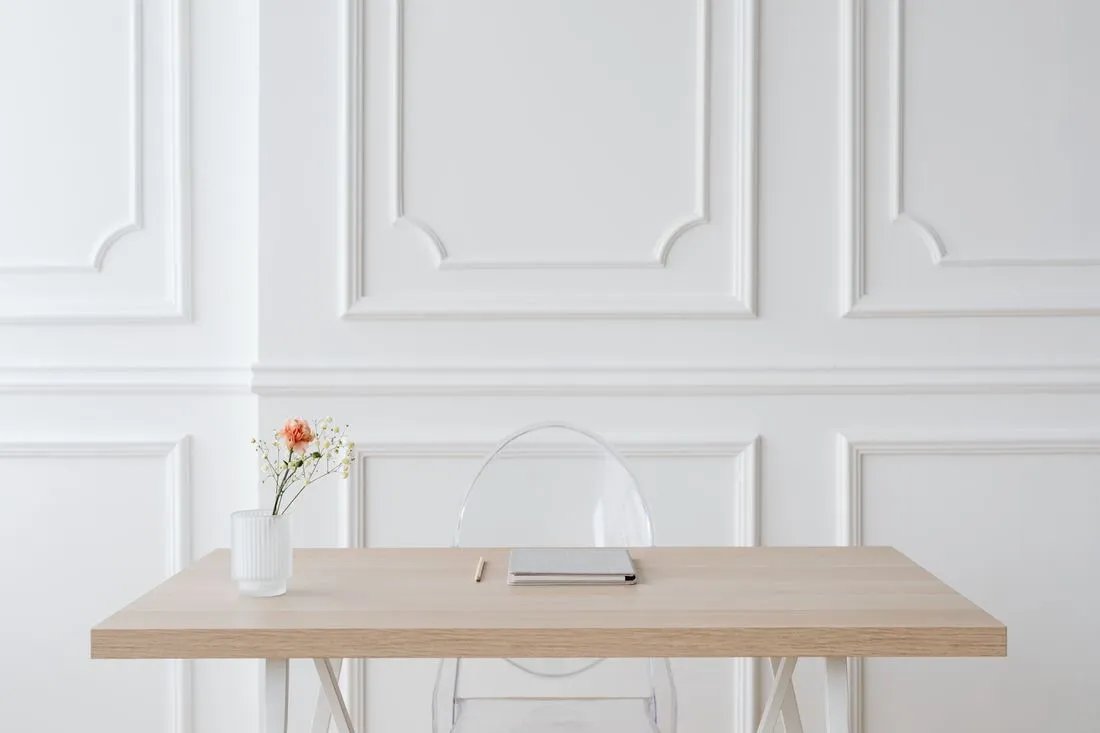
The spaces around picture-frame molding do much of the visual work. A wall can have neatly cut rectangles and still feel crowded because the end margins are too small or the gaps change without a reason. Begin by drawing the empty areas, then fit the frames within them.
Measure the usable wall width between its real boundaries. Those may be corners, door casings, a cabinet, or another architectural feature. Mark switches, outlets, vents, and any furniture that will remain. Do not divide the entire wall into equal boxes before accounting for these interruptions.
Work with outside dimensions
Decide whether your drawing dimensions refer to the outside of the molding or the clear space inside each frame. Outside dimensions are often easier for a first layout because they describe the actual footprint on the wall. Mixing the two conventions will make a carefully calculated plan come out wrong.
Here is an illustrative layout. A wall has 144 inches of usable width. You allow 6 inches at each end and two 5-inch spaces between three frames. The width left for the frames is 144 minus 12 minus 10, or 122 inches. Three equal outside frame widths would therefore be about 40⅔ inches each.
That arithmetic does not prove the layout is good. It only shows what the chosen margins produce. If those frames look too wide for their height, try four frames, different gaps, or a different top and bottom boundary. Keep the dimensions honest while making the design judgment separately.
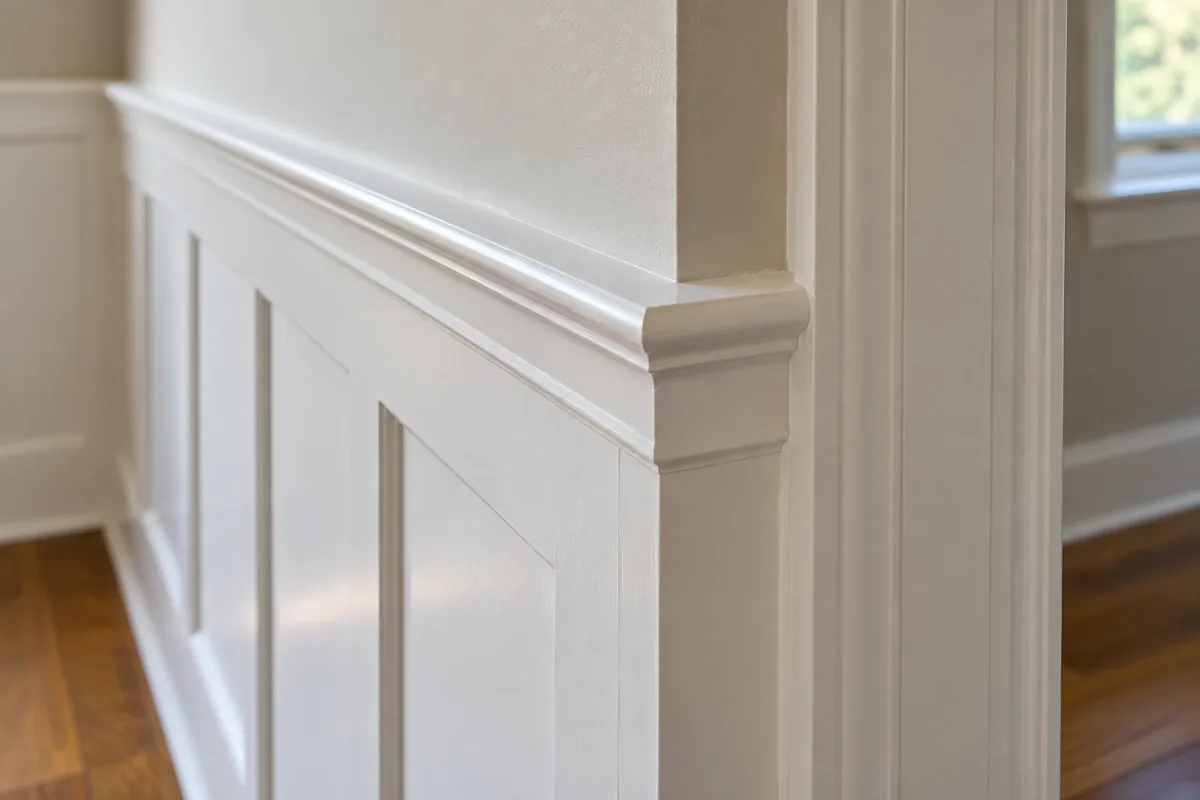
The molding width also changes the opening inside each rectangle. With a 1-inch-wide profile, a frame 40⅔ inches wide outside has an inside opening roughly 38⅔ inches wide. The actual profile and joint arrangement should be checked in the finished drawing.
Tape the lines, not just the centers
Use tape to represent the actual molding width if possible. A single thin pencil line understates the visual weight of a broad profile. Mark the top, bottom, and side margins so you can judge the whole composition from the doorway.
Look at furniture at the same time. A sofa may hide the lower half of a frame, while a sideboard can leave a narrow visible strip that feels accidental. You do not need to center every rectangle over a movable object, but the planned furniture should not be ignored.
Equal frame widths work well on a clear, regular wall. A centered larger frame with smaller side frames can be more suitable where the architecture establishes a main axis. The surrounding gaps often need more consistency than the frames themselves.
Check the edge conditions
At a corner, decide whether the adjacent wall's layout continues the same margin or begins a separate composition. Around a doorway, leave enough visual space between the casing and panel molding for both profiles to read clearly.
Keep electrical plates and access points out of molding paths. If the layout requires equipment to move, have the relevant professional assess that work before installation. Cutting a rectangle around a plate at the last minute usually produces a less convincing wall.
Write the final plan as a sequence of margins, frame widths, and gaps, with a small elevation. Recheck the total against the measured wall. Once that chain adds up and the taped mock-up feels balanced, the cutting list has a sound basis. Perfect miters cannot rescue a layout whose empty spaces were never designed.