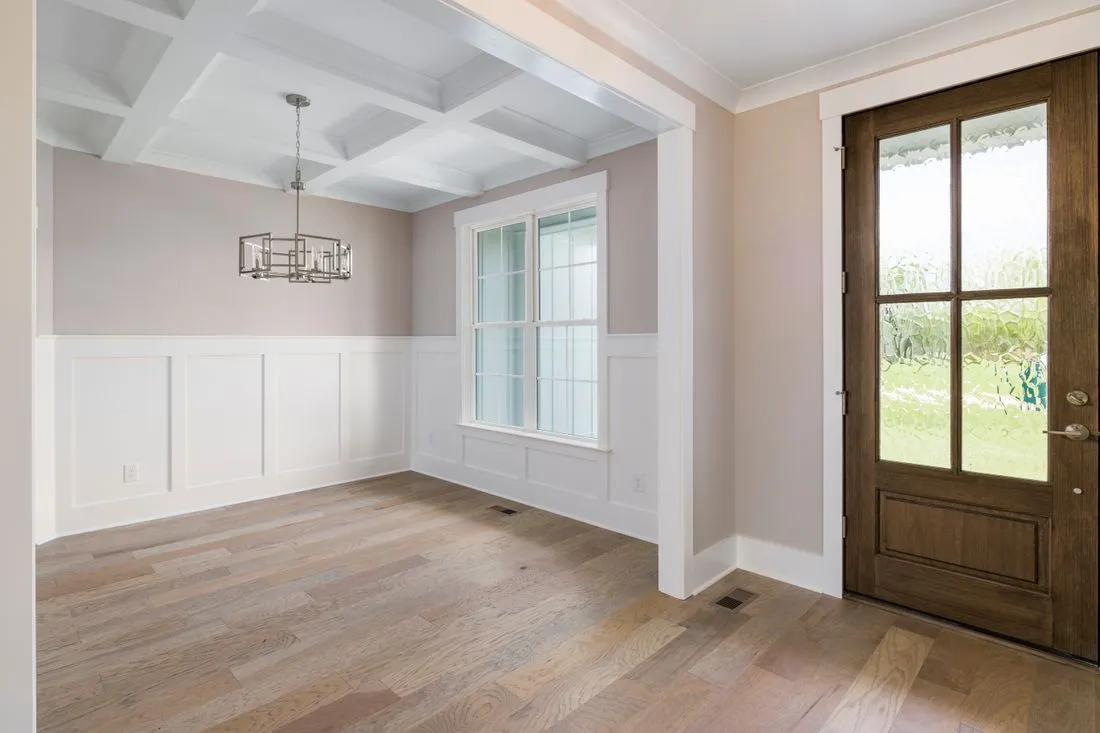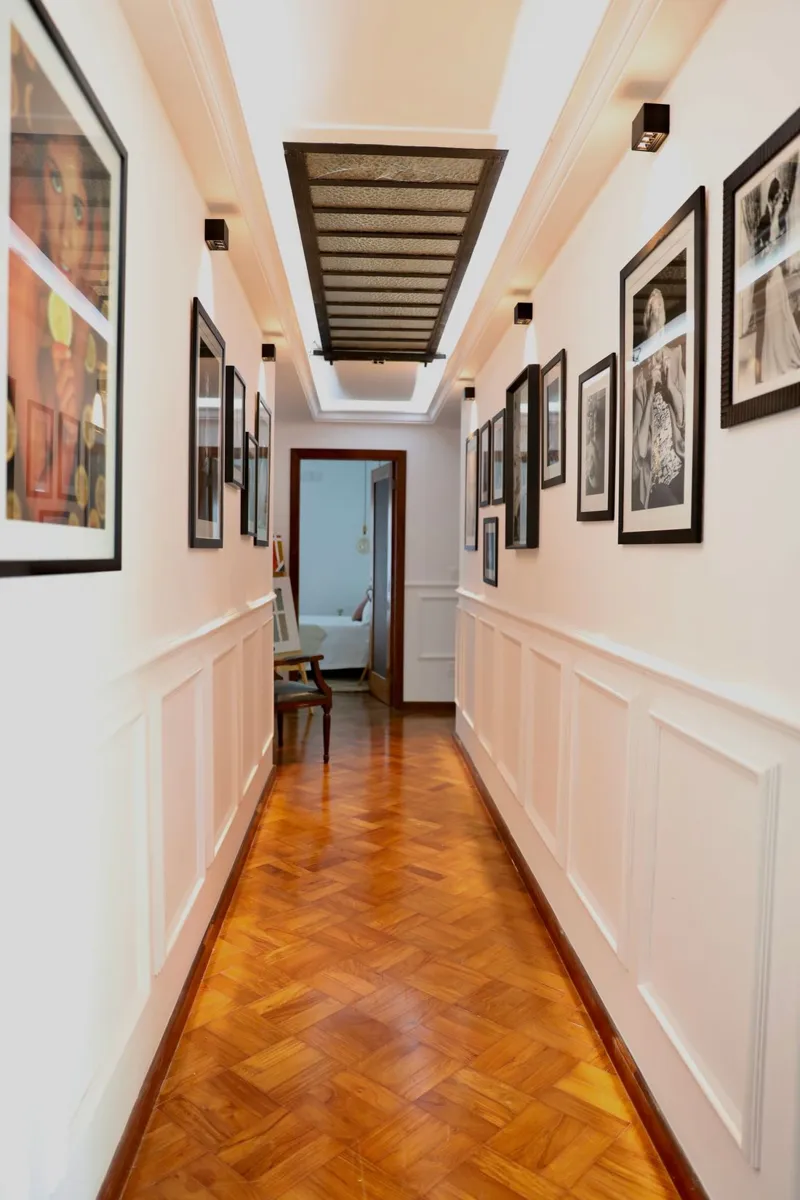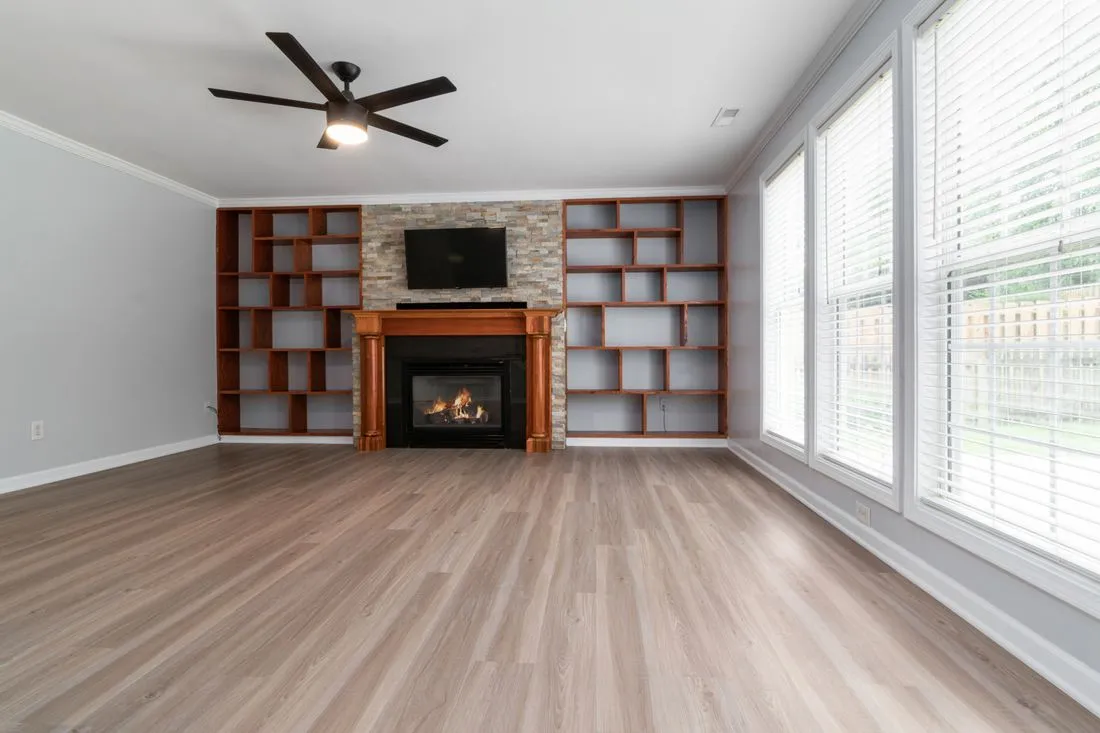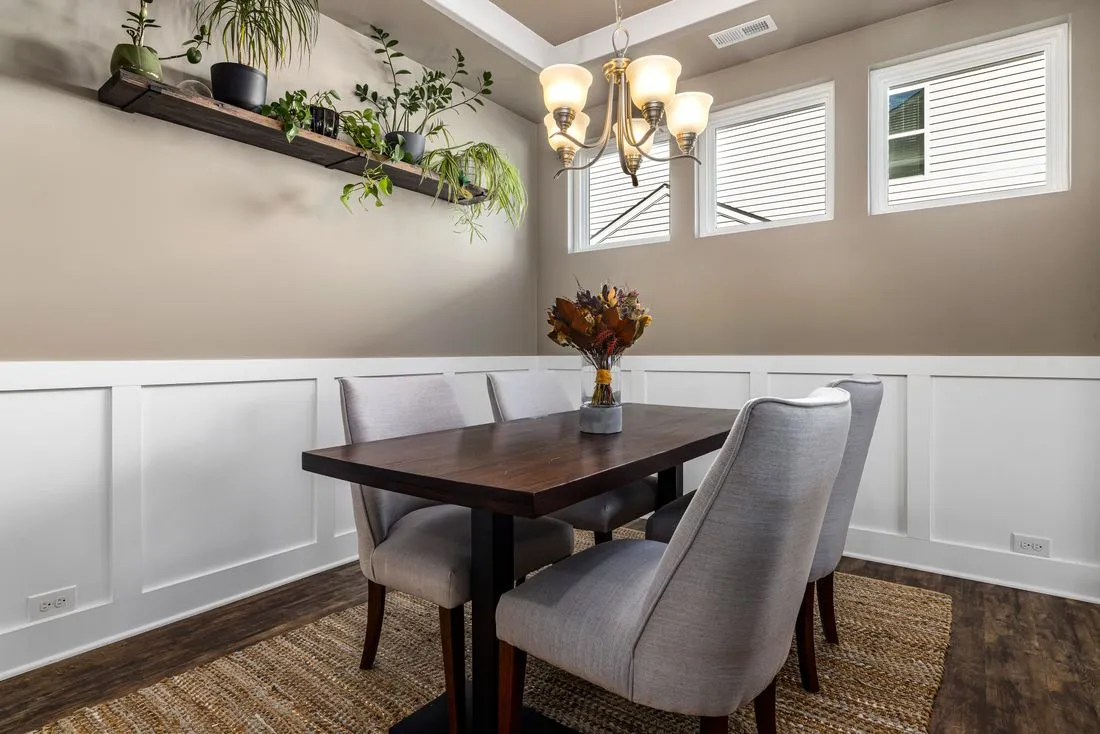
A built-in bookcase can look like part of the room or like a cabinet pushed into a gap. The distinction often comes from a few junctions rather than from elaborate decoration. Look at where the base meets the floor, how the outer side meets the wall and what happens above the unit.
Decide which piece receives the other
At floor level, the room baseboard might stop against a cabinet side, continue across a designed plinth or return at the edge. These are different details. Choose one before finalizing cabinet dimensions. A tall baseboard cannot be assumed to fit beneath doors or across a recessed toe space intended for another purpose.
Measure the full profile depth at the junction. If the baseboard projects beyond the cabinet side, the exposed end needs a deliberate treatment. A matching paint color may soften the difference, but it will not hide a raw end or make incompatible depths disappear.
Align the lines that are actually visible together
A cabinet top, a window stool and a wall rail may all be seen in the same view. They do not have to share one height. However, lines that nearly align can look accidental. Adjust the composition where possible, or leave a clear enough difference that each element reads as intentional.
For a bookcase beside a window, sketch the side elevation as well as the front. The window casing may project farther than expected, affecting shelves, side panels or curtain space. Include the curtain stack and any handles that need to remain accessible.
Keep function out of the decorative compromise
Built-ins can contain equipment, outlets or access points. Their ventilation and service requirements need to remain available after the trim is installed. Do not cover an access panel to preserve a continuous molding line. Plan a proper removable or accessible detail with the relevant installer instead.
Furniture and cabinetry also need suitable fixing. Decorative trim is not automatically a structural support or an appropriate anchoring surface. Follow the unit's installation requirements and resolve wall conditions before treating the outer edges as a finishing task.
Sketch the last few inches
For a built-in ending beside a door, draw the cabinet side, a possible filler, the casing and the wall space between them at a larger scale. Those last few inches contain most of the conflict. A cabinet door may need opening clearance that is not apparent when looking at the closed front, and a handle can swing farther than the door panel itself.
A filler is not simply wasted space if it provides necessary opening clearance or a clean scribing area. Its width should follow the actual cabinet hardware and wall condition. Ask the cabinet supplier or installer to confirm the requirement instead of adopting the narrowest gap that looks neat on paper.
Where the room trim and cabinet have different finishes, decide which face owns the junction. A clear boundary at the cabinet side is often easier to finish and maintain than a small overlapping strip painted partly in each color. Build or tape a physical mock-up if the layers are hard to understand in a drawing.
When the main junctions are settled, simplify the rest. A cabinet with paneled doors may sit comfortably beside plain casing if they share a finish and restrained proportions. The room feels connected when its lines meet cleanly, not when every surface carries the same ornament.