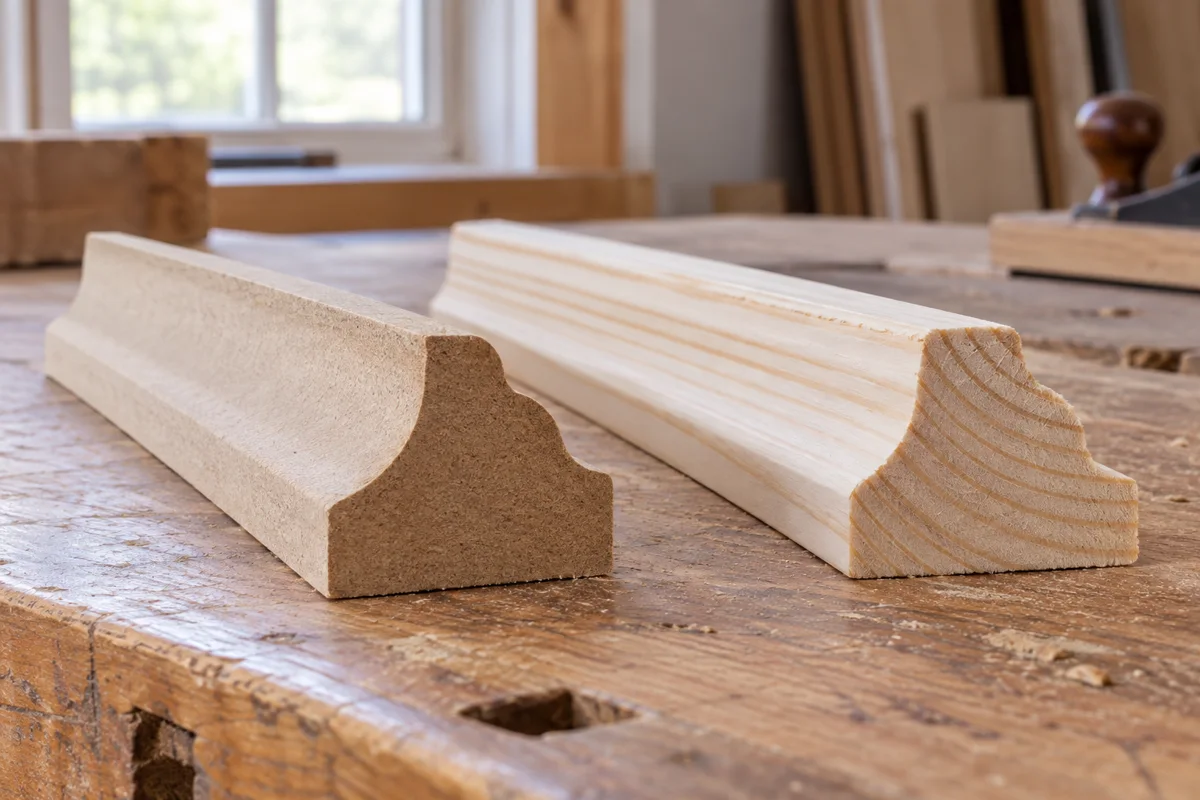
A product listing may give a molding's overall height and thickness, yet those two numbers do not describe every junction. A shaped casing might be thick at its outer edge and much thinner beside the door jamb. A baseboard with the same maximum thickness can still project beyond it where the pieces actually meet.
Measure the connection, not just the largest dimension. Begin with a cross-section sample or a clear manufacturer drawing. Identify the face, back and intended orientation before transferring any dimensions to a room sketch.
Three useful measurements
Overall height tells you how much wall the piece covers. Maximum projection tells you how far its proudest point sits from the backing. Edge thickness tells you what an adjoining piece will encounter at the specific meeting point. A recessed back can add another complication if the piece does not sit against the wall the way its outline suggests.
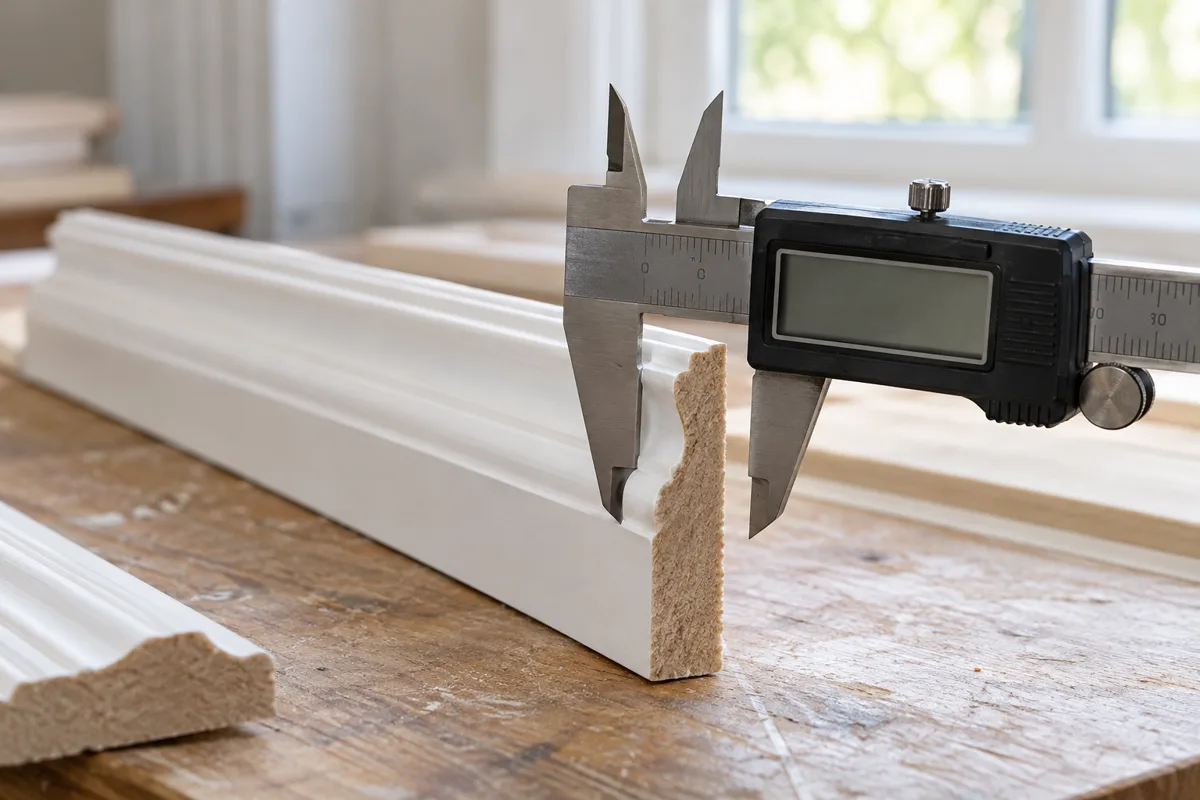
A caliper is useful for a loose sample, while a small square and ruler can reveal relationships between surfaces. Avoid pressing the measuring jaws so hard that they dent a soft material or distort a flexible sample. Write the measured location beside the value; an unlabeled thickness is easy to misinterpret later.
For installed trim, measure only what can be reached without damaging old coatings. If the profile is partly buried beneath paint or caulk, a supplier's drawing or an undisturbed spare may be more useful than trying to expose the edge.
Check the assembled result
Place two samples in their intended relationship. This catches details that separate measurements miss, such as a bead that touches before the flat surfaces align. If the joint requires a plinth block, backband or return, include that piece in the mockup rather than leaving it as a future improvisation.
Do not rely on nominal board names. A listed size may not equal the finished dimension, and similarly named profiles from different manufacturers may differ. Record the actual product identification as well as your measurements.
When ordering a replacement, give the supplier a cross-section tracing or photograph with a scale, plus the dimensions that matter. A photograph without a reference can make two very different sizes look alike.
As a simple illustration, imagine a baseboard with a maximum projection of three-quarters of an inch and casing advertised with the same maximum thickness. If the casing is only one-half inch thick where the baseboard actually ends, the baseboard still projects one-quarter inch beyond that edge. The matching maximum dimensions did not describe the meeting point.
The response might be a different casing, a compatible plinth detail or a changed baseboard. The illustration is not a recommended size combination; it shows why measuring the local edge answers a question that the catalog's two headline dimensions cannot.
Finally, allow for the installed surface. A heavy old paint build-up, an uneven wall or a backing layer can change the apparent projection. The aim is a compatible finished junction, not merely a pair of matching numbers in a shopping cart.