When the last coat is on and the tools are packed away, it is tempting to discard the scraps and move everything back. Keep a few things first. A small record of the installed materials can turn a future repair from a guessing exercise into a straightforward purchase.
Save what identifies the finish
Photograph the complete paint label, including product range, color formula and sheen. Record the primer too, along with any special preparation used. A color name without the product line may not reproduce the same result, and a different sheen can make a touch-up stand out even when the color is close.
Store leftover coatings only as directed by their labels and local disposal guidance. Keep containers securely closed and clearly identified. A small labeled sample board is useful even if keeping liquid paint is not practical. It gives you a physical reference that is more reliable than a phone photograph for comparing finishes.
Keep a profile reference
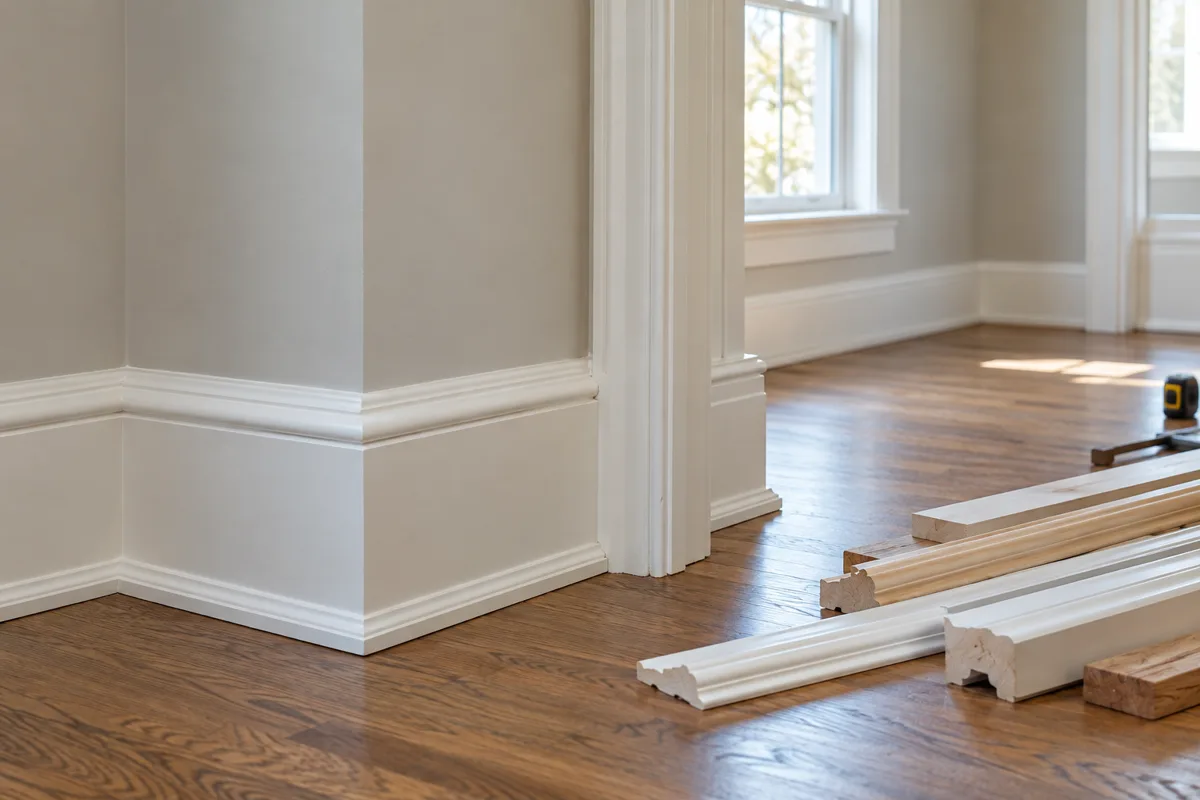
Retain a short clean offcut of each important molding, marked with its supplier and product code. Include dimensions and material in a simple written schedule. For a built-up detail, photograph the assembly or keep a sketch showing the order of the pieces. The finished front view may not reveal how many parts were used.
Record any deliberate exceptions: a different material beside a wet area, a special return at a cabinet or a retained original section that does not match the new stock. These are easy to forget once the whole room is painted the same color.
Inspect before the furniture hides the edges
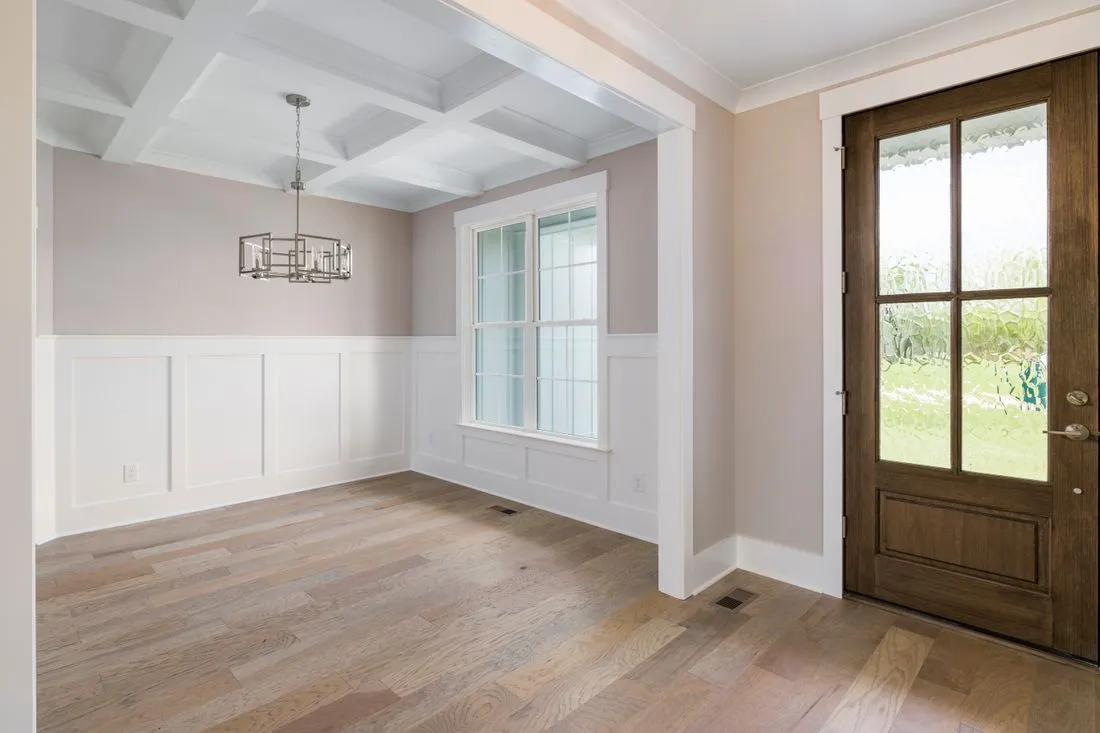
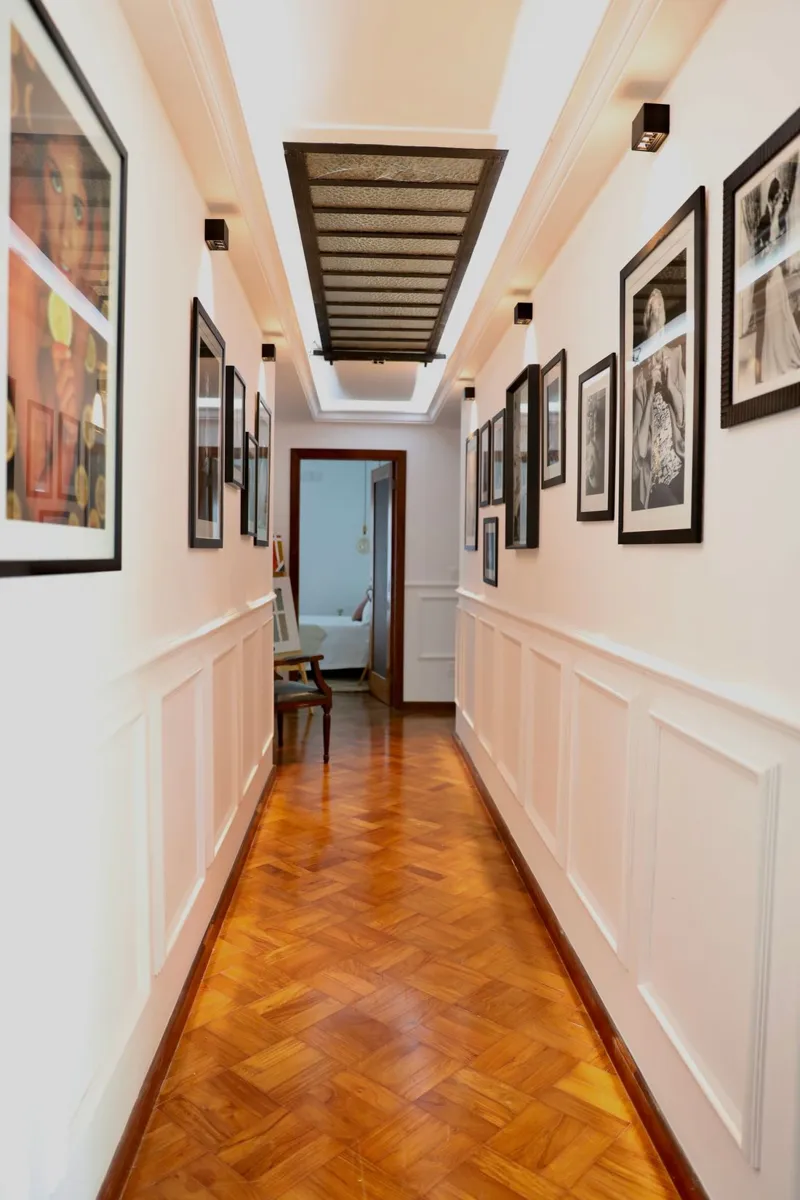
Walk the room in ordinary daylight and with its normal lighting. Look at corners, exposed ends and the junctions around doors. Check that doors, drawers and required access panels still operate. If someone else did the work, agree on any remaining corrections while the scope is fresh and the details are visible.
Ask for the coating's curing and cleaning instructions, not merely the time when the surface felt dry. Keep the information with the project notes. A freshly finished edge may need gentler treatment than the same coating after its full curing period.
Finish the record with a few close photographs of representative joints and one wider photograph of each wall. Label them by room. You do not need a large archive; you need enough information for someone to identify the material, understand the detail and make a compatible repair without starting the design process again.