Multiply a room's perimeter by a molding price and you get a material allowance, not a project budget. That first calculation is useful, but it leaves out the details that often decide whether a trim update stays manageable: how many joints are needed, what the wall is like and how much finishing the new work requires.
Count lengths and interruptions separately
Record the wall runs that actually receive baseboard, then note doors, cabinets and other interruptions. For casing, measure each opening rather than using the floor perimeter. Add a small sketch beside unusual junctions. A short wall with several returns can require more fitting than a longer straight run.
Stock comes in particular lengths. Your cutting plan, the condition of the boards and the number of joints affect how efficiently those lengths can be used. Do not apply a single waste percentage as if it were a guarantee. Lay out the longest required pieces against the lengths available and allow for the saw kerf, damaged ends and reasonable mistakes.
Price the whole assembly
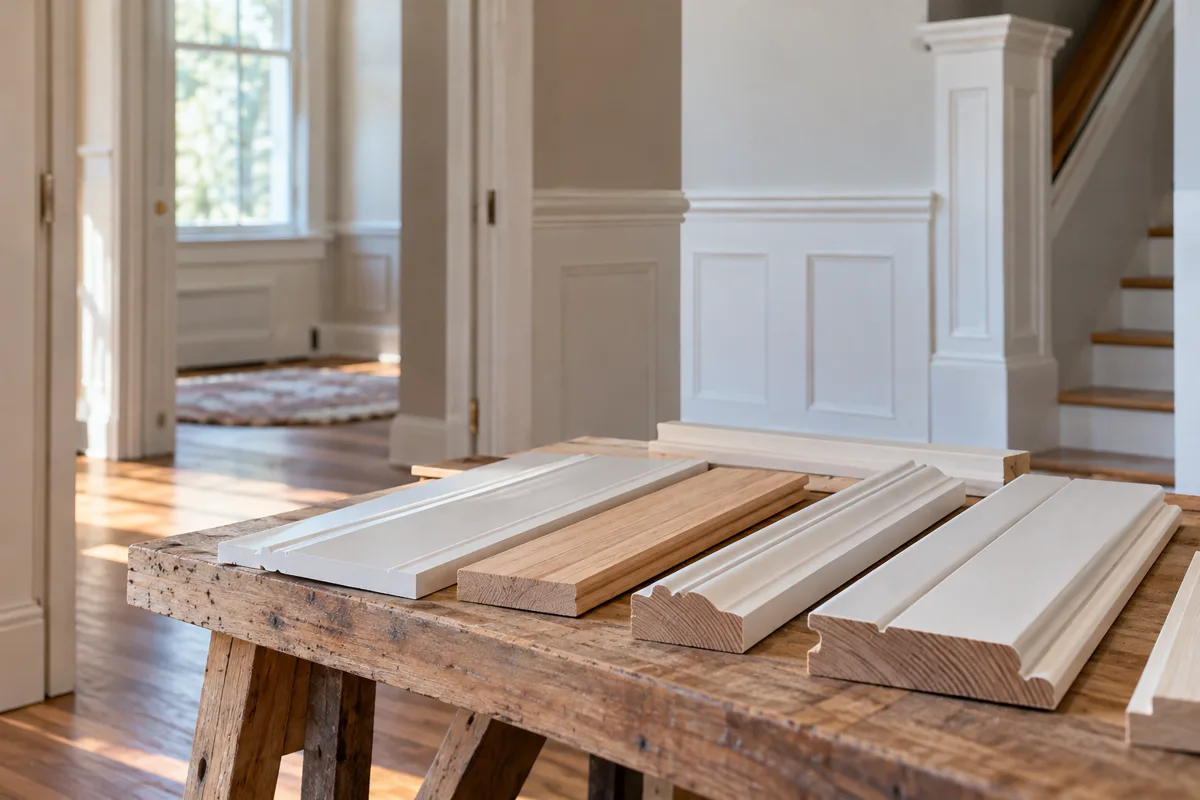
A photographed detail might contain a flat board, a top cap and a separate shoe. Check whether the price you found covers one of those pieces or all of them. Add blocks, returns, adhesives and suitable fasteners where the chosen system needs them. Include sample material; finding an unsuitable profile before ordering the room is usually preferable to discovering it during installation.
Finishing has its own materials and time. Factory-primed stock may still need preparation and finish coats. Raw wood, stain-grade work and a change from an unknown old coating each present different tasks. Consumables such as masking materials, abrasives and brushes are small individually but should not disappear from the estimate.
Separate known work from possible repairs
Removing existing trim can expose damaged plaster or an old paint edge. List the repair work you already know about, then keep a separate allowance for uncertainty. In older US housing, possible lead paint needs to be addressed before disturbance; a low materials budget is not a reason to skip safe assessment and work practices.
When comparing contractor quotes, provide the same scope: profile, material, rooms, removal, disposal, wall preparation, priming, finish coats and cleanup. Ask what is excluded. Two totals can look very different simply because one includes painting and the other ends with installed but unfinished woodwork.
A simple cutting-plan comparison
Imagine two wall runs of eleven feet and two runs of seven feet, with no door deductions in this simplified example. The total is thirty-six feet. Buying three twelve-foot boards also totals thirty-six feet, but it does not provide all four runs as single pieces: two boards go to the eleven-foot walls, leaving one twelve-foot board for fourteen feet of shorter walls. Total footage alone has concealed the problem.
Four twelve-foot boards would provide all four uninterrupted runs, with offcuts left over. A different available stock length or an acceptable planned joint could change the order. Write the arrangement down before deciding which purchase is less wasteful. Allow for cutting loss and actual usable lengths; the arithmetic is a planning illustration, not a promise that a nominal board yields its entire stated length.
Then compare the complete alternatives. More stock with fewer joints may save fitting and finishing time. Less stock with more joints may be worthwhile in a low-visibility location, but not if it creates a conspicuous seam in the room's main sightline. A good budget makes that trade visible rather than hiding it inside a single cost-per-foot figure.
Finally, identify the detail you would simplify if costs rise. Keeping the existing door casing, reducing stacked layers or completing one room first are clear scope decisions. Cutting necessary preparation from the budget tends to move the expense into repairs later.