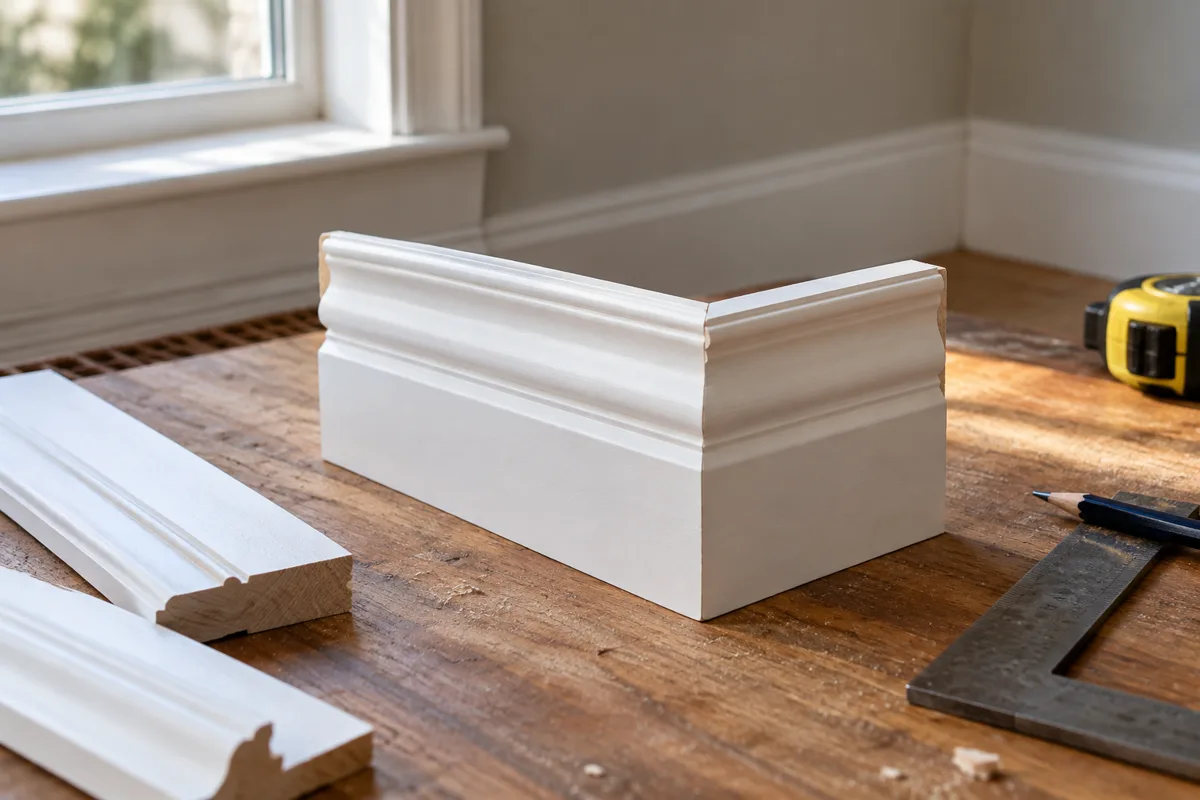
Loose molding samples are useful, but they leave the most important question unanswered: how will the pieces meet? A small sample board turns a collection of profiles into a miniature section of the room. It can show the casing, baseboard, reveal, and any cap or shoe in one view.
Choose a stable backing large enough to hold a meaningful junction. The board is a visual and coordination tool, not a test of the final wall's fixing strength. Label the front with the room or scheme name and the back with each product reference.
Build the difficult meeting first
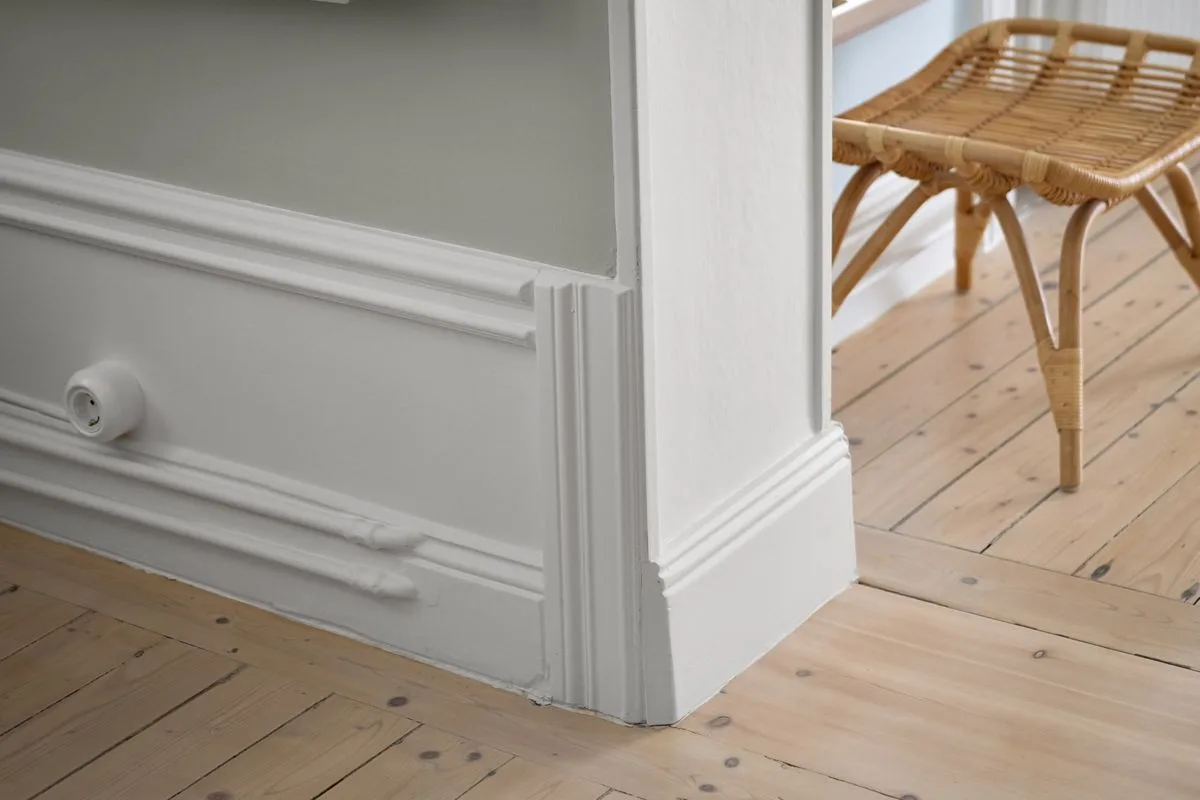
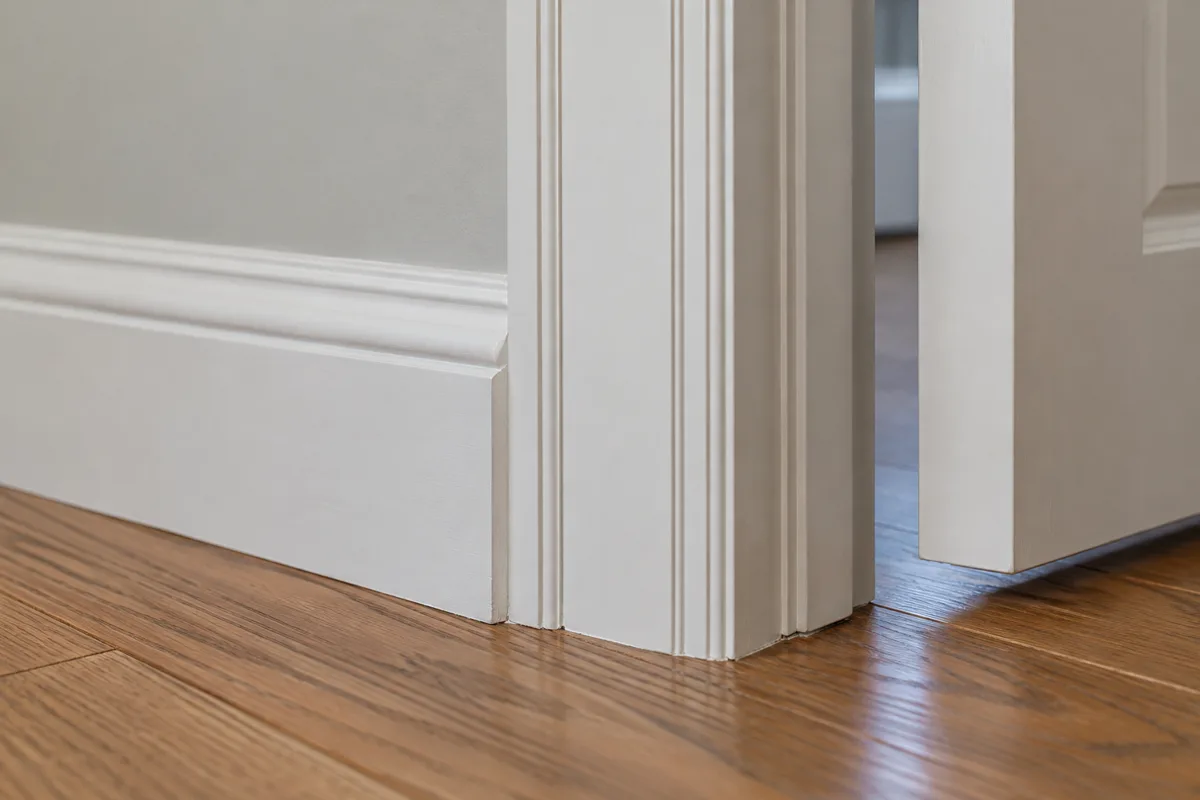
For most rooms, start with the foot of a doorway. Place a casing sample vertically and bring the full baseboard assembly into it. Add a plinth or backband only if it belongs in the proposed design. This reveals projection differences that are easy to miss in separate catalog images.
A second small assembly can show an upper corner. Compare a mitered frame with a square-jointed head if that choice is still open. Include enough length on each side to understand the proportions, rather than making a tiny joint that cannot be read from a few steps away.
Keep competing choices on separate boards or clearly separated halves. If one sample has a taller baseboard, a different color, and an extra cap, you will not know which change caused your preference. Alter one major variable at a time where possible.
Finish it as the room will be finished
Apply the intended primer and finish system to the sample materials, following the product directions. A factory-primed board beside raw pine is not a fair comparison. Include a patch of the wall color and a flooring sample nearby.
Allow the finish to develop before judging it. Fresh wet paint can exaggerate sheen and depth. View the board upright in the room, not flat on a workbench, and look at it in daytime and under the planned evening lighting.
Record observations directly on a removable note: too much projection at the casing, cap shadow too strong, baseboard feels narrow beside the floor pattern. Specific notes are more useful than “version two looks better.”
For example, if a plain base feels too heavy, compare a slightly shorter board before adding decorative grooves. If the casing seems weak, test its thickness before increasing width. The sample helps separate dimension problems from profile preferences.
Keep the approved piece
Photograph the final assembly with a ruler and retain the physical sample until the project is complete. A written product code is valuable, but the sample also records the relationship between products and the intended finish.
When work is done in stages, this becomes a reference for later rooms. It prevents a supplier substitution or a different painter's interpretation from gradually changing the design. It also makes discussion with an installer concrete: the target is visible, rather than hidden inside a phrase such as “simple but substantial.”
A good sample board does not need to be elaborate. It needs to represent the real junctions closely enough that the expensive decisions are made while the materials are still short offcuts.