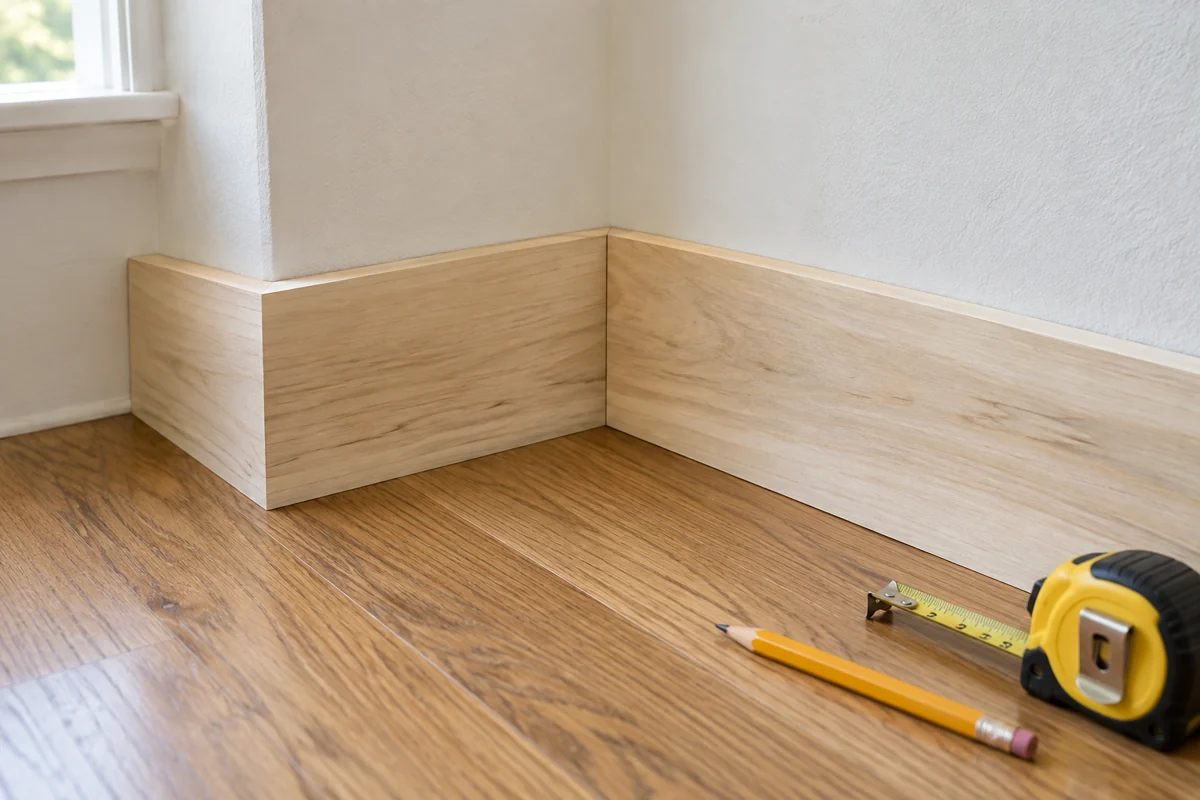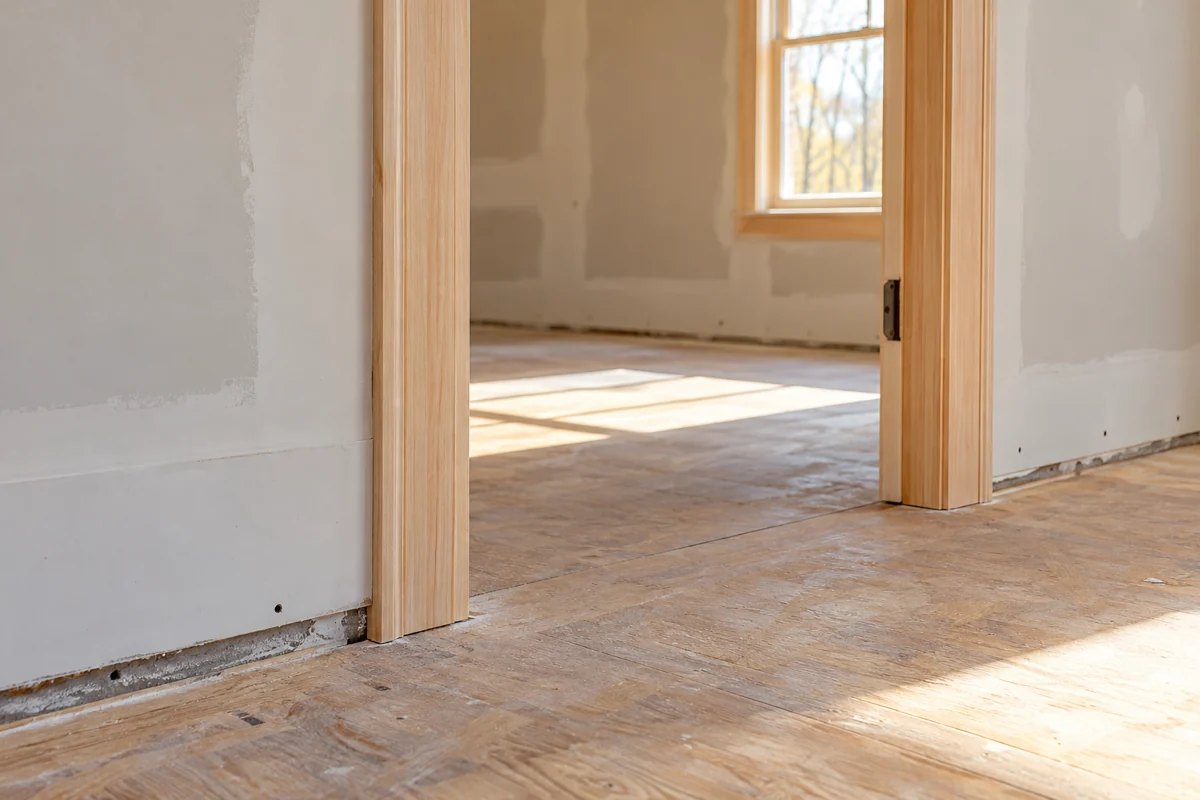
Replacing trim is easier to organize when it is treated as a set of connected details rather than a pile of separate boards. A doorway determines where baseboard stops. A new floor changes the height of that meeting. A finished wall changes how much repair is acceptable around the top edge. Make those dependencies visible before removing anything.
Begin with a room survey. Record the trim to remain, the pieces to replace, the flooring plan and any doors or windows that need attention. Identify moisture damage, loose plaster and uncertain old coatings. These conditions can change the scope more than the choice of profile does.
If the house predates 1978 or the coating history is unknown, address lead assessment before disturbing paint. Similarly, hidden services and damaged wall construction need appropriate evaluation. A cosmetic sequence is not a substitute for resolving those issues.
Establish the fixed relationships
Consider a room receiving new casing, baseboard and flooring. The casing thickness needs to suit the baseboard at their meeting. The finished floor level needs to be understood before the bottom of either is detailed. The flooring manufacturer's expansion and installation requirements must remain intact; trim must not trap a floor that needs to move.
A common workable approach is to settle the opening trim before fitting baseboard between openings. That is a planning relationship, not an instruction that every project must follow the same chronology. Existing casing may remain, a floor may be installed later, or a particular system may need a different order.
Make one complete doorway-to-floor mockup if the junction is uncertain. Include the actual flooring thickness, underlayment where relevant, casing, baseboard and any separate shoe. Looking at those pieces together can prevent an otherwise invisible mismatch from being repeated around the room.
Separate fitting from final finish
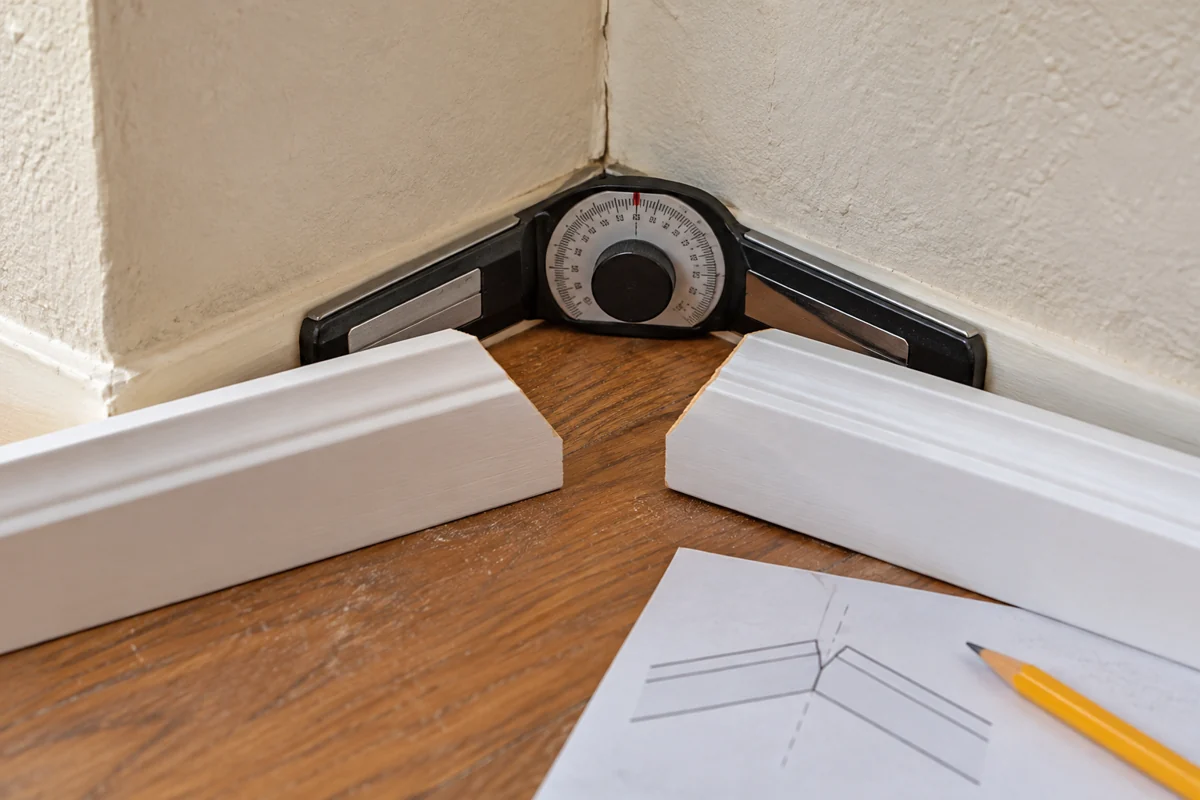
Measure and label the pieces, then dry-fit important joints before committing to permanent fastening. A good sequence leaves access to adjust the neighboring piece. Fastening one side of a difficult corner completely can make the second side unnecessarily hard to fit.
New rigid trim may be partly finished before installation when its product instructions allow. That can make painting broad faces easier, but cut ends, joints and fastener locations still need attention afterward. Flexible products may require a different finish sequence. Decide this from the actual material rather than an assumed rule about painting first.
Allow the specified time between filler, primer, caulk and finish operations. “Ready for the next step” depends on the product, application and room conditions. Do not schedule several incompatible wet stages back to back simply because the room is small.
A realistic one-room handoff
Imagine a bedroom with sound existing doors but a new floor and new baseboard. The useful handoff is a measured floor level and confirmed perimeter detail before baseboard cutting begins. If the floor installer expects to add shoe molding and the trim installer assumes none, that disagreement should be resolved on the drawing, not after paint.
Before the final coating, inspect the assembled trim under ordinary room light and light falling along its length. Check joints, transitions, exposed ends and moving doors. Make corrections while the finishing equipment is still available.
Return furniture only when the coating is ready for the expected contact. Keep the finish and material records together. The room is complete when the connected details work as intended, not merely when the last board has been attached.