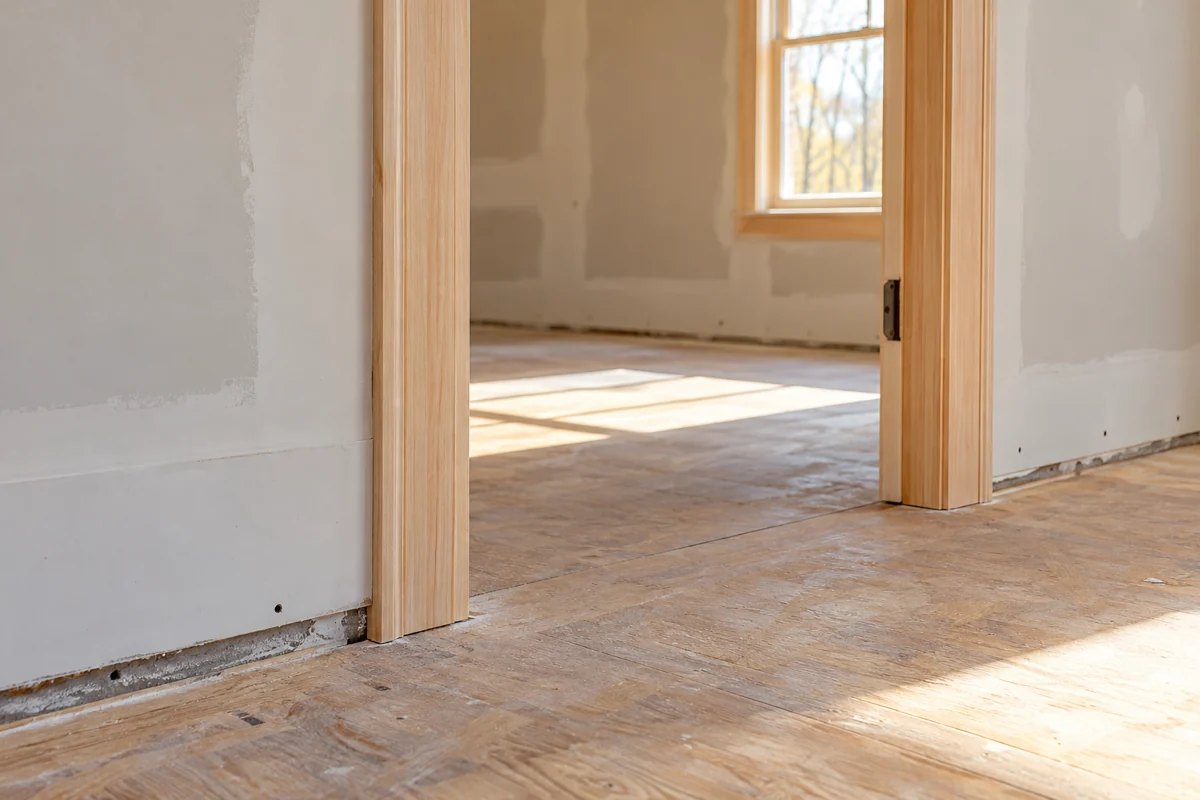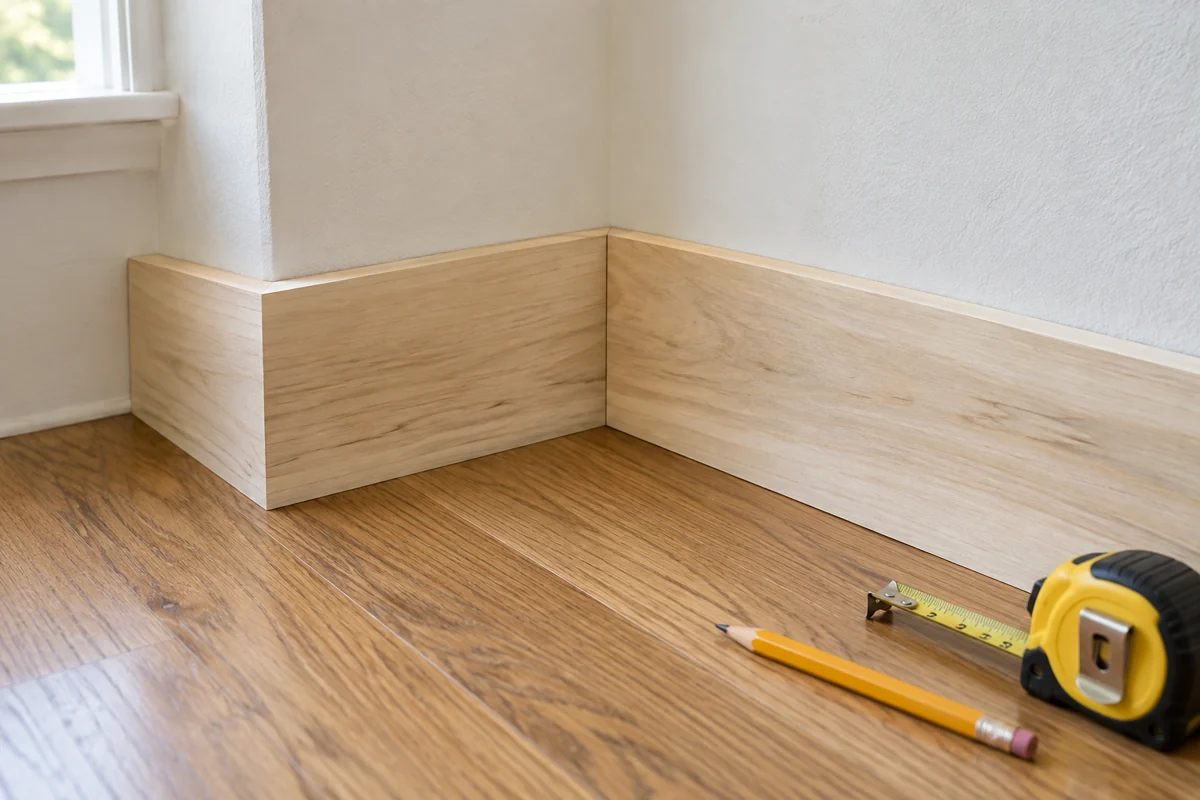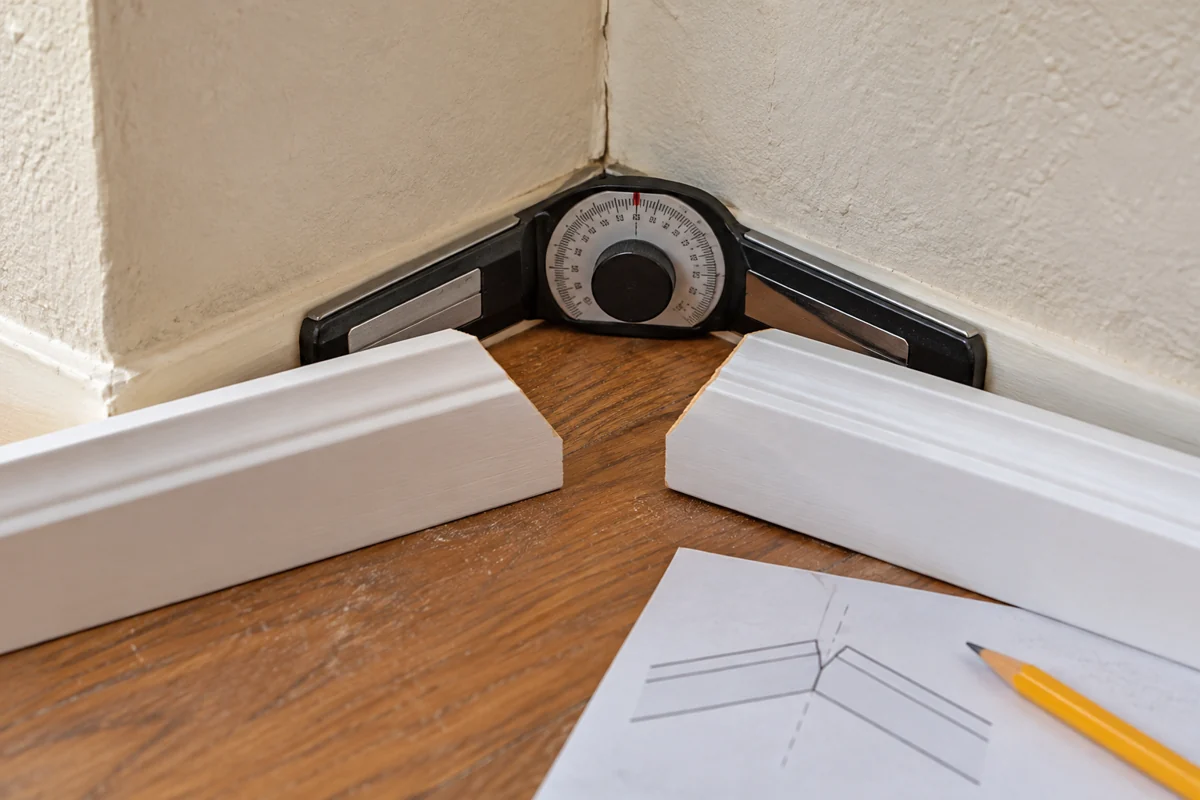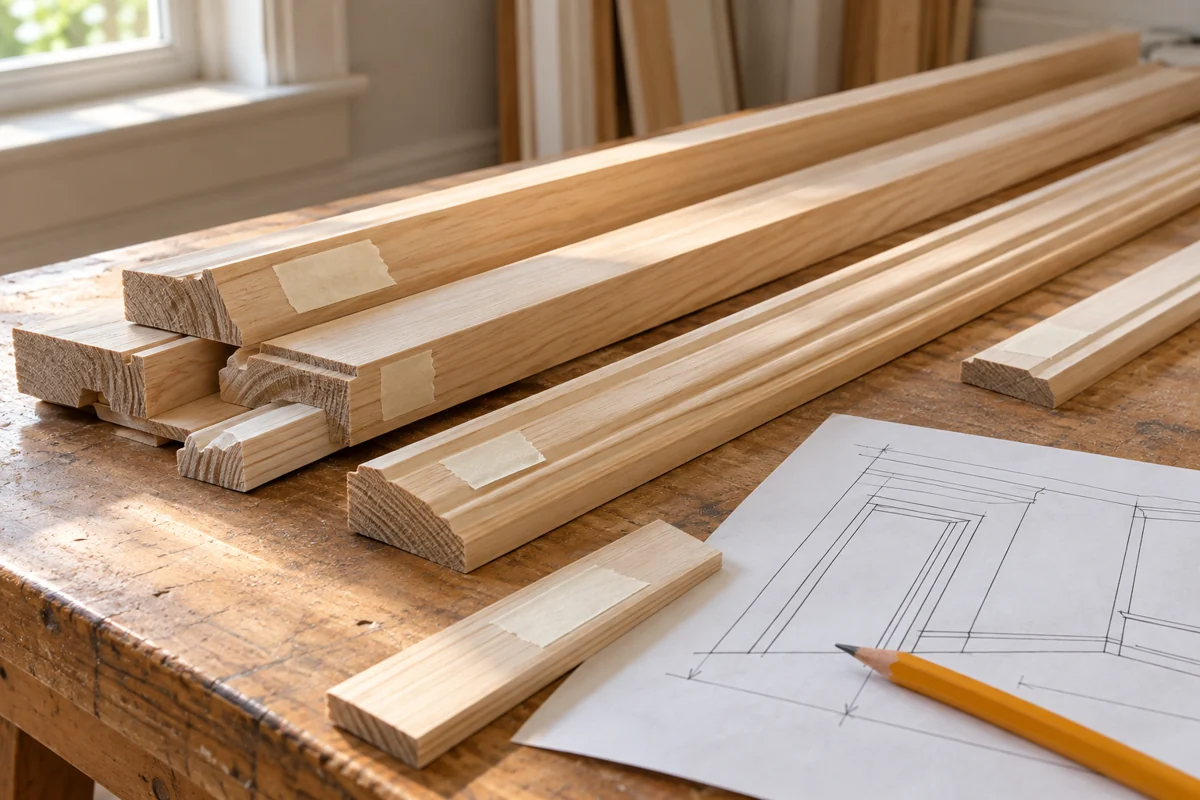
Several lengths of white molding on a bench can become surprisingly difficult to tell apart. One belongs beside the closet, another has a carefully fitted inside end, and a third is the practice piece that almost worked. A clear physical labeling system prevents the cut list from losing its connection to the material.
Begin with a simple wall code from the room drawing. Add a piece number where a wall contains several sections. Put that code on the actual board before it leaves the measuring or fitting stage. The label should identify the destination without relying on a memory of its approximate length.
Choose a safe marking surface
The back is often a useful place for a pencil mark, provided it remains visible when needed and does not interfere with a bonding surface. For a finished or delicate product, ask which temporary marking methods are appropriate. Test any tape or marker first; adhesive residue, staining and ink bleed can turn a helpful label into a finishing problem.
Avoid writing on a face that will receive a light-colored coating unless the marking method is known to be compatible. A heavy felt-tip line can persist through later coats. A small pencil code on a suitable hidden area is usually easier to manage than a large improvised label.
Do not place important information only on an end scheduled to be cut away. Put the destination farther along the usable piece, and transfer it if the piece is shortened again. Otherwise the neatest part of the labeling system may end up in the scrap bin.
Record orientation, not just location
A wall code does not tell you which edge faces upward. Add a clear orientation arrow and identify the face where the profile is easy to reverse. Label left and right from a defined viewing direction, such as looking at the wall from inside the room. Mixing the installer’s left with the drawing’s left can undo an otherwise careful system.
For a fitted corner pair, give both pieces a shared corner code as well as their wall destinations. Keep them together on the rack. Mark a successful test sample distinctly so that it is not mistaken for a final piece or discarded during cleanup.
Imagine two casing legs of almost equal length. One was fitted to a slightly uneven floor, and the other has the opposite top joint. A simple pair of labels—opening code, side and top arrow—preserves those differences when the pieces are carried away for painting. Length alone would not.
Separate usable offcuts from experiments
Mark a sound remainder with its profile and usable length if it is worth keeping. Identify failed test cuts as scrap. A short piece with an attractive face may still have the wrong end geometry, and reusing it without checking can carry an old mistake into a new joint.
Keep the rack organized by room or opening rather than piling everything into a mixed stack. Protect finished faces and avoid loose labels that can fall off during handling. If another person takes over the work, explain the few codes in use and leave a written key.
Before final fastening, compare the code with the destination and dry-fit the piece. Labels reduce confusion; they do not replace the fit check. Once installation is complete, retain a small labeled spare and the final cut-list notes. The same system that prevented a reversed piece today can help identify a replacement years later.