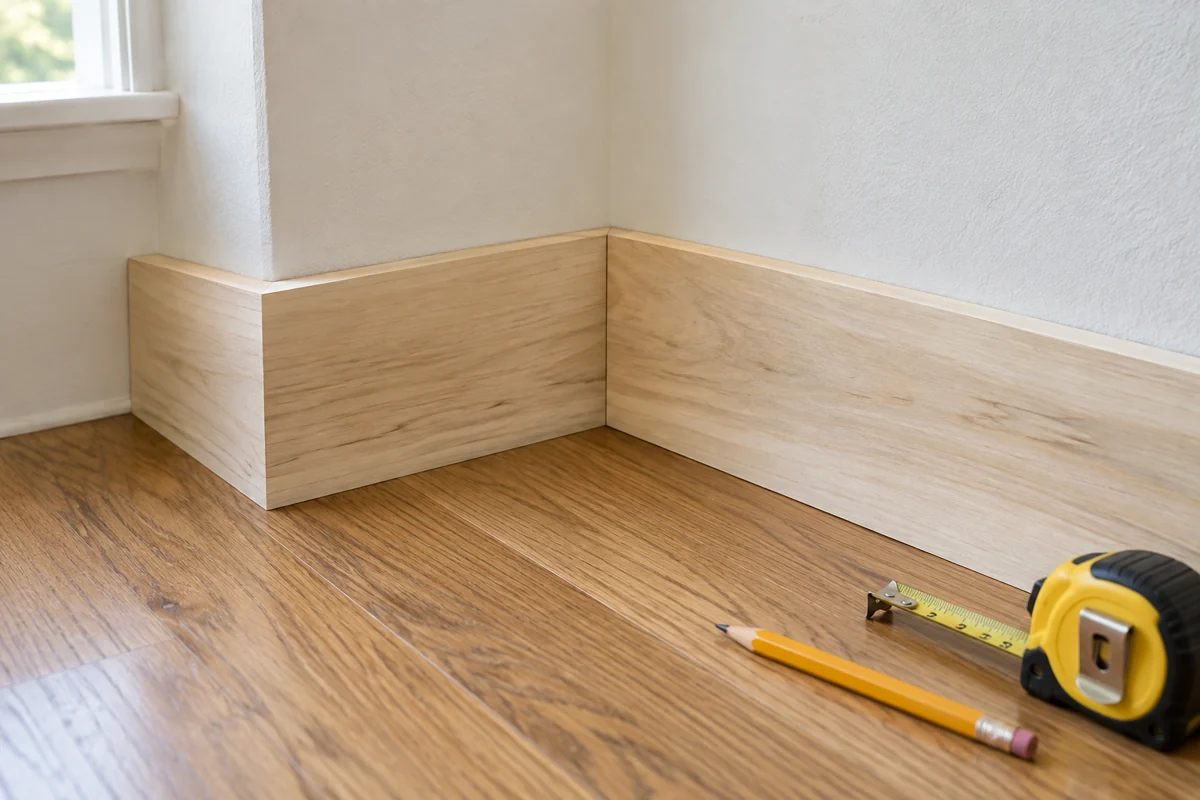
A pair of nominal 45-degree cuts closes neatly around an ideal right-angle corner. Real rooms often depart from that ideal. Plaster thickness, framing, surface repairs and the way the molding sits can all change the geometry at the trim line.
The first useful step is to observe the gap. Does it open along the outside face, at the back, or from top to bottom? Each pattern suggests a different relationship between the pieces. Do not immediately shorten both ends or fill the opening; that can remove material without solving the underlying fit.
Measure where the molding sits
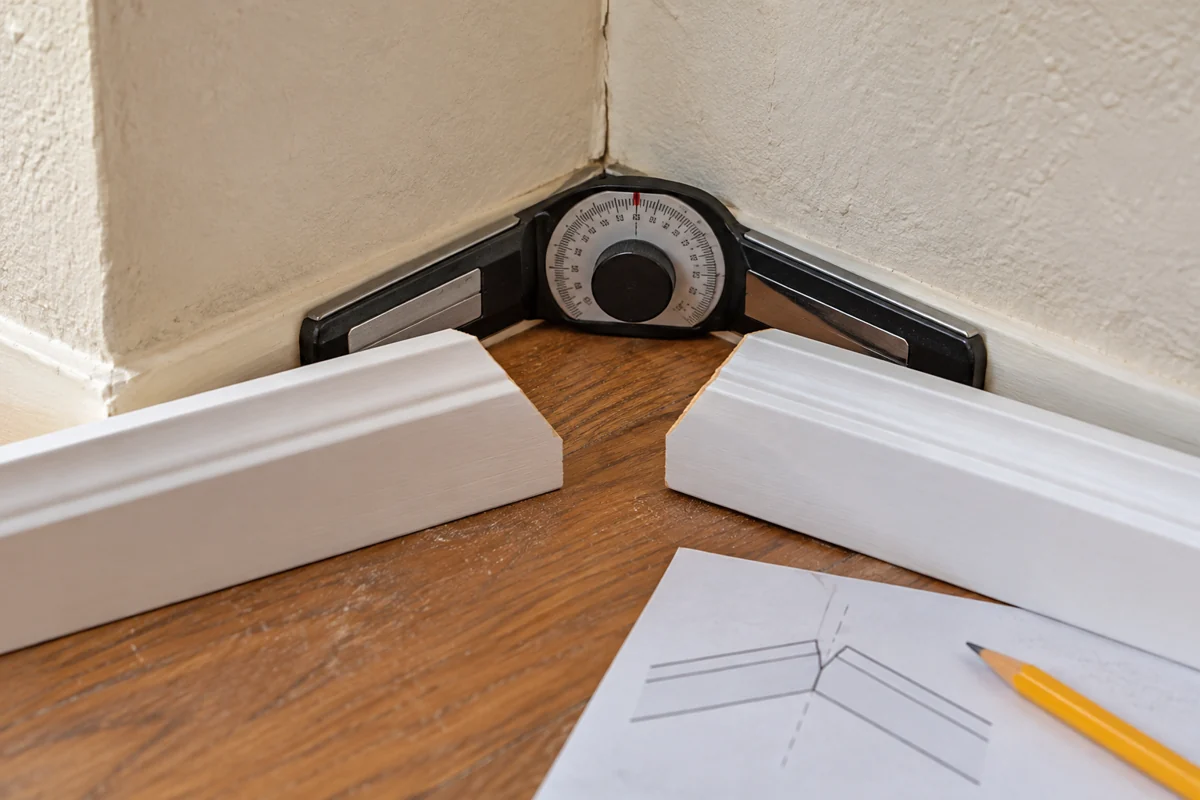
A corner measured high on the wall may differ from the corner at baseboard height. Use an appropriate measuring tool at the relevant location and check the adjacent surfaces for lumps or taper. A rounded plaster corner can also make a single contact reading misleading.
A wall angle is not automatically the number to set on a cutting tool. Tool scales, inside versus outside geometry and the molding's installed orientation all affect the translation. Use the tool instructions and a correct method for the joint, then verify with scrap. Avoid treating a remembered formula as universal.
With spring-angle crown molding, orientation adds another layer of complexity. A piece held differently from its intended ceiling-and-wall position can produce a joint that seems inexplicably wrong. For unfamiliar or complicated profiles, a competent finish carpenter can establish a repeatable setup more reliably than trial-and-error cuts in full-length stock.
Work from a test pair
Make a short pair using the actual molding and proposed method. Fit them where the final pieces will go. Ensure the samples are seated and supported consistently. If one is tilted away from the wall, a seemingly improved fit may vanish when it is fastened.
Change one relevant variable at a time. Label the test pieces and note the result. Randomly altering both length and angle makes it harder to understand what corrected the gap. Keep the successful pair as a reference for that location; do not assume the next corner is identical.
A coped inside joint may be appropriate for some wood profiles, while another material may require a miter or proprietary detail. Choose the joint for the product and conditions rather than forcing every corner into the same technique.
Recognize a wall problem
Sometimes the angle is not the main issue. A bulge behind the upper edge can tip the board, or an uneven floor can change its position. The solution may involve proper fitting or substrate correction, not increasingly unusual cuts. Investigate before removing wall material, particularly around uncertain old paint or concealed services.
A small, stable finishing seam is different from a wide joint held closed by force. If the pieces only align while someone presses hard on them, consider what will happen when that pressure is removed. Fasteners should not be asked to compensate for an unexplained distortion.
Once the sample works, transfer the method carefully to the full pieces and dry-fit the entire run. This final check catches length and adjoining-junction issues that a short pair cannot show. The aim is not a theoretical perfect angle; it is a sound joint that fits the actual room without a thick cosmetic patch.