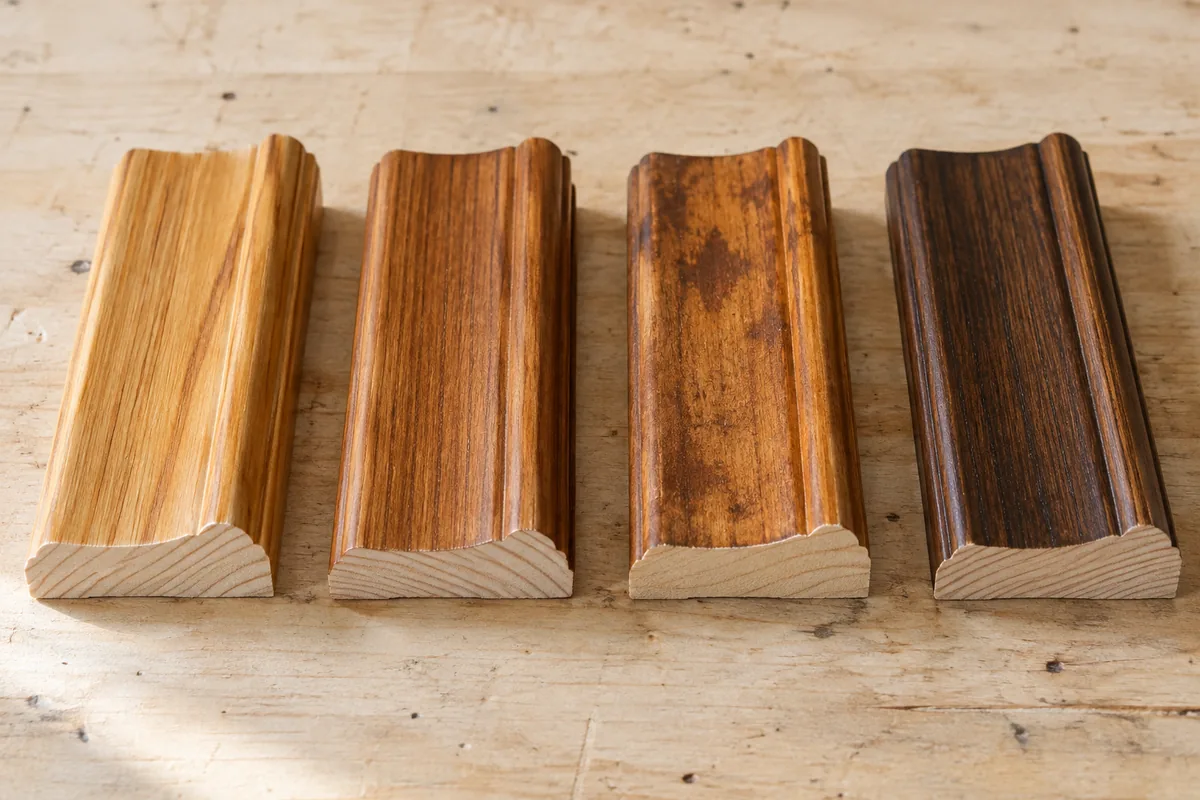
A pine molding can look fairly uniform before staining and develop strong light and dark areas afterward. Differences in grain and absorption are part of the explanation. The stain is interacting with the actual wood, not coloring an identical blank on every board.
Start with a sample from the material you intend to install. Include a representative grain pattern and, if relevant, a knot. A sample from another species or a different batch may suggest a direction without predicting the final room accurately.
Prepare the sample as seriously as the project
Use the preparation method recommended for the stain system. Keep the surface consistent and remove dust appropriately. Overworking one area while barely preparing another can introduce a difference that the stain makes more visible.
For old or previously coated trim, establish the coating history and safe preparation requirements first. Unknown paint may contain lead, and removing an existing finish is a separate task from staining new bare pine. Do not treat a new-wood procedure as a complete refinishing guide.
A compatible pre-stain conditioner may help moderate uneven absorption in suitable woods. The conditioner must match the stain system, with its own application and timing instructions. Do not mix water-based and oil-based preparation products casually or assume that any sealer performs the same role.
Compare complete systems, not wet colors
Prepare a few labeled samples with controlled differences. One might use the manufacturer's recommended conditioner and stain; another might test a different approved stain approach. Change one meaningful element at a time so that the result tells you something.
Follow the stain's instructions for application, removal of excess and drying. Leaving more product on the surface is not a universal way to obtain a richer color and can create drying or adhesion problems. A second coat is appropriate only where the system allows it.
Include the intended clear finish in the sample. It can alter color, depth and sheen, so stopping at the stain stage leaves an important part of the decision untested. View the completed sample beside flooring and doors in the actual room.
Set a realistic appearance target
If the goal is for pine to look exactly like a different wood species, reconsider the expectation. Color cannot reproduce another species' grain structure. A dark stain may make uneven absorption more prominent rather than hiding it.
An opaque painted finish or a different wood may suit the desired appearance better. That is a material decision, not a failure of the stain. Make it before committing to an entire room of finished pieces.
Some variation can be attractive when it is consistent with the design. Lay out several lengths together to see how the boards relate. Reserve compatible pieces for prominent adjoining sections and avoid a sudden color jump at a doorway corner.
Handle finishing waste correctly
Follow the product's ventilation, protection and waste instructions. Cloths and other materials contaminated with certain oil-based finishing products can present a spontaneous-combustion hazard. Do not leave them crumpled in a pile or ordinary bin; use the manufacturer's specified safe handling and local disposal process.
Label and retain the selected sample with every product and step. If the room later needs another length of molding, that record provides a starting point for matching. The most reliable route to an even-looking pine finish is a repeatable tested system and realistic expectations about the wood beneath it.