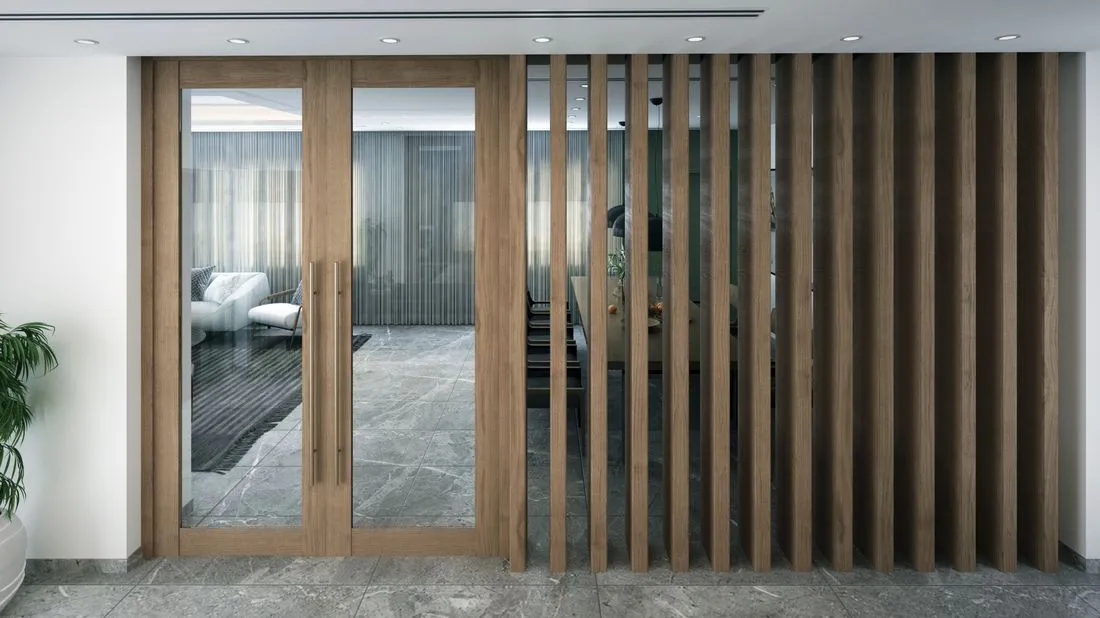
The broad face of a slat wall gets most of the attention in photographs. In a real room, the exposed side edge can reveal backing, cut veneer, or an uneven final gap. That edge deserves its own detail, especially when the panel stops in the middle of a wall.
Check how the product is constructed. Individual timber strips on a separate background behave differently from a manufactured panel with attached slats. The backing may be intended to remain visible between strips but not at an exposed perimeter. Follow the selected system's edge guidance.
A matching end component may provide the cleanest finish. Another design can use a deliberate border that frames the entire feature. Leaving the last slat as the boundary can work only if the backing and cut edge are finished appropriately; it is not automatically achieved by cutting the panel after any convenient strip.
Set the feature width from both ends
Measure the repeat of slat plus gap. Compare the proposed total width with that repeat before deciding the exact stopping points. A small adjustment to the feature width can sometimes avoid a narrow partial slat at one edge.
If the feature must fit between fixed boundaries, draw both edges and identify which cut components will be visible. Do not center a full panel and leave the final condition to chance.
The top and bottom need equal care. A ceiling that is not level can make the slat ends appear uneven even when they are cut to a common length. A planned top boundary or suitable fitting detail may be needed. At the floor, coordinate the feature with the baseboard rather than allowing two unrelated edges to overlap.
Keep performance claims separate
A decorative slat surface is not automatically an acoustic treatment. Any sound-performance claim depends on the specific product and tested installation, including backing and mounting conditions. Choose the appearance freely, but rely on the manufacturer's evidence for performance.
Also confirm suitability near heat, moisture, or other demanding conditions. A wood-look finish does not reveal the underlying material's limitations.
Make a small end mock-up and view it from the room entrance, where the edge may be seen at a sharp angle. If the backing is the first thing noticed, revise the perimeter before ordering the full wall. A well-finished boundary lets the repeated slats remain the feature.