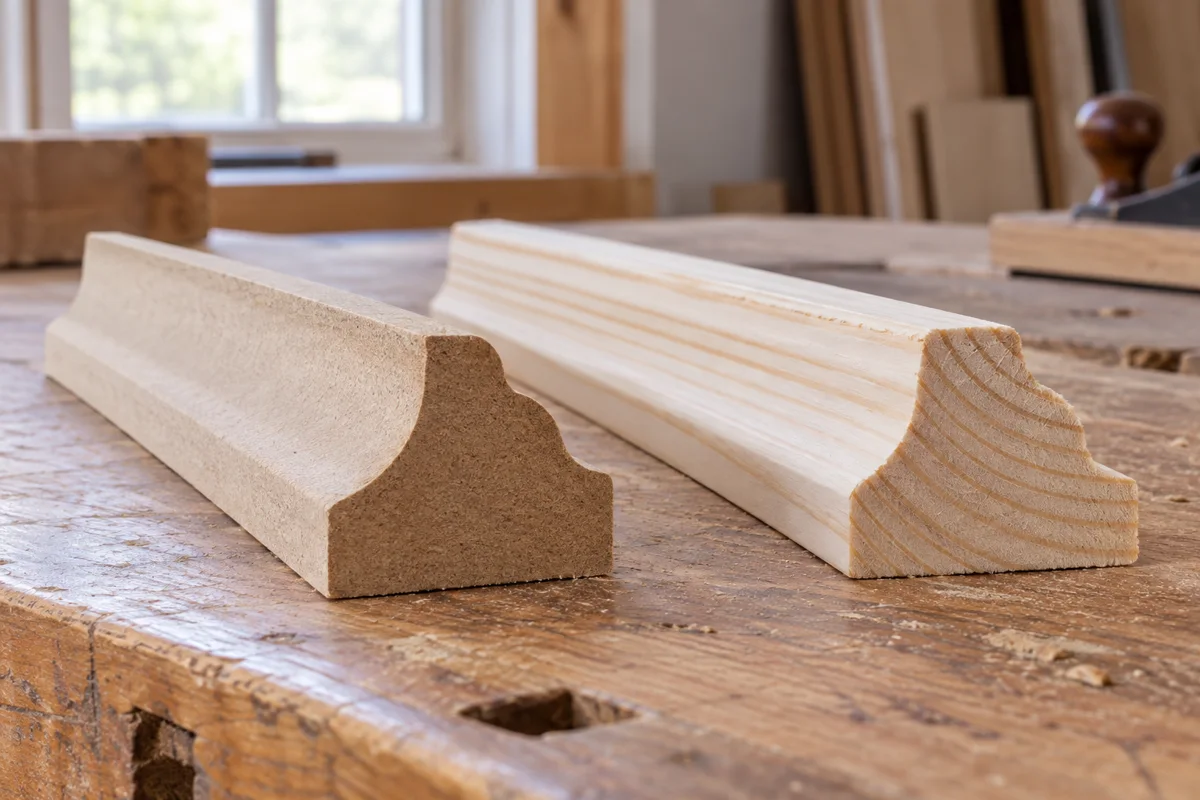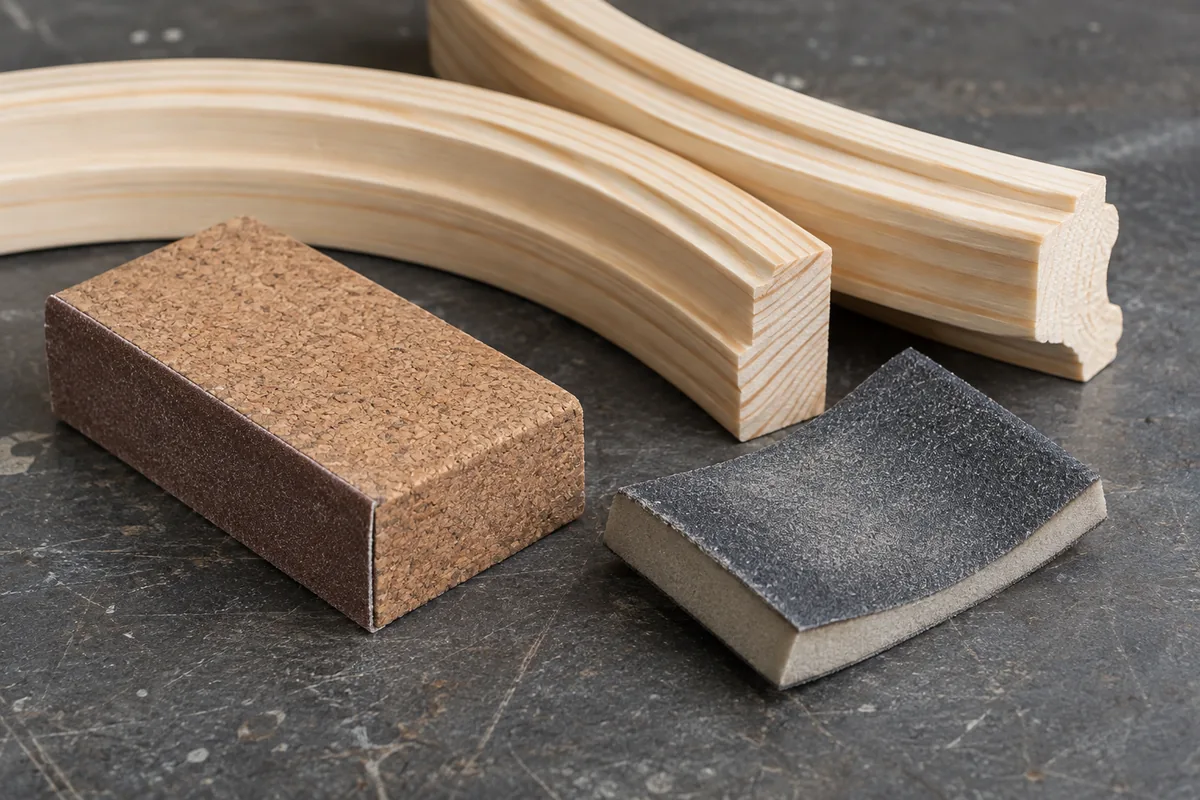
A flat sanding block is useful because it resists following every small hollow in a surface. That same quality can become a problem when it is dragged across a curved molding. The block may flatten the high points while barely touching a recess, changing the profile instead of preparing it.
Before sanding, confirm that the material and coating can be disturbed safely. Old or uncertain paint, especially in a pre-1978 home, needs lead assessment and appropriate precautions. Do not begin by sanding a test patch to identify what is underneath.
Match contact to the shape
On a broad flat face, a suitable flat block helps keep the surface even. A cove or rounded detail may need an appropriately shaped flexible abrasive or a manufacturer-recommended method. The aim is controlled contact, not forcing one block into every recess.
Avoid treating a crisp corner as a defect. Repeated passes over an edge can round it over and make adjoining pieces look different. Work lightly and inspect under side lighting rather than continuing until the entire surface feels uniformly soft.
Some synthetic or stain-grade products have a surface texture that should not be sanded away. Check their instructions first. A molded grain is not the same as natural wood grain extending through the material.
Choose abrasives for the stage
Preparing a new bare surface, leveling a filler repair and lightly preparing a compatible coating are different tasks. The appropriate abrasive and sequence depend on the material and finish system. Starting with an unnecessarily aggressive grit can leave scratches that take more work to remove.
Use an offcut to test the process. Include the intended primer or finish so that you can see whether marks become more visible after coating. A bare sample can hide scratches that a darker stain reveals immediately.
Manage dust at the source with suitable equipment and protection for the material. Do not blow residue around an occupied room or use a household vacuum as a substitute for appropriate dust control. Follow the coating instructions for final cleaning; residue from an incompatible cleaning cloth can affect adhesion.
Stop periodically and compare the worked area with an untouched profile. Sanding is successful when the surface is ready for the next step while the intended shape remains intact. A perfectly smooth but noticeably flattened bead is not an improvement.