Old molding can be difficult to replace exactly, so reuse is often worth considering before a room is altered. The decision should be made while the pieces are still intact. Once a long run has been broken into unmarked sections, even good material becomes harder to put back coherently.
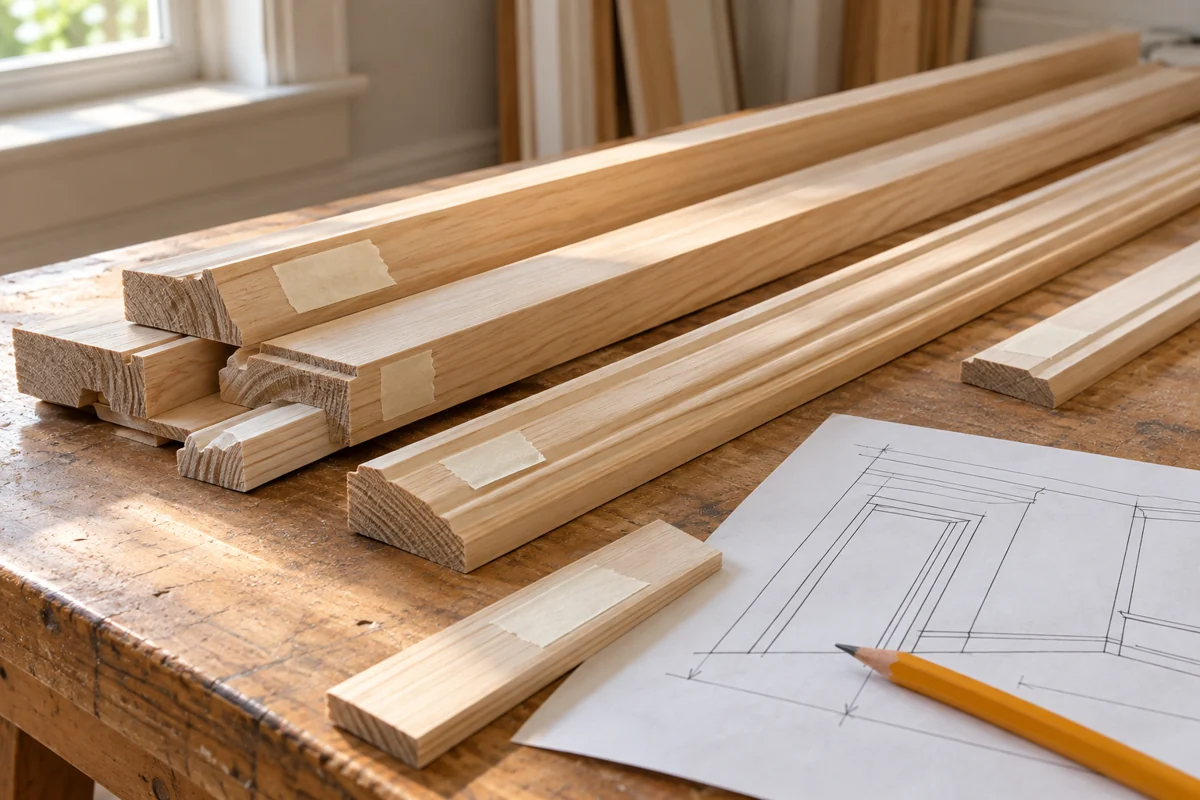
Walk the room and identify which pieces are worth saving. Record the profile, approximate usable lengths and any existing damage. Photograph whole openings as well as details. Give each run a location code that can later be transferred to the removed piece.
Resolve coating and wall risks first
Painted trim in a pre-1978 building, or material with an uncertain coating history, may contain lead. Removing it can disturb both the face coating and paint at the wall joint. Arrange appropriate assessment and lead-safe work before prying, cutting, scraping or sanding. A plan to repaint the piece afterward does not remove the exposure during removal.
The surrounding wall may have its own condition issues. Loose plaster, damp backing, concealed cables or pipes and fragile finishes can change the approach. A competent installer should assess those conditions and the existing fastening method. This article is a reuse-planning guide, not a universal pry-bar sequence.
Ask whether the material is mechanically fastened, glued, or both. Strong adhesive can make clean removal unlikely even when the molding is sound. Prefinished or thin synthetic profiles may also damage differently from solid wood. Build the budget around a realistic salvage rate, not an assumption that every piece will survive.
Prepare a receiving area
Set up a dry, supported place for the removed lengths before the work begins. Long pieces should not be piled where they can bend, fall or be stepped on. Keep them out of household circulation and protect delicate faces from contact with rough backs.
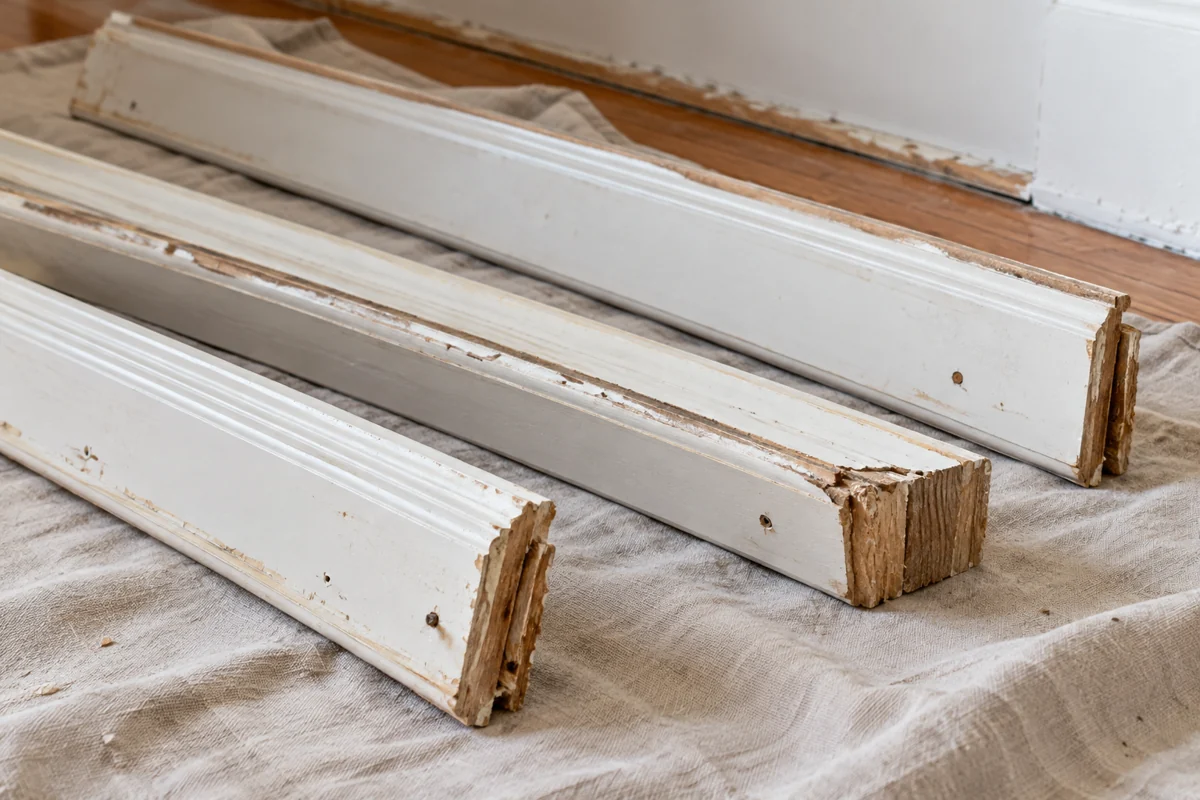
Provide a safe process for handling embedded fasteners. A piece that looks harmless from the front may have sharp metal projecting from the back. The person carrying, stacking or later cutting it needs to know that. Have fasteners dealt with by someone using an appropriate method and protection rather than passing the hazard into storage.
Transfer the location labels as soon as each piece is removed. Include orientation and note any new damage. Keep mating corner pieces or doorway sets together. The labels are particularly valuable when similar openings have slightly different dimensions.
Judge reuse after removal
Inspect the back and edges once they can be seen safely. A missing bead, split end or weakened joint may reduce the usable length. Update the plan rather than pretending that the original measurement still applies.
Some pieces may suit shorter runs even if they cannot return to their original location. Others should be rejected. Avoid building a prominent assembly around several compromised lengths simply because they were difficult to save.
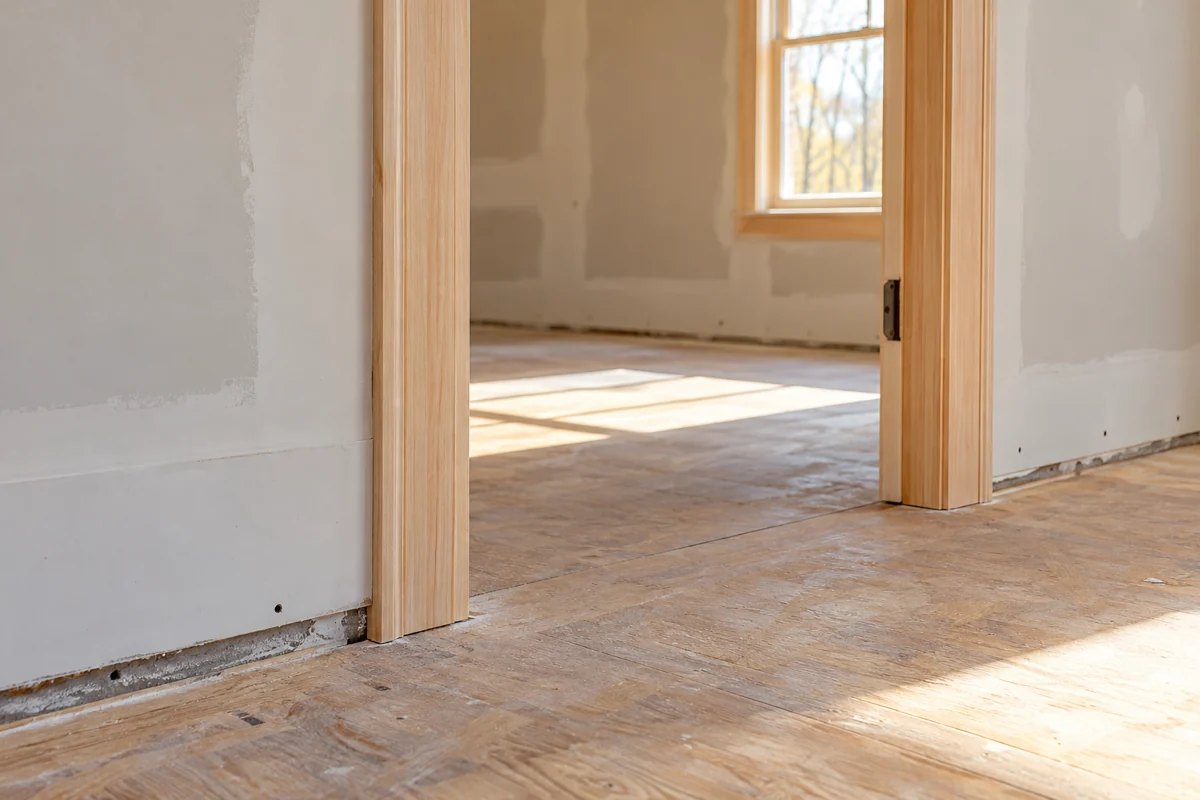
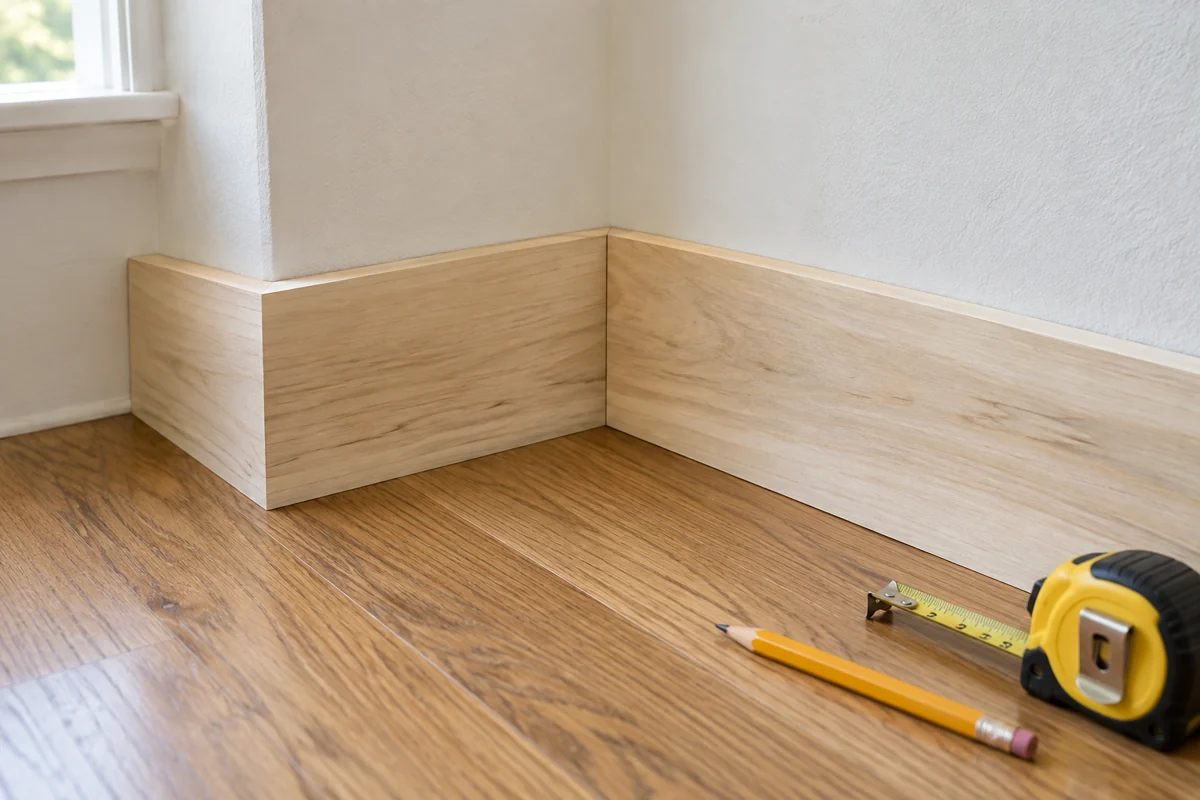
If the project changes the wall depth or floor level, the original trim may no longer fit exactly. Reuse is not automatically reinstallation without modification. Make a mockup of the new junctions and confirm that the proposed work is compatible with the material and assessed coatings.
Store the final records with any spare pieces: origin, testing or treatment information, profile dimensions and finish. This is especially useful when work spans several weeks or trades. A carefully salvaged molding is more than an old board; it is an identified component with a known condition and a planned place in the room.