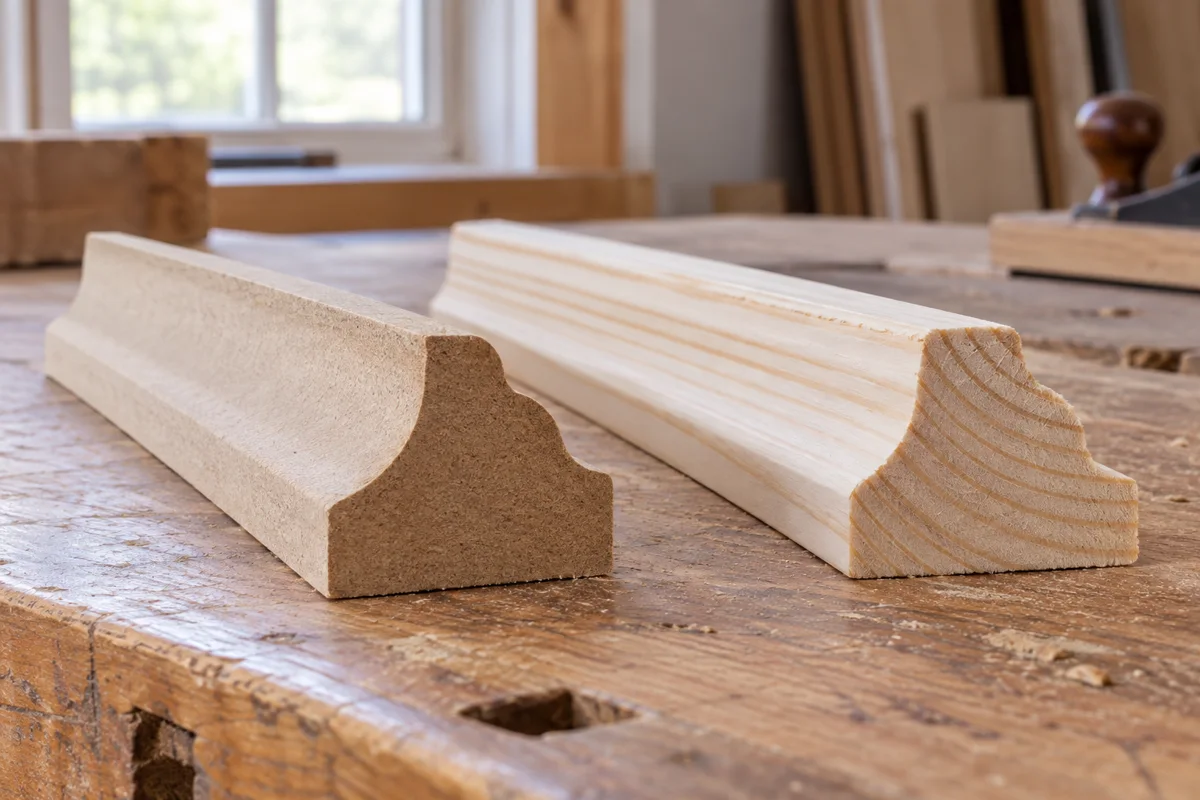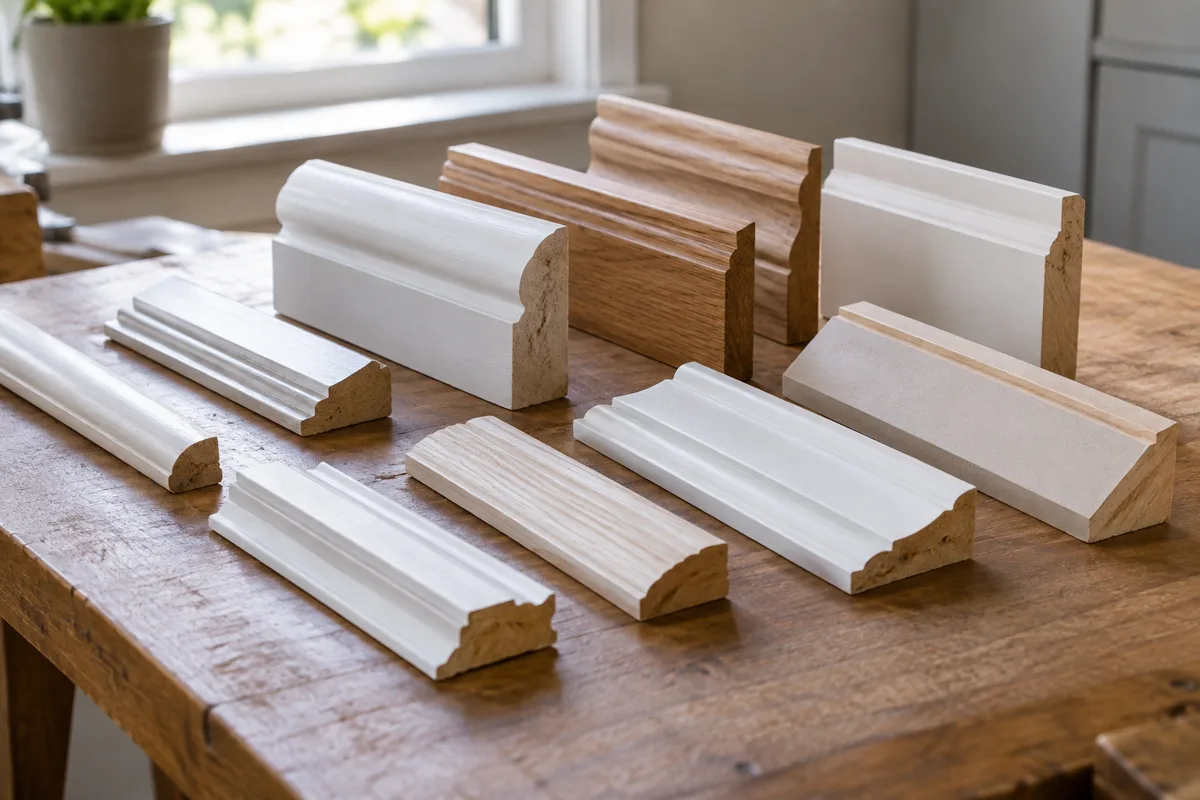
A molding sample is more informative when it is part of a small working kit. One piece shows a contour; several pieces show how the room's edges will meet. The kit does not need to be elaborate. It needs to contain the actual profiles you are considering, with enough length to see their proportions.
Include a baseboard, the proposed door casing and any separate cap, shoe or wall molding. Write the manufacturer, profile number, material and dimensions on the back. A label such as “large white one” becomes useless as soon as a second store offers something similar.
Arrange real intersections
Set the baseboard against the casing sample on a flat surface. Look at which piece projects farther, where the top edge arrives and whether a thin lip ends awkwardly. A difference of a small fraction of an inch can matter more at this junction than a large change in the overall height.
If the design includes wall frames, put the frame molding beside the casing too. This shows whether the frame feels subordinate or competes with the doorway. The goal is not to make every profile identical. It is to understand their relationship before purchasing full lengths.
Hold the samples in the actual room at the intended positions. Use a temporary method that will not damage the finish, and do not leave loose pieces where they can fall. View them from the doorway and from a seated position rather than only from a few inches away.
Add a finish layer
Paint at least one sample with the intended primer, color and sheen. A bare profile and a glossy painted profile can read very differently. If several materials will meet, finish a sample of each and compare them in daylight and under the room's lamps.
Take a photograph for planning, but keep the physical pieces. Camera exposure and screens can flatten shadows and shift color. The sample remains useful when selecting wall paint, checking a delivery or explaining a detail to an installer.
Use the kit to record a decision rather than endlessly adding possibilities. Once the combination works, put the rejected options aside and retain the selected set with its labels. That prevents a late substitution from quietly changing the design.
For a doorway mockup, arrange the casing vertically and bring the baseboard to its side. Add the intended shoe at floor level if the design includes one. Photograph the assembly from the front and at an angle. The angled view often reveals a projection that the front view conceals. Then hold the same combination beside the actual doorway, where a narrow return wall or nearby cabinet may limit it.
This small exercise can eliminate an unnecessary extra component. If the baseboard already ends cleanly against the casing, a plinth block may add complexity without solving a problem. If it projects beyond the casing, the sample makes the need for a different relationship apparent before the order grows.
After completion, store a small finished reference and the order details. Years later, the kit becomes a repair resource: evidence of the original material and finish instead of a vague memory of what looked right in the store.