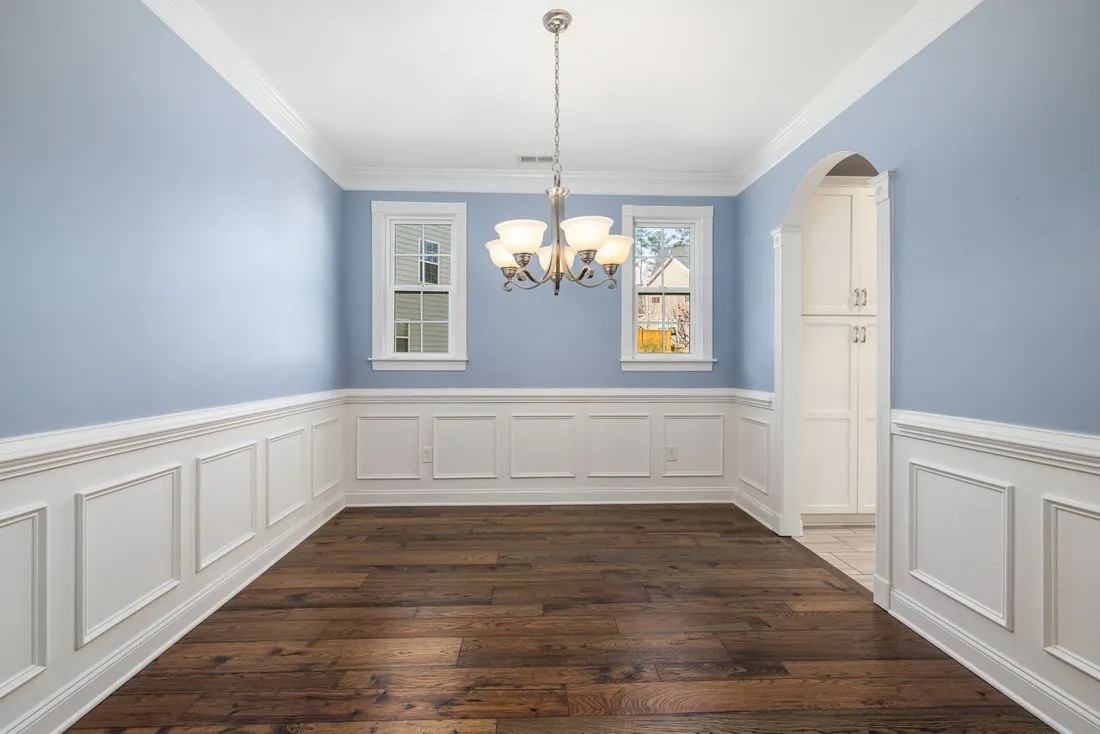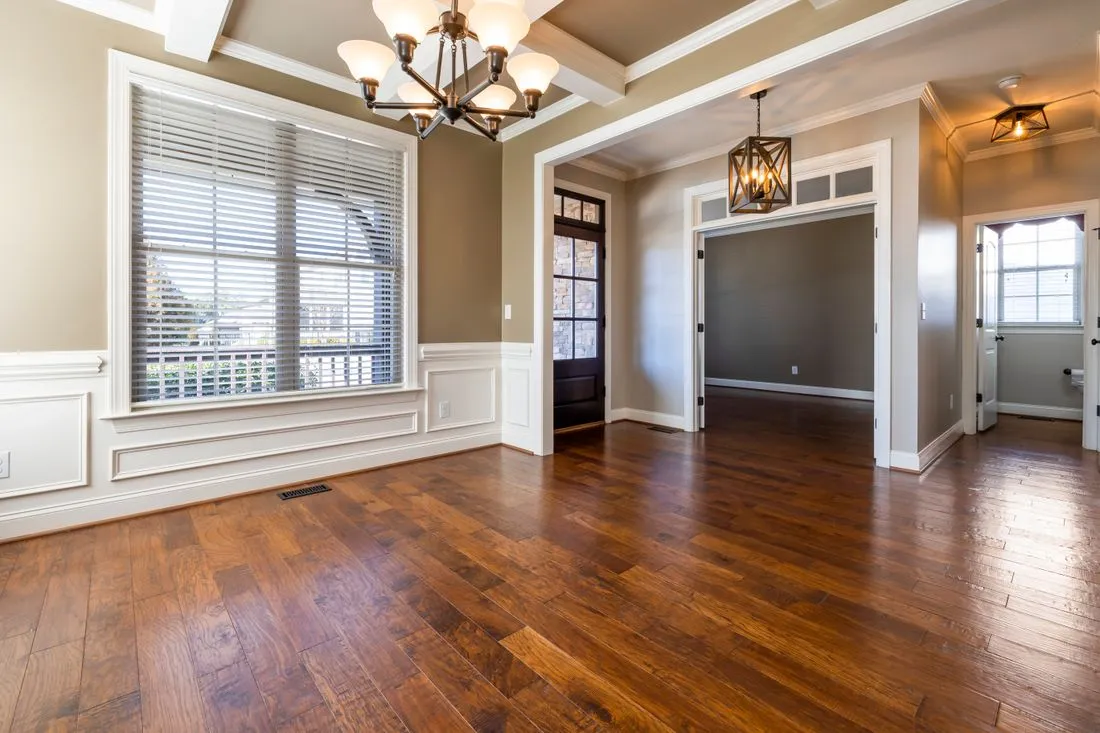
A window interrupts wall paneling twice: it removes part of the wall field, and its stool or apron introduces another horizontal line. The awkward result is often a narrow strip of wall trapped between a paneling cap and the window trim. Avoiding that strip begins with measuring the complete window assembly.
Mark the underside of the stool, the bottom of the apron, and the outside edges of the side casings. A measurement to the glass or window opening does not describe the trim boundary the paneling must meet.
Choose an alignment with enough purpose
One option places the paneling cap clearly below the apron, leaving a deliberate band of wall. Another coordinates the cap with a window detail through a designed junction. A third treats the wall beneath the window as a separate panel field. The room and the actual depths determine which is convincing.
Do not automatically run a cap into the apron because the heights happen to be close. A cap that projects farther than the receiving piece can leave an exposed end. Compare the sections at full size.
Consider an illustrative case: the apron ends 34 inches above the floor, while a proposed cap occupies the band from 31 to 33 inches. That leaves only a 1-inch strip between them. Moving the cap a small fraction will not solve the visual crowding. A more meaningful change in height, or a redesigned window-to-panel junction, deserves comparison.
If several windows have different sill heights, selecting one universal alignment may create compromises elsewhere. A consistent paneling line with deliberately separate window trim can be calmer than chasing every window.
Lay out the field beneath the window
A panel centered under the window can make sense, but it should not create tiny frames on either side. Draw the full wall, including the spaces beside the window, before committing to that axis.
For board-and-batten, decide whether battens align with the window casing edges or continue the room's spacing. Both are possible, but switching logic halfway across a wall tends to create unexplained gaps. If the window is the main feature, let it establish a clear local rhythm and resolve the edges deliberately.
Furniture and heating equipment may occupy the lower wall. Keep any required access and clearances intact, and do not build decorative panels over functional components. The visible paneling may need to remain secondary in that location.
A taped mock-up should include the cap's actual thickness and projection, not just a line on the wall. View it from the room entrance, where the window and surrounding panels appear together.
Once approved, give the window junction its own detail on the drawing. Label the paneling height by the top or bottom of the cap, and record where the apron ends. Those references turn a vague instruction to “line it up with the window” into a relationship that can actually be built.