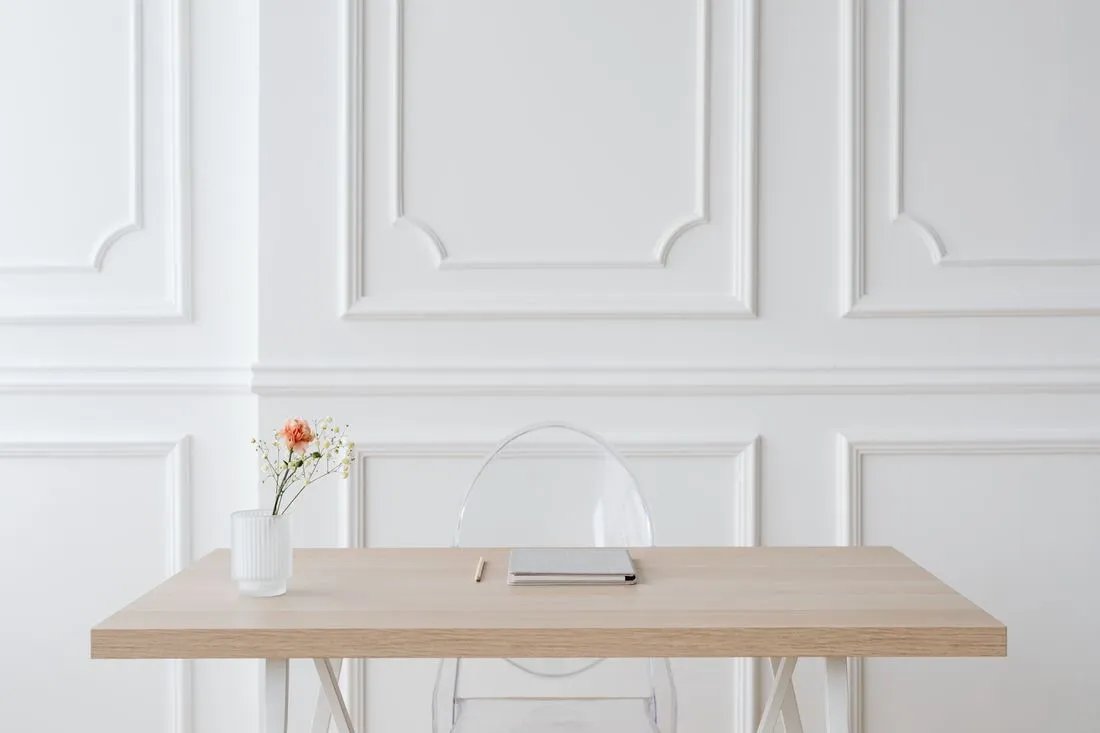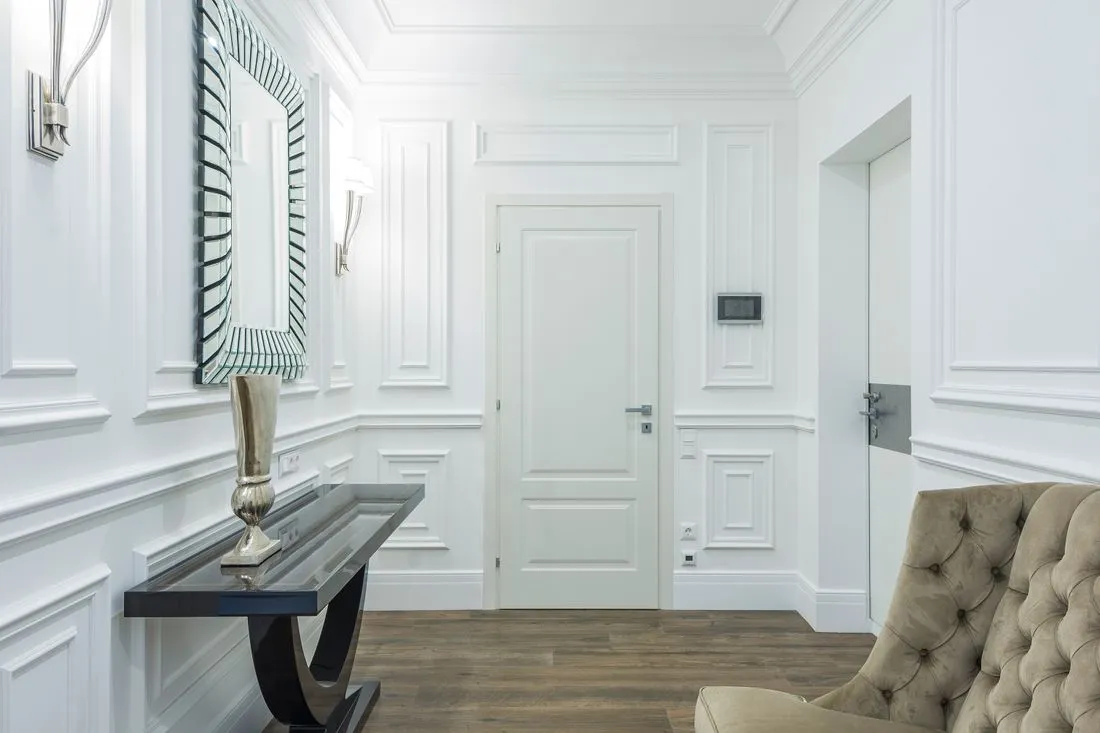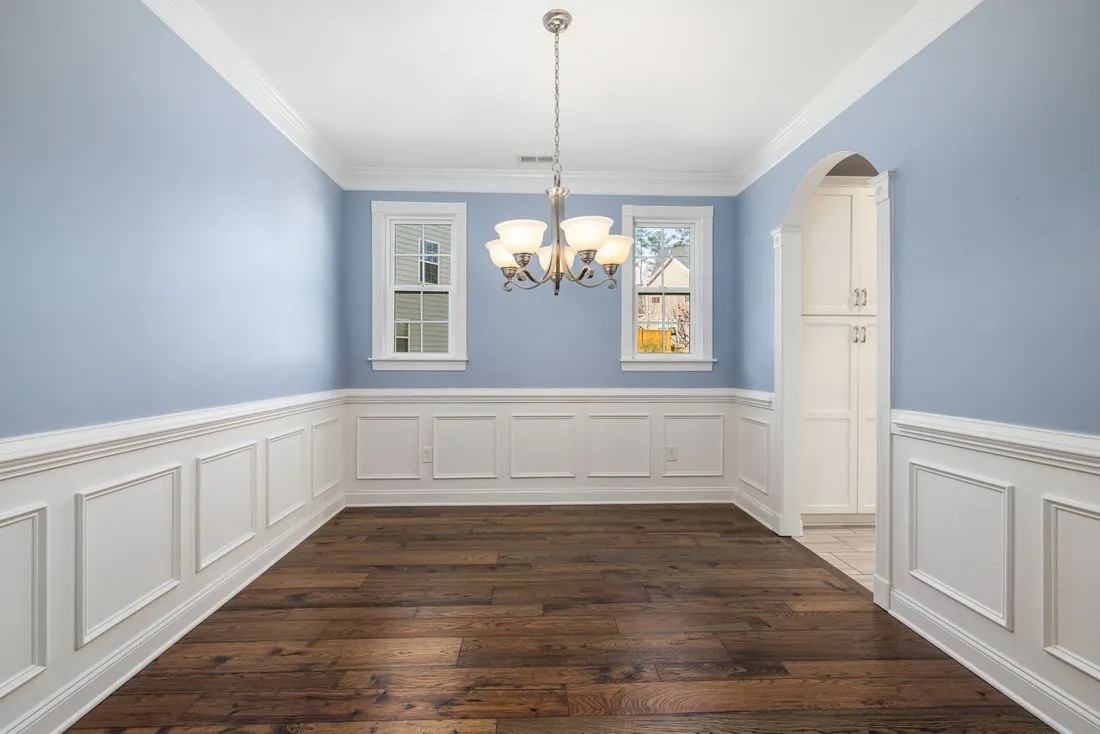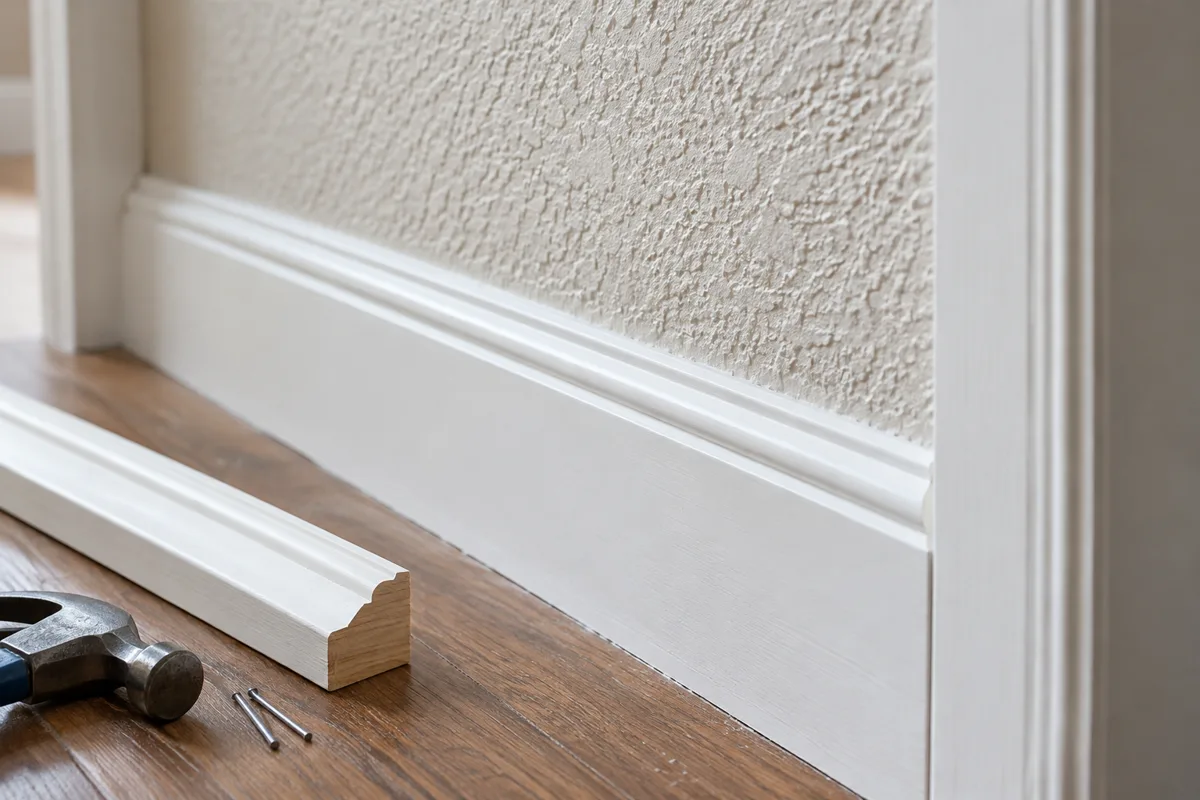
Picture-frame molding applied directly to a wall does not create a new smooth panel surface. The wall remains visible inside and outside the frames. If it has orange-peel texture, heavy roller marks, patched areas, or another finish, those features remain part of the design.
That can be perfectly acceptable. A light, consistent texture may sit comfortably beneath a modest molding profile. Problems arise when the expectation is a smooth paneled wall but the plan includes only strips around the existing surface.
Decide which result you actually want
There are several distinct approaches. You can keep the texture and treat the molding as decoration on that wall. You can have the wall surface professionally prepared to a smoother finish. Or you can design a paneling system with its own backing surface. Each choice changes cost, thickness, and the junctions at trim.
A backing panel is not a free shortcut. Its edge must finish somewhere, seams need an appropriate detail, and electrical accessories may need professional adjustment to suit the changed wall face. The material also needs to be suitable for the room and installed according to its instructions.
Do not attach new layers over damp, loose, or failing surfaces. The condition beneath matters even if it will be hidden. If old coatings may contain hazardous material, investigate before sanding or scraping them.
Make a sample under side light
Place a length of the actual molding against the wall and shine light across it. Texture can prevent the back from sitting uniformly and can create a visibly irregular edge. A small finishing bead may suit some junctions, but it should not be expected to bridge large or unstable gaps.
Paint a representative test area if appropriate, using the intended finish. Gloss and strong contrast can emphasize surface variation; a less reflective finish may make it quieter without making it flat. Check the result at normal viewing distance as well as close up.
Look inside a taped frame outline. A patch that was easy to ignore on a broad wall can become more obvious once a rectangle visually isolates it. That is a useful discovery before the molding is installed.
Choose the surface strategy first, then finalize the trim dimensions. Adding a backing layer later can change the depth at baseboards, casings, and caps, turning a simple applied-molding plan into a much more involved assembly.