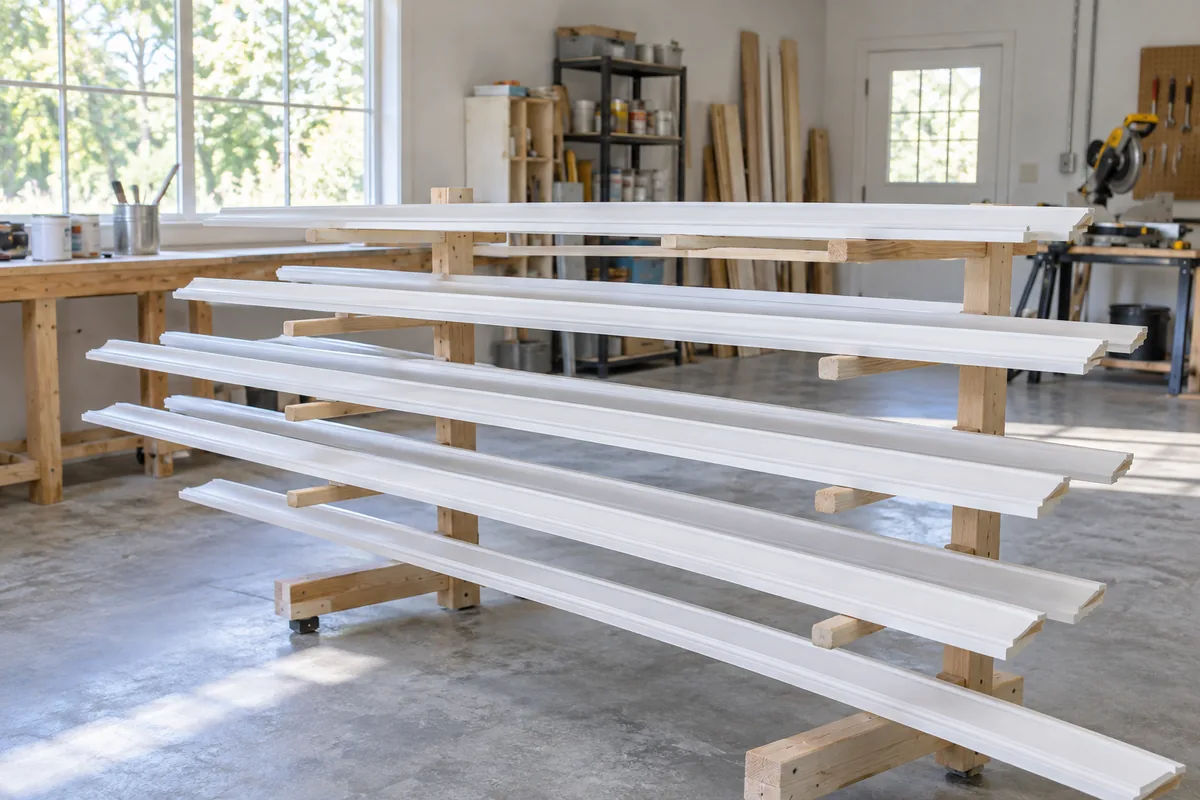
Painting loose trim on supports can be comfortable: the face is accessible, the floor does not need a perfect cut-in line, and several pieces can be worked at a convenient height. Installation afterward can still leave cut ends, joints and fastener marks. Painting first reduces some work; it does not eliminate the finishing stage in the room.
Painting after installation lets the coating follow a completed assembly, including fitted seams and repairs. It also requires protecting the room and reaching every profile safely. The best sequence depends on the product, finish and installation plan rather than a universal preference.
Check the material before choosing
Some rigid molding systems allow a prefinish and later touch-up. Some flexible products specifically require finishing after installation because bending can fracture a coating applied beforehand. Prefinished products have their own repair system. Confirm which instructions apply to the exact material.
If the trim will be stained, cut ends and joint appearance may deserve particular attention. A filler or adhesive smear that becomes noticeable under stain is easier to identify in a sample than after an entire room is installed.
Plan the unavoidable touch-ups
For prepainted rigid trim, identify where cuts and fasteners will affect the finish. Allow the coating to reach the appropriate handling stage before moving the pieces. Dry-looking paint can still mark against a support, tape or another board.
Keep the final touch-up product and application method consistent. A brush repair on a factory-smooth face may show a texture difference even when the color matches. If the appearance is critical, make a sample with a realistic joint and fastener repair rather than evaluating only an uninterrupted painted board.
For painting in place, finish fitting and stabilize the assembly before cosmetic work. Let fillers and caulks reach the required stage, and prepare the surface safely. Unknown old paint requires lead assessment before disturbance.
Give the work enough space
Loose pieces need clean, stable supports and a protected curing area. Stacking them too soon can damage more finish than prepainting saved. Painting in the room needs safe access, suitable ventilation and protection for adjacent surfaces without crowding wet edges.
The schedule should reflect coating times rather than only labor hours. A quick application may still require a longer interval before installation, masking or everyday contact.
A mixed approach can be sensible when the product allows it: prepare or prime appropriate surfaces before fitting, then complete the finish after joints and repairs are ready. Write down the chosen sequence so that the installer and painter are working toward the same result instead of assuming the other person will finish the remaining details.