A useful trim measuring kit is small enough to carry around the room and varied enough to answer different questions. Buying several versions of the same measuring tool is less helpful than understanding which measurement each one is good at.
Use a tape measure for overall runs and openings. Check that its hook and graduations are in good condition, and use the same tape consistently where small differences matter. Write dimensions down immediately. Remembering three similar doorway widths is an avoidable source of mistakes.
Add tools that reveal relationships
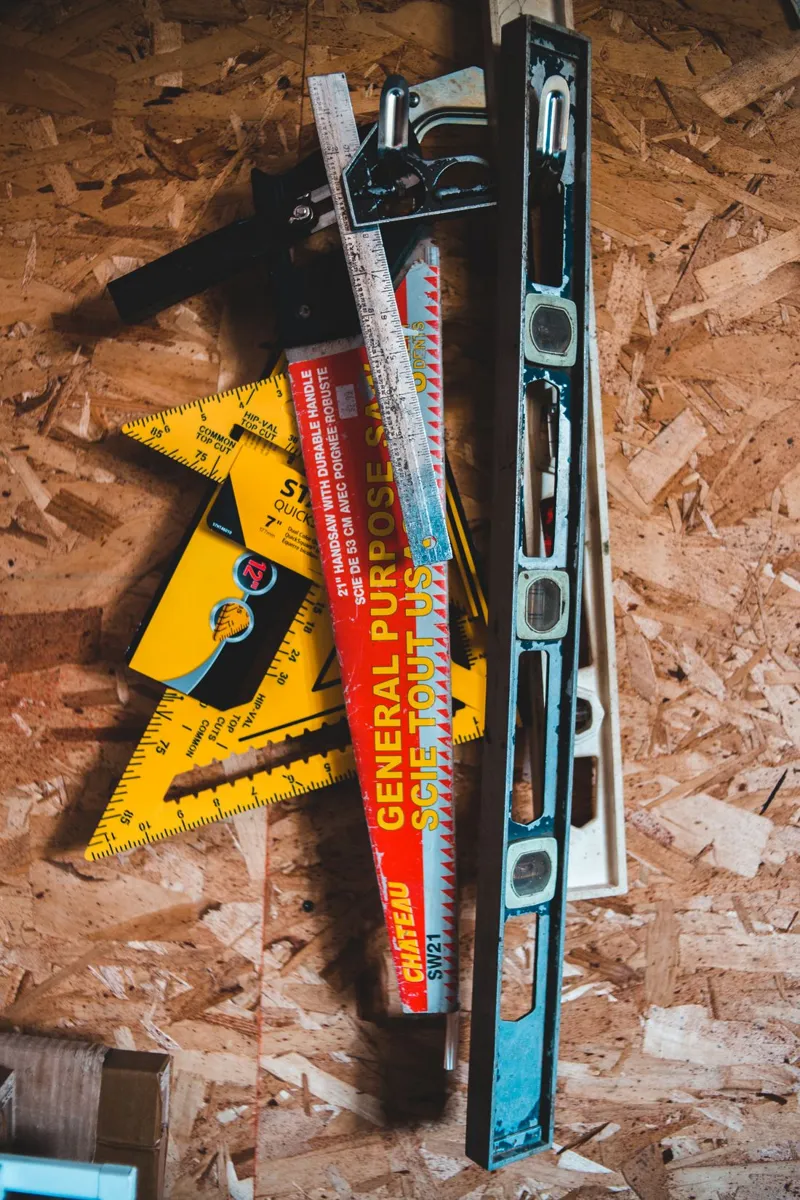
A combination square helps compare edges, transfer a reveal and check a loose sample. A straightedge shows whether the wall or a board departs from a straight line. An angle-measuring tool can describe a corner that is not square, but its reading still needs to be translated correctly into the joinery method.
A small level answers another question: whether a line is level or plumb. It does not tell you whether that line will look balanced against a visibly sloping ceiling. Record both the measured condition and the design choice instead of quietly treating them as the same thing.
For repeated dimensions, a carefully made reference stick can be clearer than rereading a tape at every point. Label the purpose and orientation so that it does not become an anonymous offcut. Check it against the original measurement before using it repeatedly.
Make marks that survive the workflow
Use a pencil or marking tool appropriate to the surface, with a line fine enough for the task. Test anything on a finished surface before marking it. A dark marker that bleeds through paint can create a problem long after the measurement is forgotten.
Put a simple room sketch in a notebook. Name the walls and give each piece an identifier. Note which end meets a corner and which meets a casing. This makes a measurement useful to someone who was not standing beside you when it was taken.
Do not turn measuring into invasive investigation. Where old paint is uncertain, or a wall may contain services, work from accessible surfaces and appropriate records. Opening, scraping or drilling is a different task requiring its own assessment.
One common ambiguity is a measurement written to the nearest visible trim edge without saying which edge it was. Around a profiled casing, the inner edge, outer edge and proudest bead can all be plausible references. A small sketch with an arrow to the chosen point prevents a second person from measuring to a different one.
Another is using a level as if it measured straightness. A board can have level endpoints and still bow between them. Conversely, a straight floor edge may slope. Use the straightedge to describe shape and the level to describe orientation, then decide what the trim design should do with both facts.
The kit earns its place when it prevents an ambiguity: which edge, which wall, which face, which end. Accurate numbers are only half of accurate work; the other half is attaching those numbers to the correct part of the room.