Turning a plank pattern changes the way a wall is read. Horizontal courses draw attention across the room; vertical courses repeat from floor to ceiling. These are visual tendencies, not guarantees that one direction will make every room look wider or taller.
Begin with the wall's existing lines. Low cabinets, long windows, and a wide sofa already emphasize width. Vertical planks can contrast with that arrangement, while horizontal ones can reinforce it. A wall with several tall narrow doors may benefit from a different response.
The pattern's scale matters as much as direction. Closely spaced horizontal grooves create many stripes; broad vertical boards create fewer. Compare the number of visible divisions across the whole wall, not only the orientation of one sample.
Draw the ends and interruptions
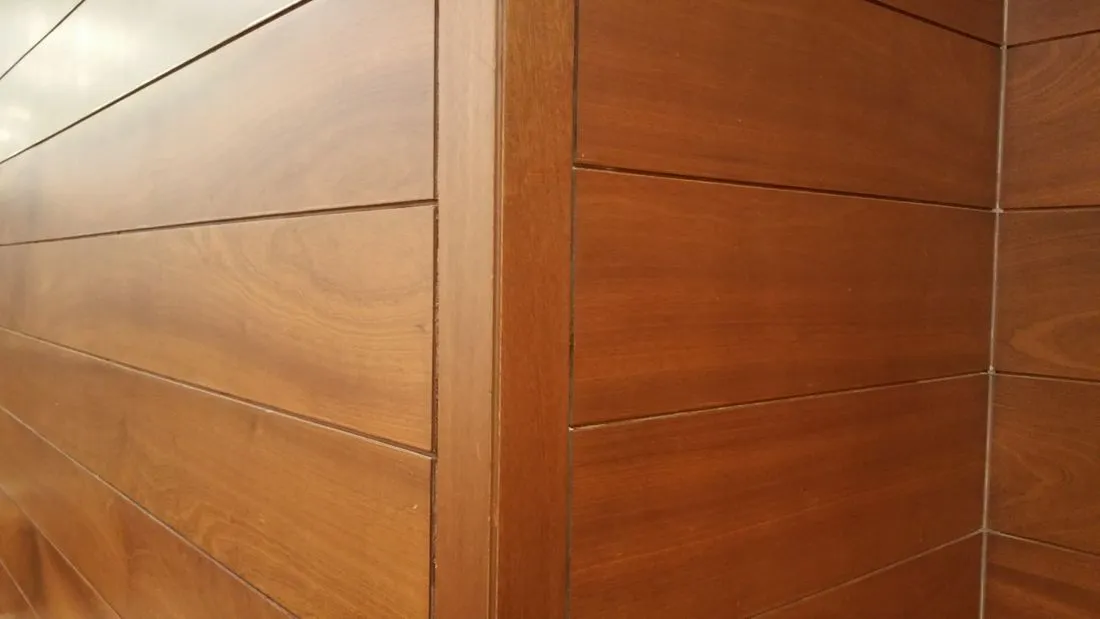
Horizontal planks need a considered finish at their left and right ends. At an outside corner, exposed ends can become a prominent detail. Vertical planks create a different issue at the floor and cap, where uneven surfaces can make the finishing line vary.
Windows and doors interrupt the pattern. Decide where the courses or boards will begin so the remaining pieces at those boundaries look intentional. Avoid selecting a starting point solely because it makes the first board easy to install.
Product instructions can differ by orientation. Armstrong's WOODHAVEN wall guidance, for example, gives different assembly methods for horizontal and vertical uses. That is a reminder to check the selected system, not a method to apply to all wall planks.
Test it with the room occupied
Use a photograph of the wall with simple lines drawn over it, or tape a representative section. Include furniture and planned art. A pattern that is attractive on a bare wall may create distracting intersections behind a gallery of frames.
Consider cleaning and wear at the lower wall. Deep grooves and ledges behave differently from a nearly flat face. Also check whether the material is approved for the room's actual humidity and exposure.
Once the direction is chosen, confirm the substrate, fixing, movement allowances, and finishing details with the product documentation. The orientation should be both a visual choice and an installation the system is intended to support.
A calm result often comes from matching one clear pattern to the wall's shape, then resisting the urge to add extra trim at every interruption.