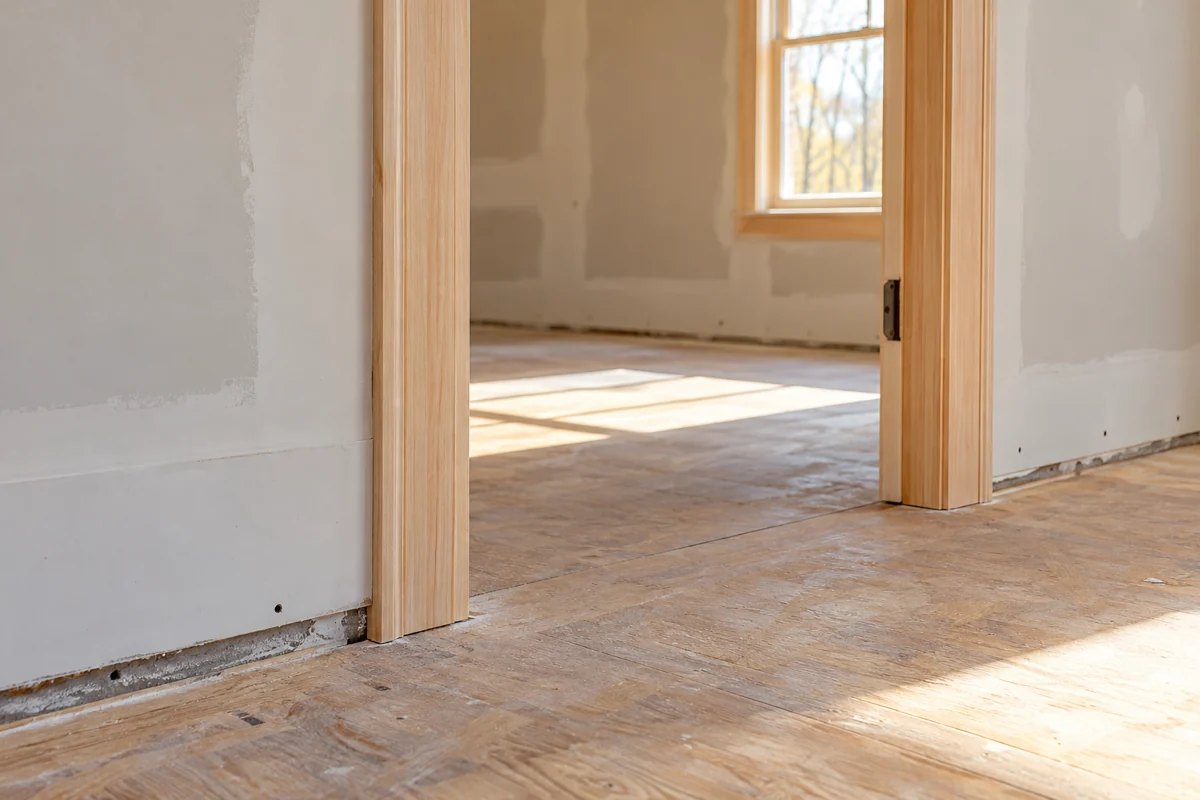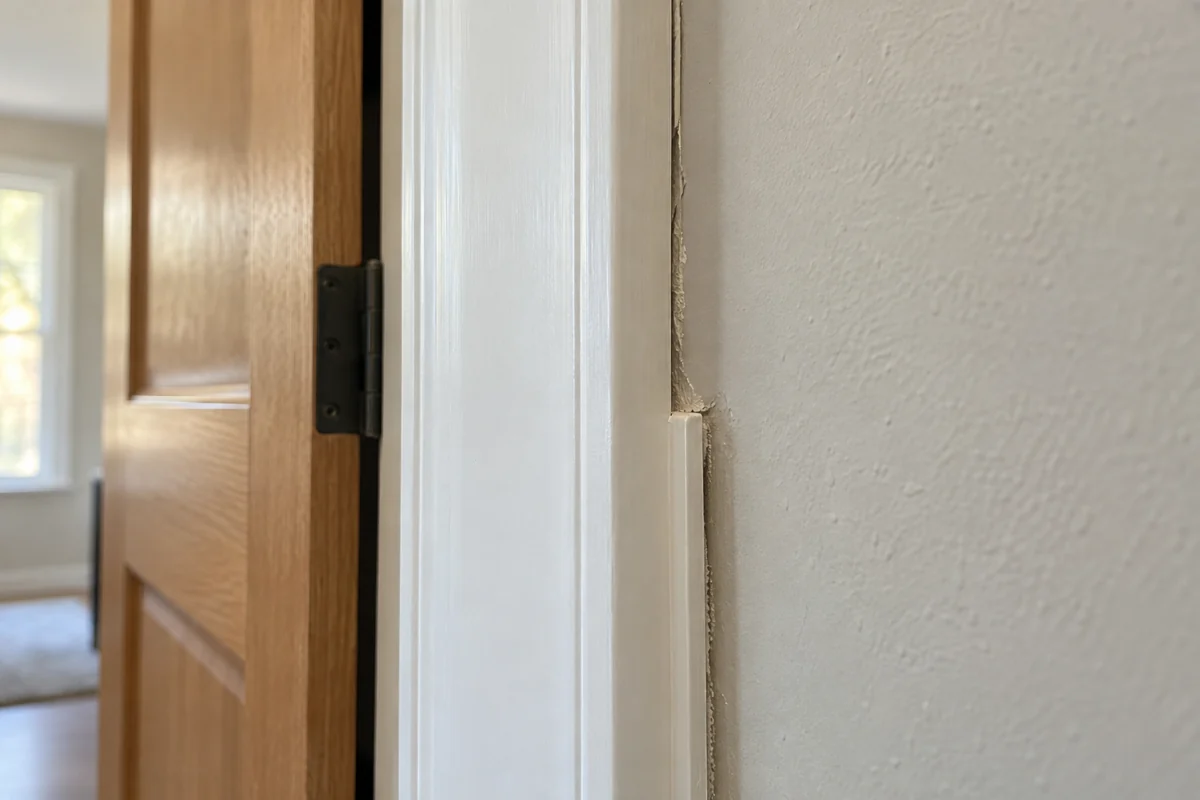
Casing usually needs a sensible relationship to both the door jamb and the wall. If the jamb is recessed behind the finished wall or projects beyond it, the molding may rock, tilt or leave a gap along one edge. Fastening it harder can distort the trim without resolving the two different planes.
First identify the condition. Is the difference consistent around the opening, limited to one corner, or changing along a leg? Measure at several points and check for a localized plaster or drywall buildup. Also confirm that the casing itself is straight and its back is understood.
A consistent depth difference
A jamb that is uniformly too shallow for the finished wall may need an appropriate jamb-extension detail. That is a separate component and fitting decision, not just a thicker caulk line. Its dimensions, finish and relationship to the door must be planned so the opening still operates correctly.
If the jamb stands proud, a different fitting approach may be needed. Do not trim door-frame components casually or assume that removing material is harmless. The jamb, stops, hinges and adjacent wall can have functional relationships that decorative casing does not reveal.
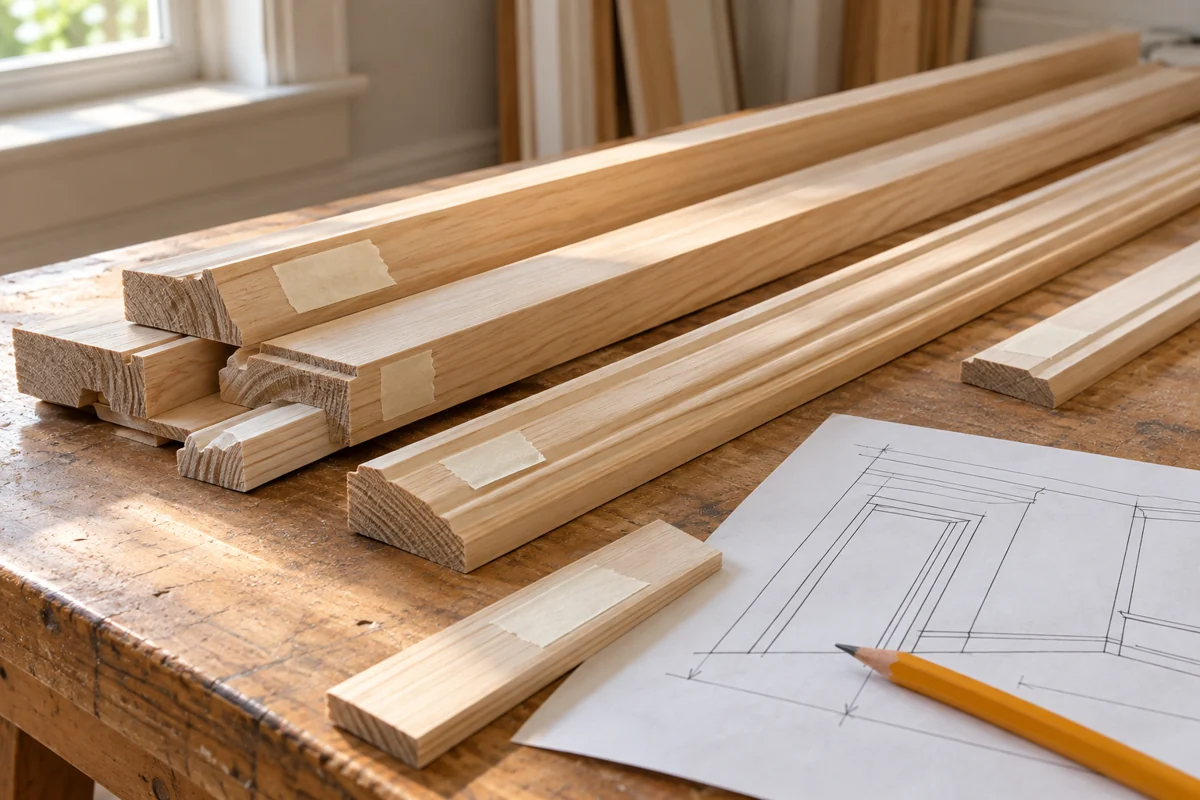
Discuss significant differences with a qualified installer. A clear drawing or sample cross-section is useful: jamb plane, wall plane and proposed casing. This is much more informative than asking how to hide “a little gap.”
A localized irregularity
A small buildup in the wall finish can tip one corner of a casing. Establish whether it is a sound surface irregularity or a sign of loose, damp or damaged material. Correcting the substrate may be appropriate, but do not disturb uncertain old paint or concealed construction without the necessary assessment.
A joint at the head can open when one leg is forced into a different plane. This can look like a cutting-angle error even though the end cuts are correct. Check seating before recutting a carefully measured piece.
Test the whole opening
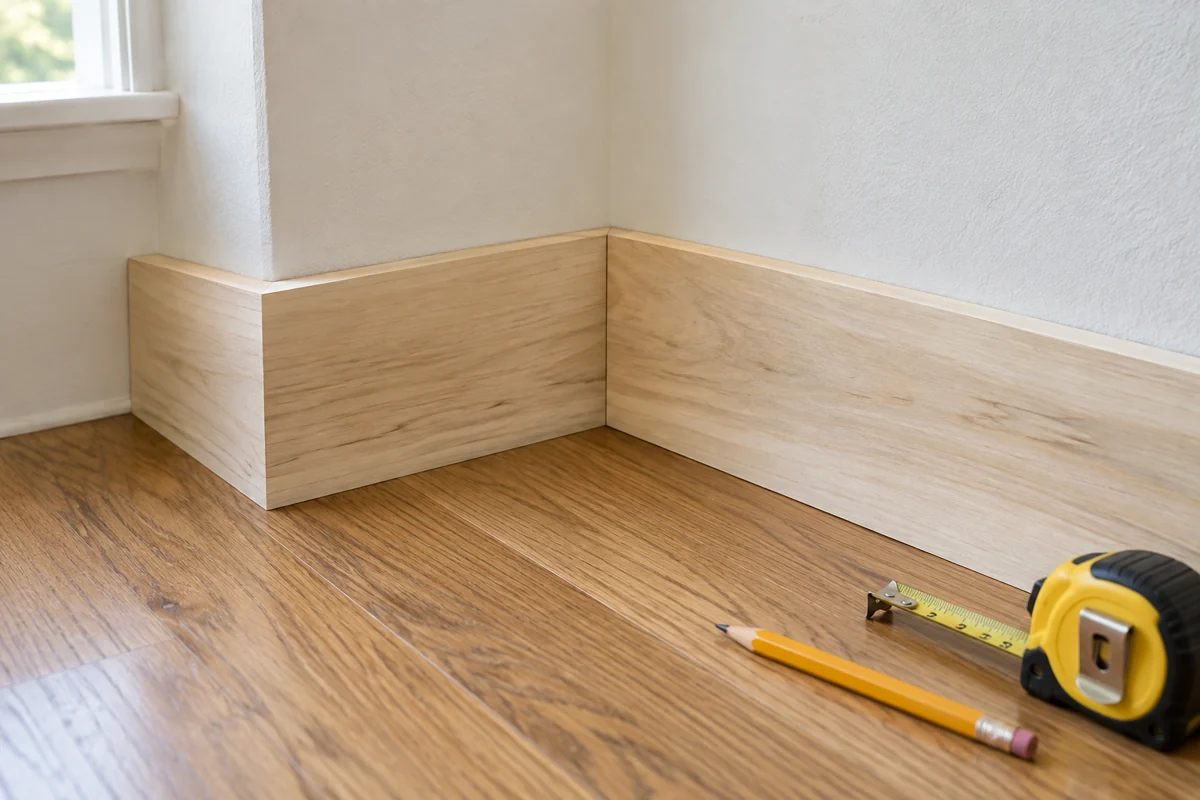
Dry-fit the head and both legs together. Confirm a consistent intended reveal, aligned faces and workable junctions with the baseboard. Open and close the door through its full travel. Check hinges and hardware without allowing the trim to crowd them.
A wide profile may cover more wall, but width does not automatically solve a depth mismatch. Likewise, a more flexible material may follow the mismatch while producing an uneven face. Choose the detail for the actual geometry and product system.
Once a solution is agreed, record it for any similar openings. Older rooms can contain different wall thicknesses, so verify each rather than treating one successful doorway as proof that all others match. The finished casing should sit deliberately around the opening, with cosmetic finishing reserved for small accepted seams.