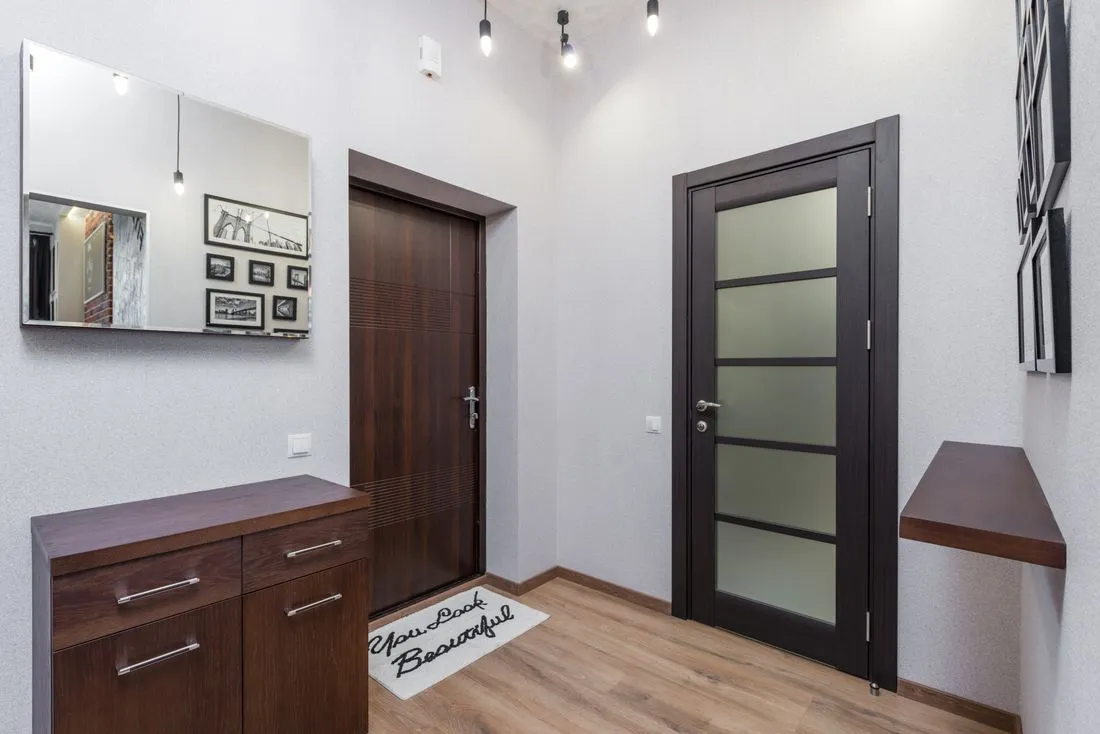
A door can look well proportioned with wide casing while the wall around it becomes cramped. The difference is especially clear in a hallway, where switches, intersecting walls, and closely spaced openings compete for a few inches. Casing width is therefore a room measurement as much as a door measurement.
Sketch the wall face first. Mark the opening, the outer edges of nearby electrical plates, the corner, and any adjacent trim. Then add the proposed casing at its actual width. This simple drawing often reveals conflicts that a front-facing inspiration photograph hides.
Leave room for the surrounding wall
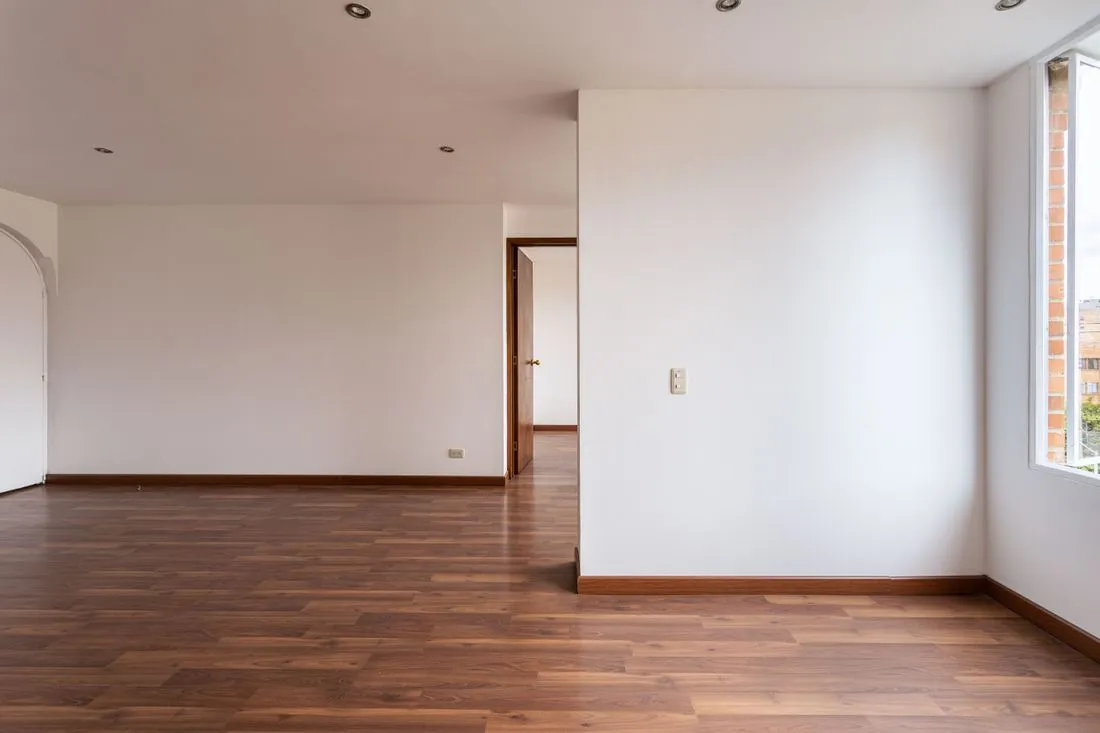
A narrow strip of wall trapped between broad casing and a corner can look accidental. If a narrower casing produces a more comfortable margin on both sides, it may be the stronger choice even on a large door. Alternatively, a deliberate full-width junction can work, but it needs a designed detail rather than a thin offcut squeezed into the remaining space.
Check the head as well as the legs. A wide horizontal casing can approach a ceiling, soffit, or nearby cabinet more closely than expected. A built-up header adds still more height and depth. Measure the complete assembly instead of treating the flat board as the final boundary.
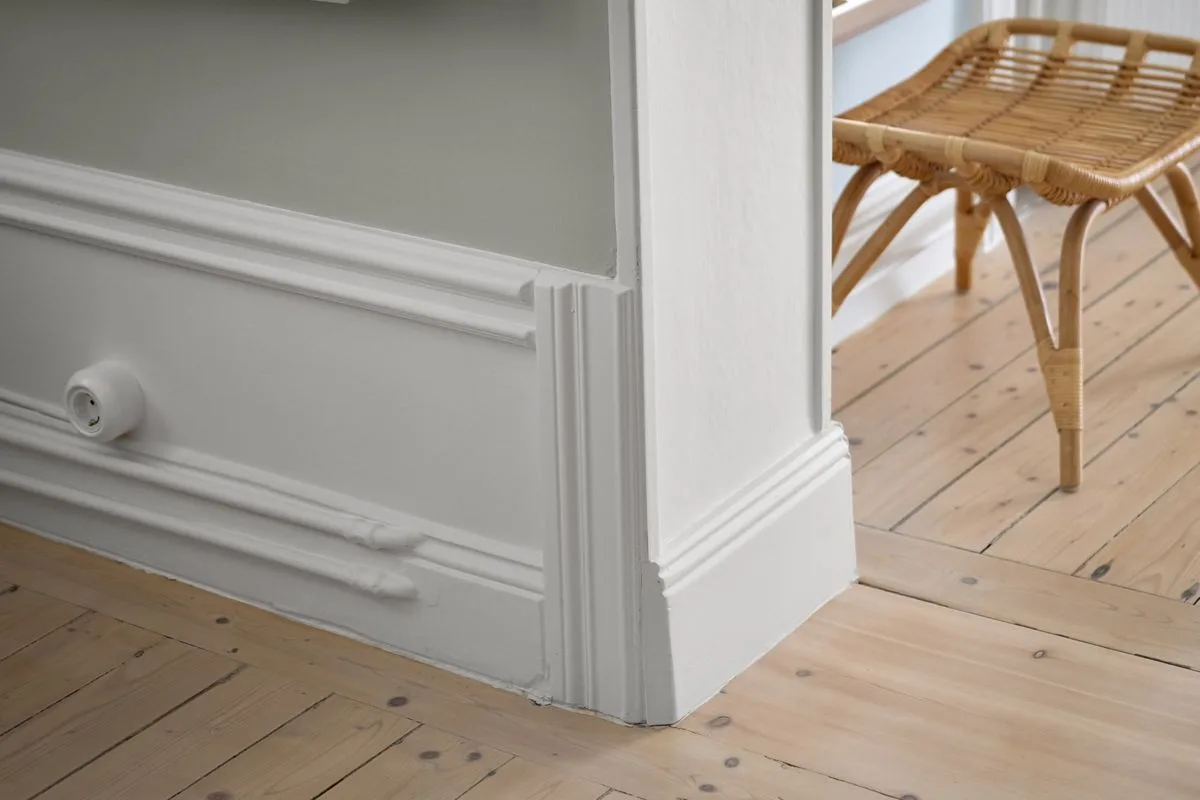
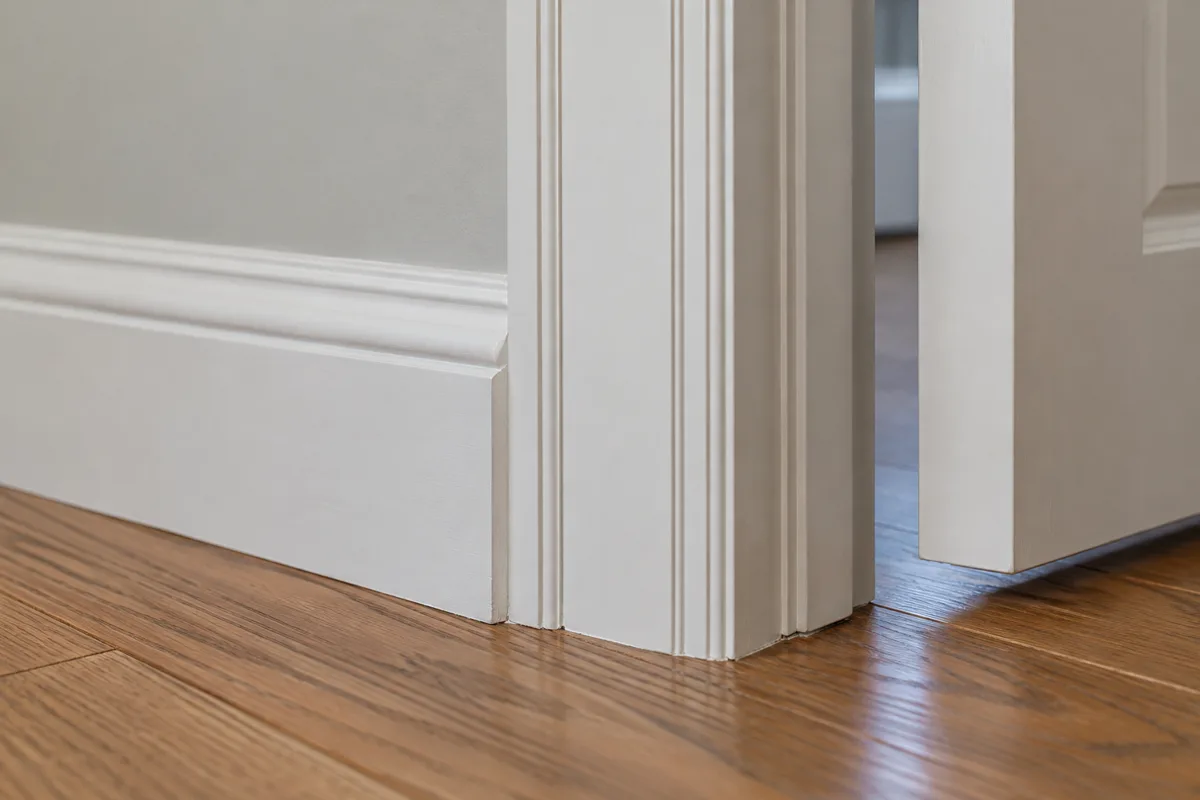
Width and thickness also work together. A wide, very thin casing can appear flat beside a deep baseboard, while a narrower but substantial profile may provide a clearer endpoint. Hold actual samples at floor level to judge this relationship.
Keep exceptions controlled
Not every doorway needs a different width. When most openings can accept one profile and one awkward opening cannot, first explore whether the special condition can be resolved without changing the whole trim vocabulary. A narrow adjacent wall, for example, may call for a carefully fitted side piece while the recognizable head detail remains consistent.
Electrical accessories should remain accessible and correctly mounted. Do not crowd or overlap a plate with trim, and leave relocation or box adjustments to an appropriate professional. Planning the casing around the existing equipment is often simpler than discovering the conflict after paint.
Use painter's tape to mark the outside boundary of two candidate widths on a full doorway. View them from the routes through the room, not just from directly in front. Once the choice feels right, record both the profile and actual dimensions so the same decision can be carried to the other openings.