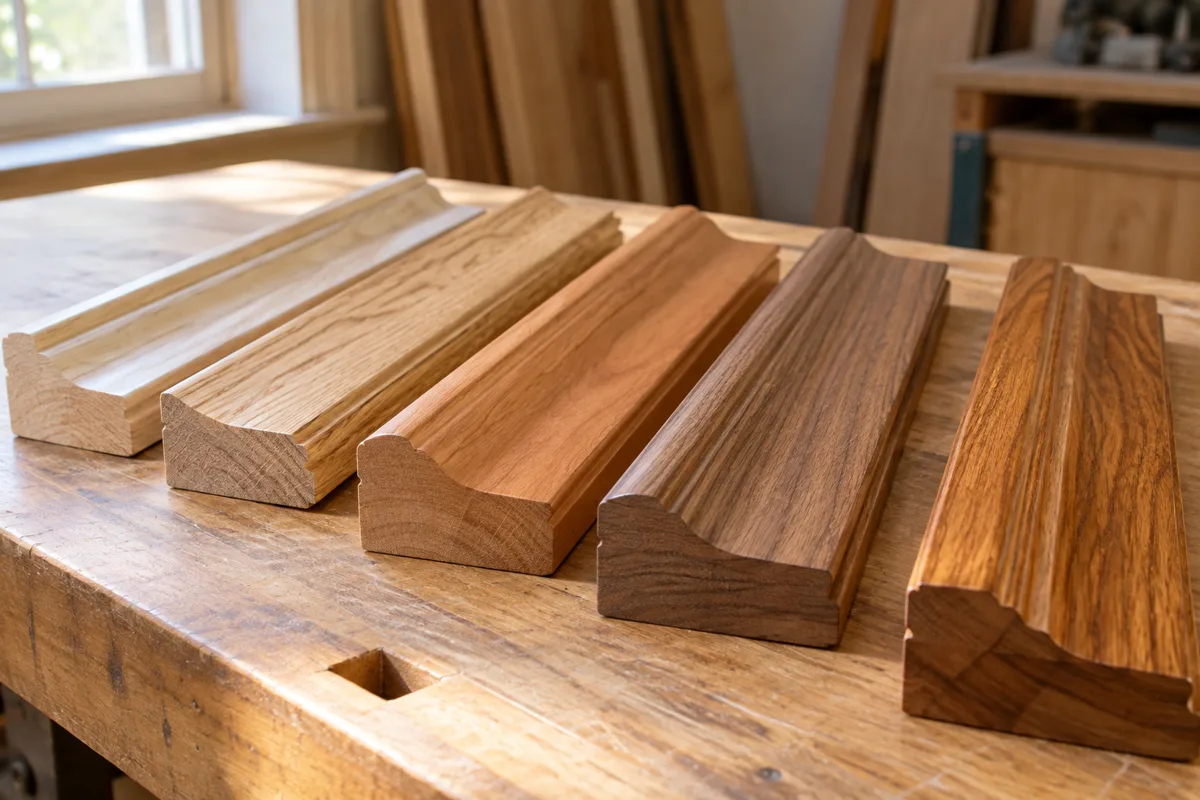
Bare wood and clear-coated wood can look like different materials. Grain becomes more pronounced, the surface can appear deeper in tone, and some finishes introduce warmth. Choosing a clear coating therefore includes a color decision, even when no stain is planned.
Use an offcut from the actual trim. Apply the complete proposed system, including any required preparation and all intended coats. A single wet swipe does not represent the final appearance or sheen.
Compare the whole room relationship
Place the finished sample beside the floor, door and other wood surfaces. It does not need to match them exactly, but the combination should be deliberate. A warmer coating on pale trim may look appealing by itself and unexpectedly orange beside a cool-toned floor.
Different coating chemistries and products can shift appearance differently. Do not choose solely from a generic label such as water-based or oil-based. Read the product information and compare actual samples, including any stated tendency to change over time.
Wood itself can also change with light and age. A sample stored in a drawer and trim beside a sunny window may not remain identical indefinitely. Preserve the original information while recognizing that future matching may require adjustment.
Sheen changes the reading
A glossier clear finish can emphasize grain, surface preparation marks and reflections. A lower sheen can make the appearance quieter, but it will not remove scratches or an uneven substrate. Select the sheen from a finished sample rather than assuming a flatter surface hides every problem.
Inspect repaired areas too. Filler, glue residue and different grain sections may become more visible after a clear coat. On a stained project, test the clear finish over the actual stain and observe all compatibility and drying requirements.
Follow the application, ventilation and cleanup directions. Certain oil-based finishing residues and cloths present a fire hazard if mishandled; use the manufacturer's safe waste instructions and applicable local disposal process. Keep finishing work away from active dust-producing operations.
Once a sample works, label it with the exact coating, sheen and preparation sequence. “Clear satin” is not enough information to reproduce the result later.
A clear finish is successful when it protects the intended surface and produces the appearance you selected. Treating it as an invisible final step can lead to a surprise that is much harder to change after every length of trim has been installed.