Place a straight baseboard above an uneven floor and one of two things usually becomes apparent: the lower edge leaves gaps, or the top edge follows a slope that is easy to see. Trying to force a tall, stiff board into every dip can create new problems at the corners and casings.
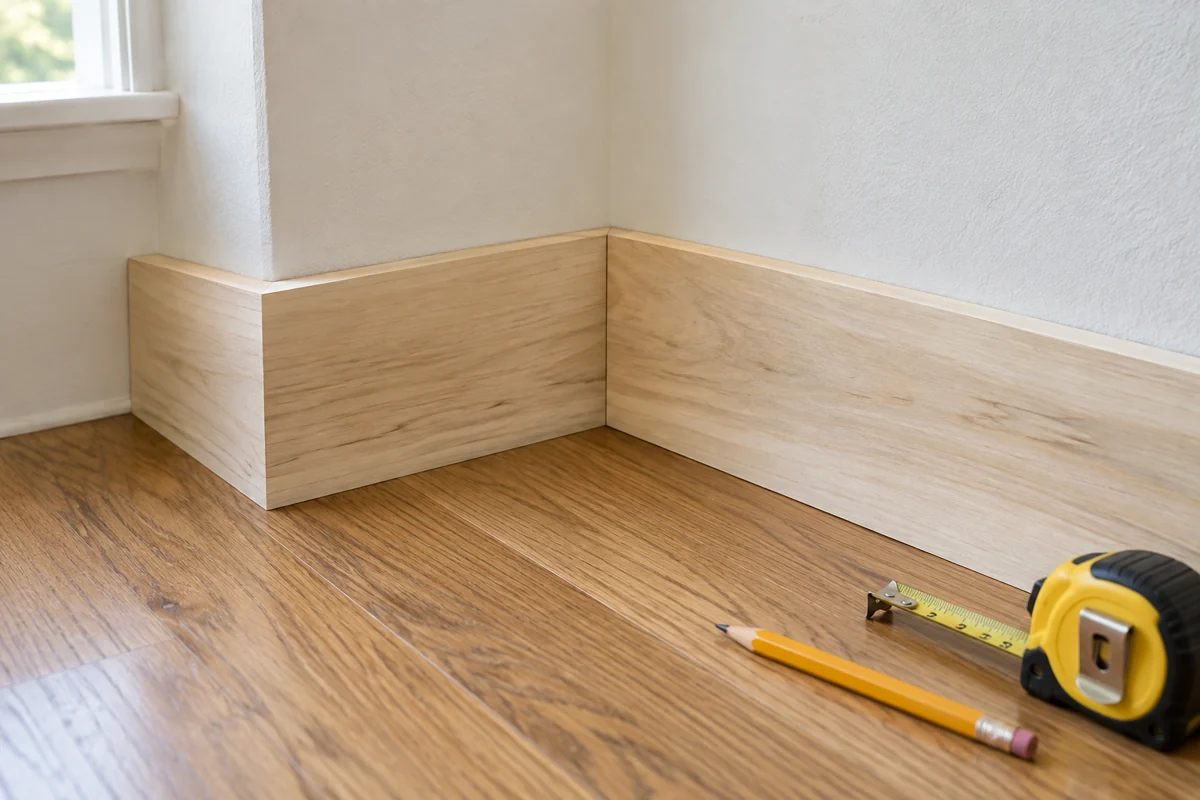
Measure the condition before choosing a detail. Use an appropriate straightedge and level to distinguish a gradual slope from local hollows or high spots. Record the variation along the actual baseboard line, not only in the center of the room.
Decide which line the room needs
A level top edge may be visually important beside wall paneling or a sequence of door casings. In another room, a small gradual floor slope may be less noticeable if the baseboard follows it. There is no useful universal answer without seeing the adjacent lines.
Look from the doorway and from normal seated positions. A decision made while kneeling beside one gap may create a more distracting top line across the entire wall. Mark a temporary reference line to evaluate the room as a whole.
A separate shoe molding can sometimes accommodate modest floor variation as part of a suitable design. It is not mandatory, and it should not be used to pin a floating floor that requires movement. Follow the flooring and trim system's requirements for clearances and attachment.
Fitting is different from filling
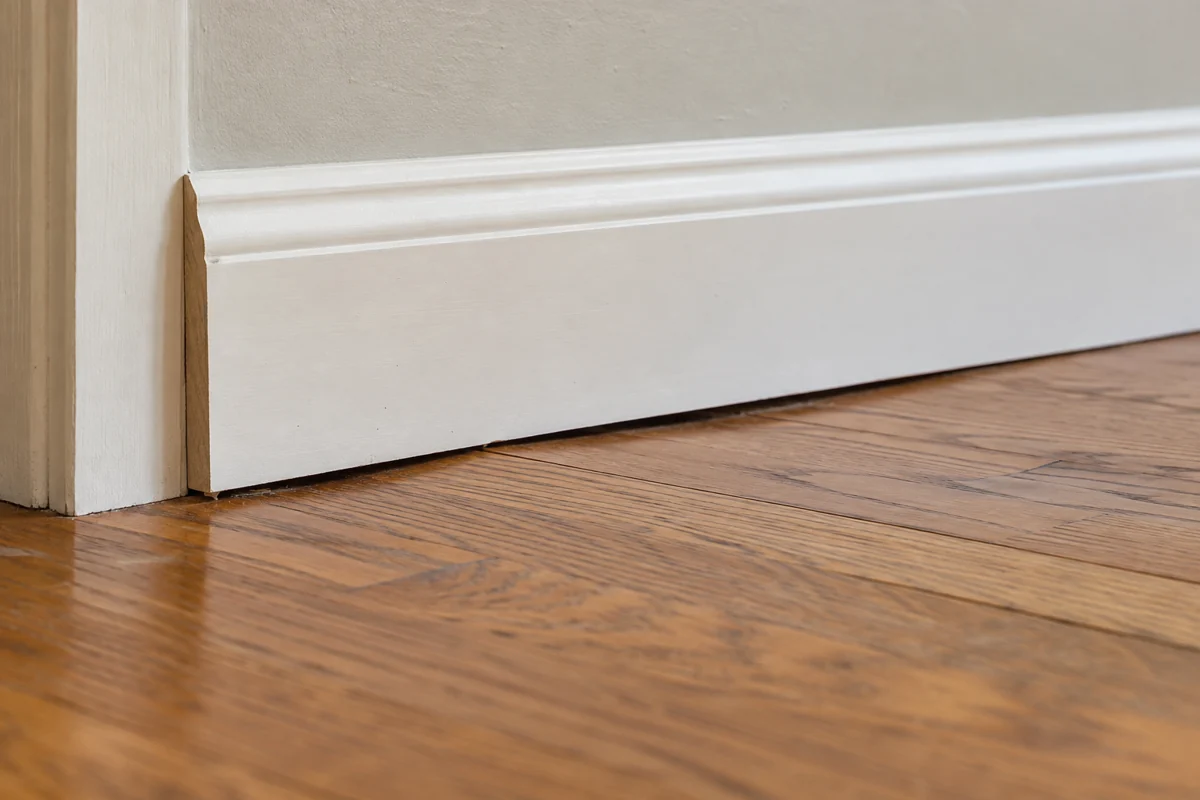
Scribing can shape a suitable baseboard edge to the floor while preserving the chosen top line. That is a fitting operation requiring enough material, the right tools and a safe method. A complex or unfamiliar profile may be better handled by a finish carpenter. Do not attempt to compensate for a large dip by removing so much material that the lower detail becomes visibly uneven or weak.
Consider a wall with a shallow hollow near the middle. Before ordering taller trim, establish whether the hollow is a stable floor condition or evidence of a problem needing evaluation. A decorative board should not conceal a soft floor, active moisture damage or a movement issue.
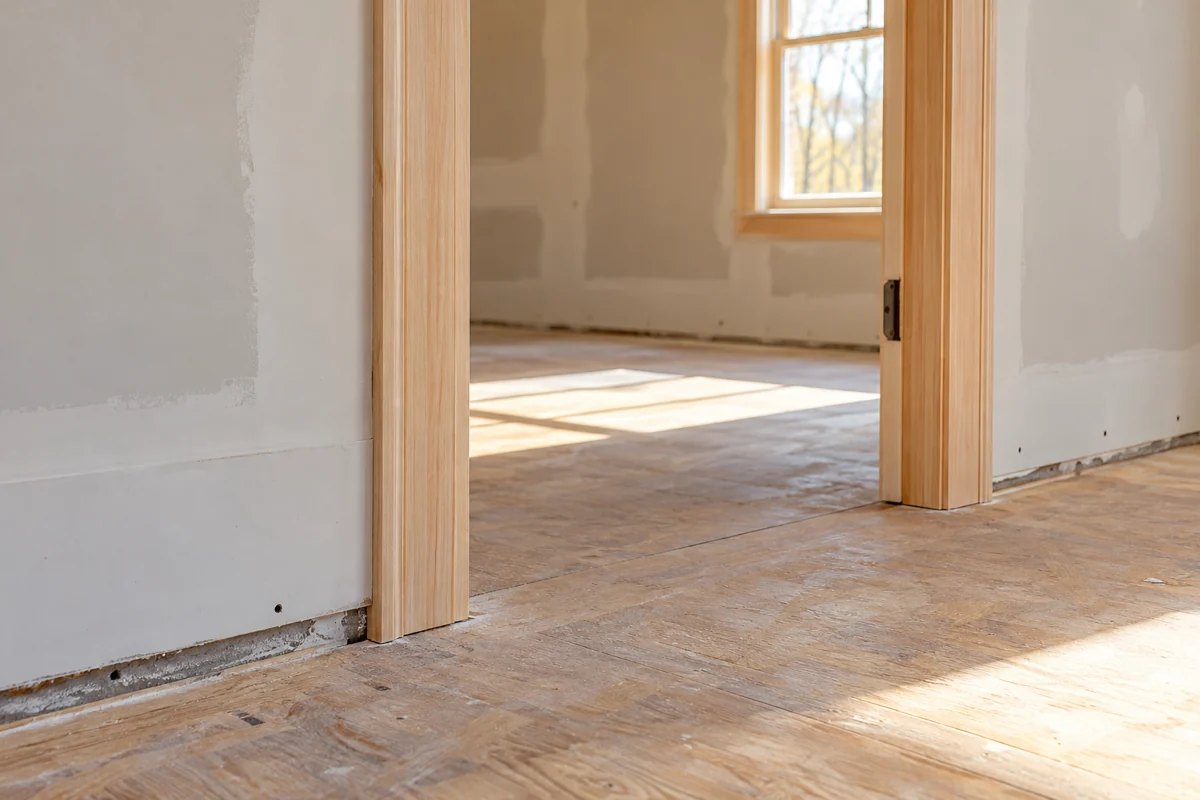
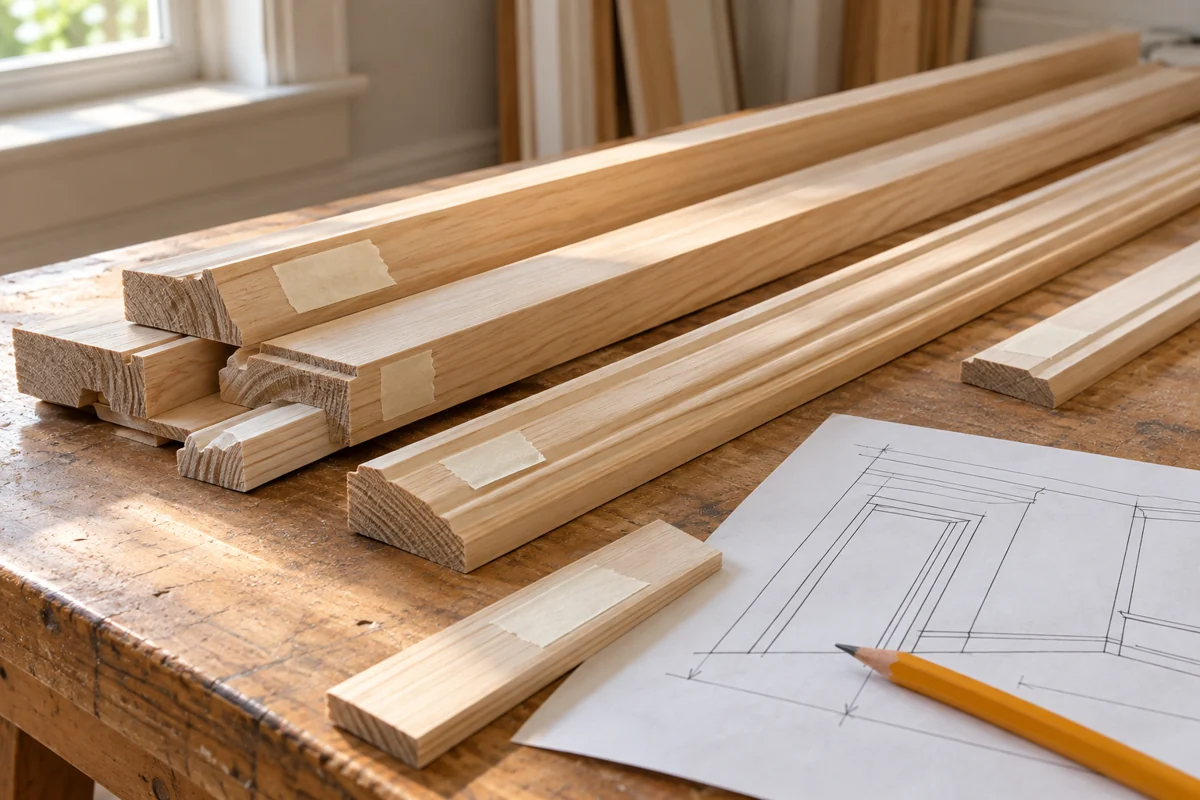
At a doorway, compare the baseboard height on both sides and its meeting with the casing. A solution that looks fine mid-wall may leave a stepped or awkward end. Include that junction in a sample or drawing.
Protect the floor's own requirements
New floors often have explicit perimeter details. Expansion spaces, underlayment and transitions cannot be redesigned solely to make the baseboard easier to install. Do not fill every visible floor-edge space with caulk or adhesive without confirming that the floor system allows it.
If carpet is involved, coordinate the intended finished relationship with the flooring installer. Guessing a universal clearance from an online example can leave either a visible gap or an installation that interferes with the carpet work.
Dry-fit the full run and its corners after the fitting approach is established. Check doors, floor transitions and any removable access components. Then finish the accepted detail with compatible materials.
The useful goal is a baseboard that belongs to the actual room: a deliberate top line, a controlled lower fit and a floor free to function as designed. Hiding one gap is not worth creating a continuous problem around the perimeter.