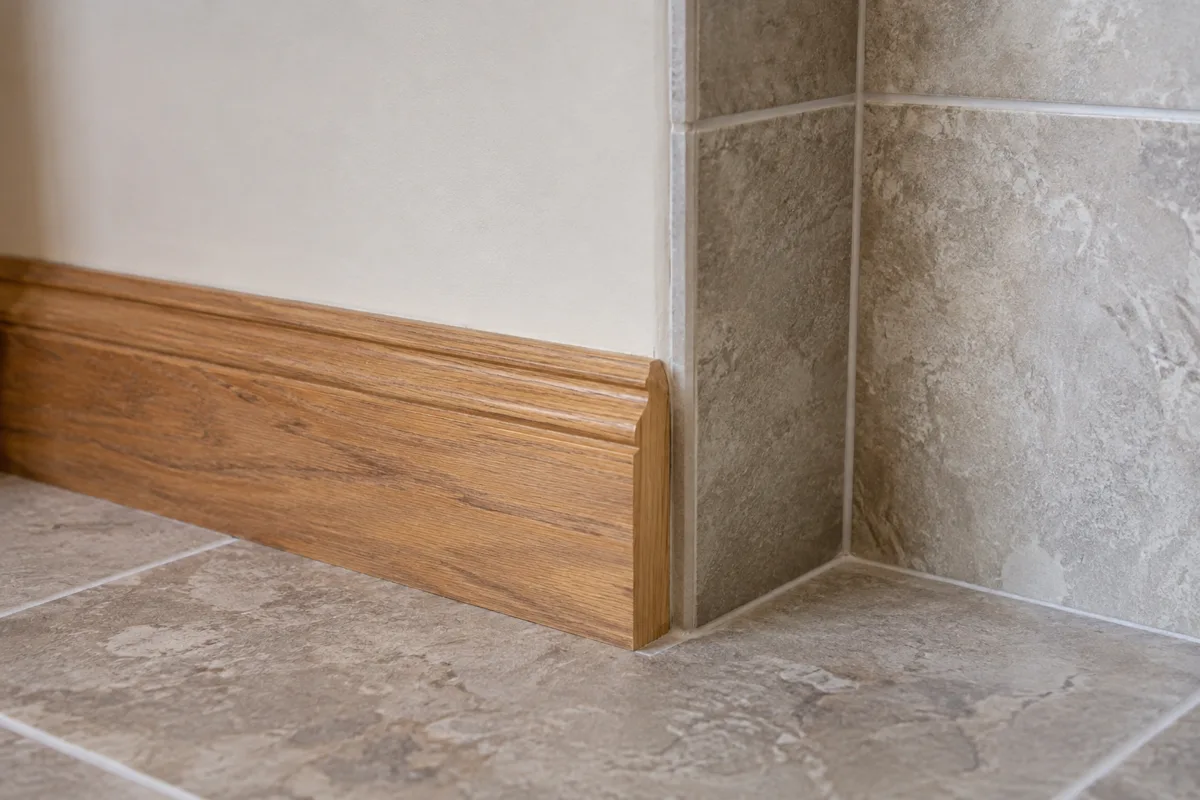
Wood baseboard and a tiled wall rarely finish at exactly the same depth. Tile thickness, adhesive, backer layers, and edging all affect the final face. Choosing the baseboard before those layers are known can leave an exposed cut end or a narrow unfinished strip at the boundary.
Ask for the complete tile build-up, then compare it with an actual baseboard sample. The useful measurement is from the finished wall or substrate reference to the visible face, not the thickness of a loose tile alone. If the wall changes construction at the junction, include that difference too.
A neat transition usually has one clear boundary. The wood may stop against a finished tile edge, meet a separate transition piece, or return before the tiled surface. Avoid piling several tiny trims into the same corner because none of them was selected to receive the others.
Decide who finishes the edge
Tile and trim trades can each assume the other will cover the final gap. Put the endpoint on the drawing and identify which material supplies the visible edge. Include its height, projection, and finish so the decision survives changes in the work sequence.
In a dry decorative location, the concern may be mainly appearance and movement. In a wet or splash-prone area, the substrate, waterproofing, and material suitability matter as well. Wood trim is not a substitute for a required waterproof detail, and paint does not make every wood-based product suitable for persistent moisture.
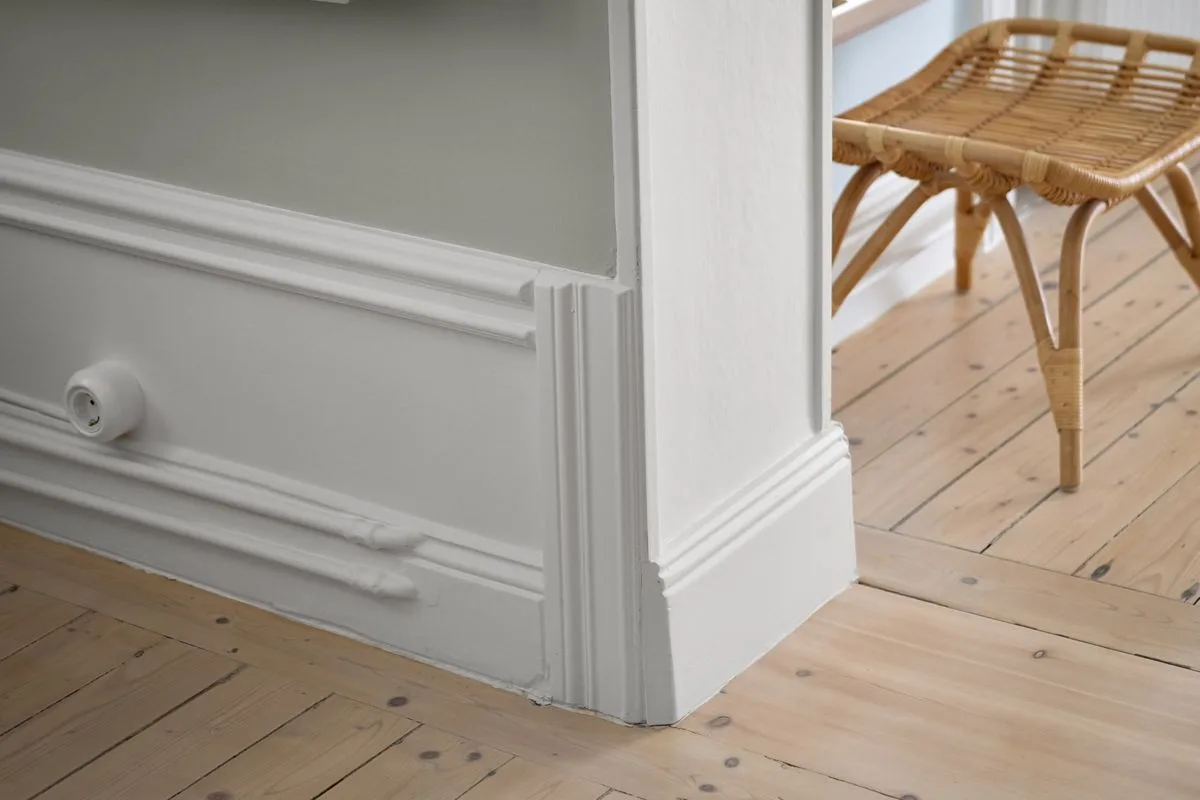
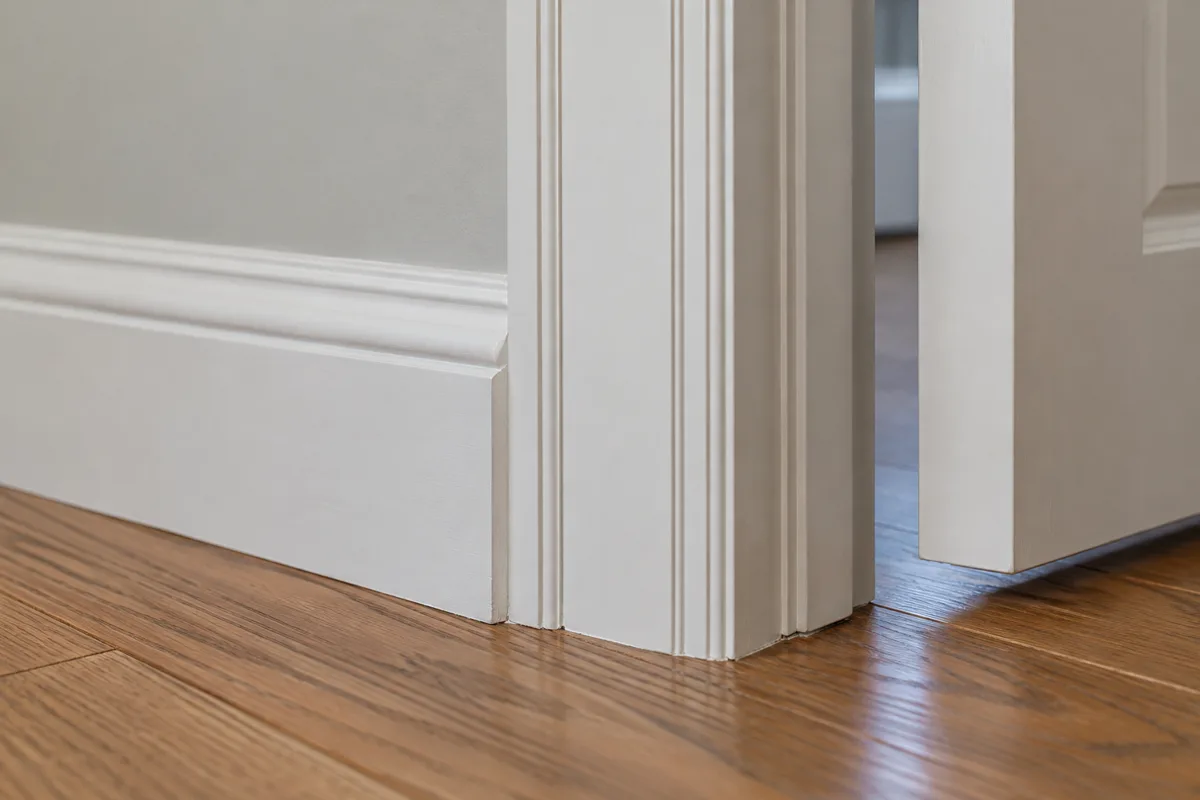
Consider the baseboard's upper profile. A curved cap meeting a straight tile edge can produce a small exposed shape that needs a return or another planned finish. The shoe at the floor may require its own endpoint rather than simply following the main board.
Test the color relationship after the samples are finished. A white painted baseboard beside a white tile can reveal a strong warm/cool difference. That contrast may be acceptable, but it should be chosen rather than discovered after installation.
Take a close photograph of the approved mock-up and keep the actual samples until the junction is complete. This is one of those small meetings where a clear drawing and a ten-minute discussion can prevent several rounds of improvised covering pieces.