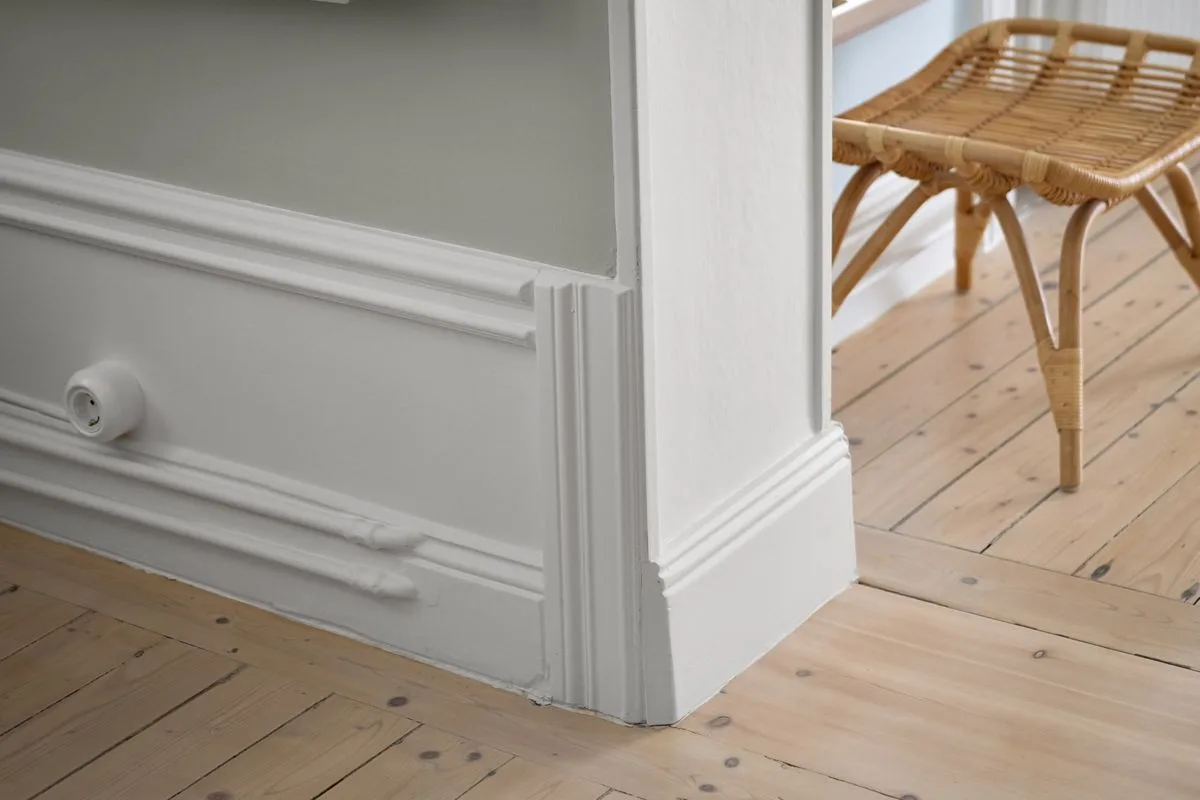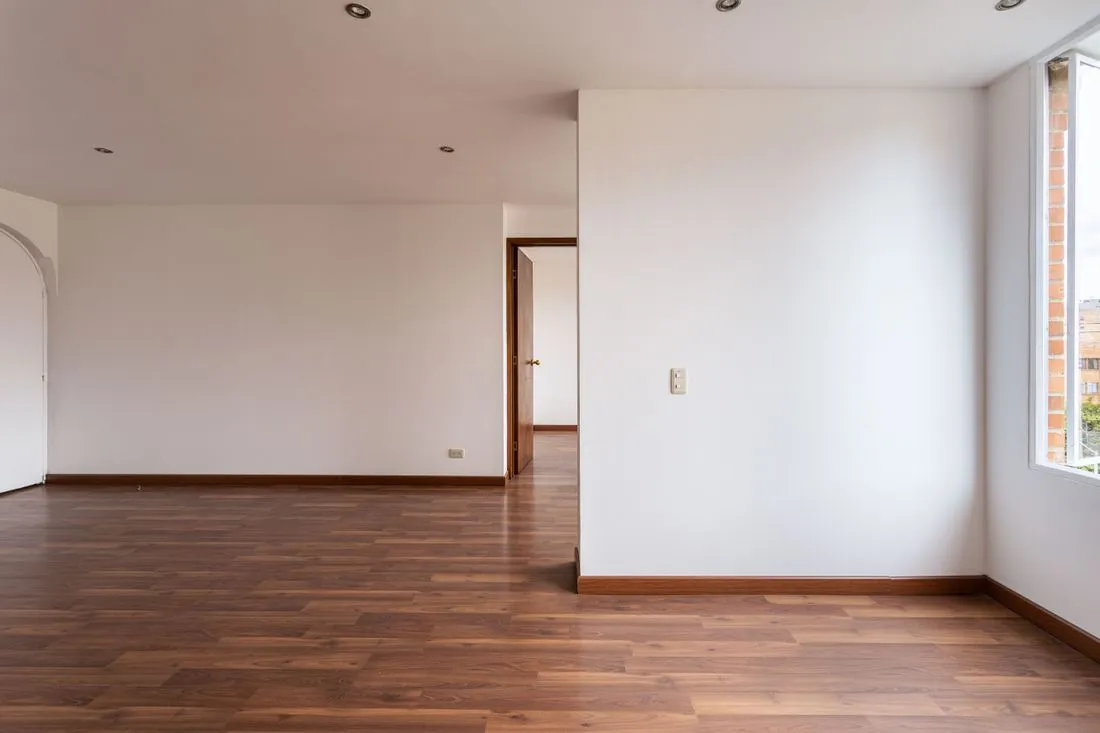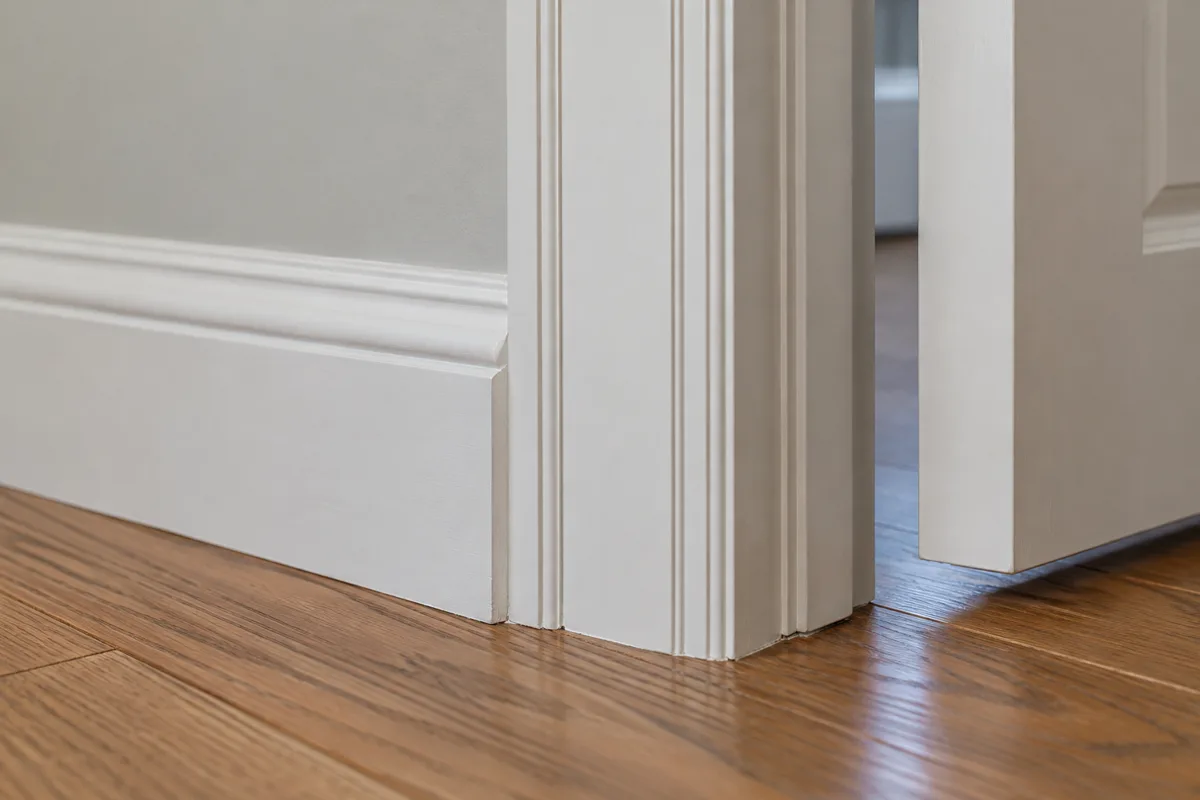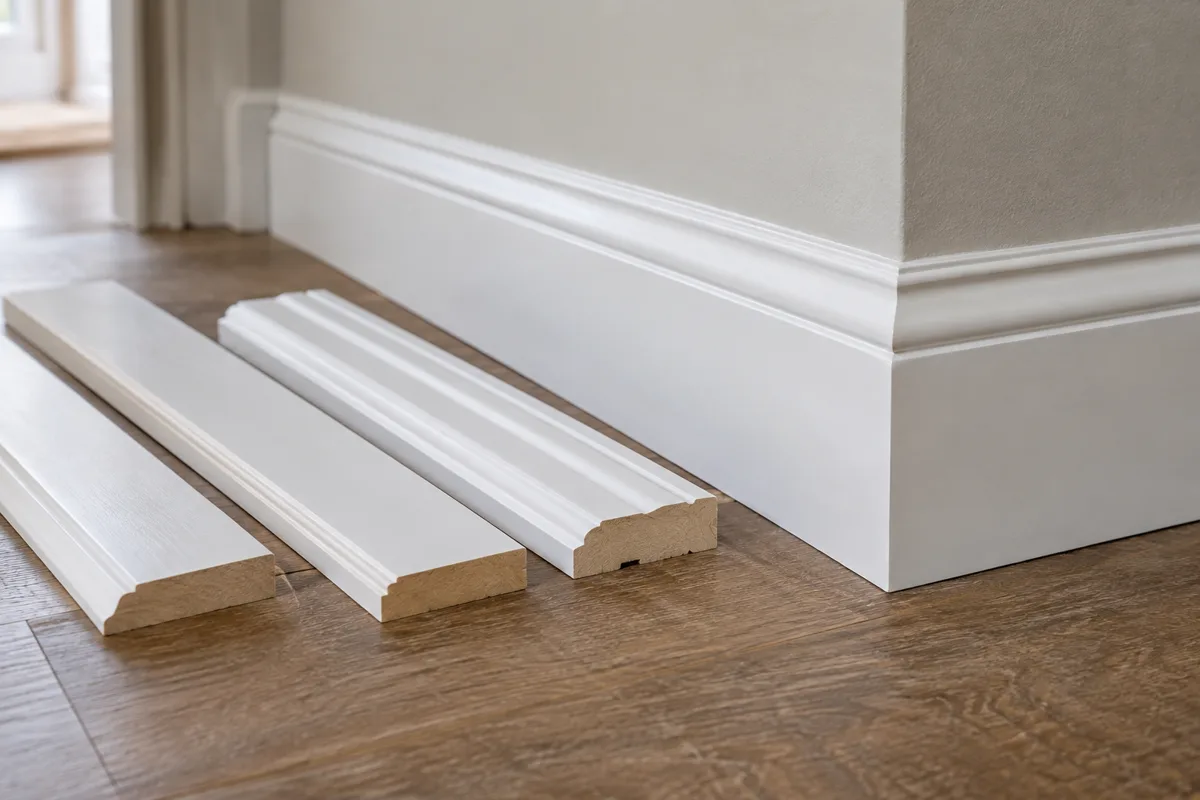
Baseboard and flooring are often purchased as separate decisions, although they meet along almost every wall. The finished floor height changes how much baseboard is visible, where door casings end, and whether shoe molding will be needed. Sorting out those relationships early prevents the final trim from becoming a cover-up.
Ask the flooring installer for the complete finished build-up, including any underlayment or substrate work. A plank's thickness alone may not describe the final elevation. At transitions, compare both floor systems rather than assuming one will align with the other.
Then decide whether existing baseboards will remain, be removed and refitted, or be replaced. Each option affects the sequence. A retained board may leave a different exposed height after the new floor goes in. A removed board may not come off intact, particularly when it is old, heavily painted, or firmly bonded to the wall.
Preserve the flooring system's needs
Many floors require a specific perimeter space or movement detail. The trim can conceal that space, but it should not defeat it. Follow the selected flooring manufacturer's requirements for gaps, fastening, and transitions. Do not assume that the same detail works for nailed wood, floating planks, and tile.
Use a cross-section mock-up showing the wall, finished floor, baseboard, and any shoe. This makes it possible to assess coverage without guessing. It also helps distinguish a planned movement gap from an accidental void that needs correction.
Coordinate doors at the same time. Their casings and clearances may be affected by a change in floor level. Functional adjustments should be assessed before decorative pieces are cut.
Painting has a sequence too. Some finishing can happen before installation, while cut ends, filled fixings, and joints may need attention afterward. Plan floor protection and suitable coating cure times rather than assuming new flooring can immediately take taped coverings or heavy traffic.
Finally, mark which trade is responsible for each perimeter piece. Ambiguity about shoe molding, threshold edges, and cabinet ends tends to surface on the last day. A short written list and one approved mock-up make the handoff much easier.
The aim is a coordinated junction that lets both materials perform as intended. A clean appearance follows from that planning, rather than from adding a larger strip at the end.